Easily Send Custom Welcome Emails to New WordPress Users (Free Method)
WordPress creates a new user every time a new user joins your website and labels them as authors, subscribers, customers, members, and so on. If you allow user registrations, your users receive an email from WordPress with their login details.
But that’s about it. You can’t customize the email to match your branding or include additional info to guide your users to the next steps.
But don’t worry, this tutorial will tell you exactly how to send a custom welcome email to new WordPress users.
Before going into the main article, let’s check out a few benefits and use cases!
Benefits of sending a custom Welcome email to new WordPress users
It is always a nice gesture to onboard your users with a beautiful custom welcome email. It helps you establish a relationship with your users while keeping them engaged with your website. Other than that, there are several other benefits of sending a custom welcome email. Which include:
- Better engagement: There are tons of instances where we’ve seen users creating an account, never to be seen again. Welcome emails usually have a higher engagement ratio than most other types of emails. So you can use welcome emails to set a return path for the user and engage them better.
- Build a relationship: Today’s customers remain more engaged with businesses that build a relationship. Since it’s your user’s first interaction with your business, custom welcome emails are the perfect opportunity to start building a relationship.
- Introduce users to your brand: Branding is a crucial component for any business, and welcome emails are the perfect opportunity to introduce users to your brand. You can customize welcome emails according to your brand color and design them accordingly so that the user knows who they are interacting with and what to expect.
- Guide the audience to the next steps: What do you expect your users to do when they sign up? Whether you want them to take any action on your website or join your community, you can simply tell them to do so with a custom welcome email.
- Boosting sales: Although many wouldn’t prefer sending a sales email right away, some businesses can utilize welcome emails to increase sales. If you have an ongoing sales campaign, it might be a good idea to include discounts and offers in your welcome email to boost sales.
- Avoid spam filters: A less-engaged email list is always more likely to trigger spam filters, whereas welcome emails are opened four to five times more than usual emails. Thus, welcome emails help you avoid spam filters, especially if your contacts are less likely to open your emails later.
While these are the main benefits of sending custom welcome emails, they can be set on autopilot. This means you can have peace of mind while enjoying so many wonderful advantages that come with sending a simple welcome email.
Common use-cases for custom welcome emails
Welcome emails come with so many tremendous advantages that it is almost imperative for any WordPress site. To give you an idea, here are a few use cases for sending custom welcome emails to new WordPress users:
- Email subscribers: If you’ve set up email subscriptions on your website, a welcome email can be your opportunity to guide them to their next action, such as downloading an e-book or joining your community. Or, you can simply start building a relationship by sending a personalized thank you email while keeping your branding on top.
- Members: Membership sites usually allow user registrations. Since your users are in for something, you can make their job easy by sending a custom welcome email with a link to their desired product or membership dashboard.
- Customers: E-commerce plugins such as WooCommerce and EDD allow you to sell products by creating a store. If someone’s buying products, they will likely buy more. So you can send an upsell/cross-sell offer within your welcome emails to boost your revenue.
- Authors: If your website is entirely focused on blogging, you might accept authors via user registration. For multi-author websites, welcome emails can be an opportunity to guide the author to your content writing guidelines, tips, examples, and anything that might help them write better.
- E-learning: E-learning sites allow for both instructor and student registration. While instructors can benefit from knowing how to educate students via a welcome email, students will be amazed if you send them the proper guidelines for learning through a welcome email!
- Affiliates: Many businesses offer an affiliate program through WordPress affiliate plugins. And if you have an affiliate program, you can guide your affiliates to useful materials for affiliation (i.e., your brand’s logos, graphics, T&C pages, etc.).
How to send custom welcome emails to new WordPress users
Now that you know the benefits and use cases of custom welcome emails let’s find out how you can send custom welcome emails to new WordPress users. With this method, you can send a single email or multiple welcome emails at a set interval.
WordPress email marketing plugins make it really easy to send custom welcome emails to your new users. However, most of these plugins either work with a marketing automation platform(which means you have to go to the platform to set up the custom welcome email) or offer a limited number of contacts(meaning you can’t exceed the contact limit).
Fortunately for you, there’s one free WordPress plugin that saves you all these troubles. FluentCRM doesn’t require you to leave your WordPress dashboard, and it allows you to store unlimited contacts. So no matter how many users you add or how many welcome emails you want to send, FluentCRM is the way to go!
Ready to send custom welcome emails to all your WordPress users?
Let’s begin!
Install FluentCRM
Installing FluentCRM is as easy as installing any other plugin. At first, go to your WordPress dashboard and hover over Plugins>Add New.
Then search for FluentCRM and click Install Now. Once installed, click Activate to activate the FluentCRM on your WordPress dashboard.
Complete the basic setup
Once FluentCRM is installed and activated, you can locate the plugin from your WordPress dashboard’s sidebar. Click on it, and the basic setup process will begin.
This is a simple setup wizard where FluentCRM will ask you to provide your business information and create lists and tags.
We recommend completing this process as providing business information will help you avoid spam traps, and lists and tags will help you quickly find, sort, and filter your contacts. Simply input your business information and logo, create lists and tags, and finally, install Fluent Forms (completely optional).
Once you’re done with the basic setup wizard, you can go straight to the FluentCRM dashboard. This is what it looks like at first:
If you want, you can complete the process, but we’ll skip it for now.
Ensure Email deliverability with FluentSMTP(Optional)
Did you notice the prompt to install FluentSMTP?
The default WordPress email configuration is often unreliable as the emails are processed via the WordPress PHP mailer function. This is why FluentCRM recommends FluentSMTP.
It’s a completely free WordPress SMTP plugin. Yet, it comes with more features than any SMTP plugin can offer.
So go ahead and give it a try. You can set up any email sending service like Amazon SES, MailGun, SendGrid, SendInBlue, etc., to send WordPress emails reliably.
Set up custom welcome emails
With FluentCRM installed and configured, you can start setting up custom welcome emails easily. For that, go to Automations from the FluentCRM dashboard and click Create a New Automation.
Upon clicking the button, you’ll see a few Triggers. Triggers let you initiate an automation funnel when something happens on your website(i.e., form submissions, product purchases, etc.).
In this case, you’d want to select a trigger that’s based on user registration. So set an Internal Label, select WordPress Triggers>New User Sign Up trigger, and hit Continue.
Now you need to configure a few things such as the user’s subscription status, what to do if the contact already exists in your contact list and your target user role.
The subscription status refers to the user’s email preference. For example, if you have an opt-in email marketing strategy, you can set the subscription status to Pending. This also helps you stay GDPR compliant and improves email deliverability. For now, we’ll select Pending.
Since this will run when a new user signs up on your website, it’s unlikely that any contact will exist in your FluentCRM dashboard. However, you can still choose to Update if Exists.
Next, you need to choose the target user roles. You can choose a single user role or multiple user roles.
Since we want to send custom emails to our authors, contributors, and editors, we’ll go ahead and select them.
Finally, click Save Settings to save the trigger configuration. This opens the funnel page where you can add different actions by clicking the plus(+) icon.
From here, you can add delay, apply or remove lists and tags and send custom emails. If you have the pro version, you can also send email campaigns, email sequences, create WordPress users and make many more automated actions.
Since we want to send a welcome email without any delay, we’ll go ahead and select Send Custom Email.
This opens the custom email window where you can write your subject, pre-header, and start composing your email body.
FluentCRM’s email composer has a wide range of templates, and the composing experience is just like writing a blog post on WordPress. To compose your custom welcome email, you can include images, buttons, tables, RSS, etc., and change style, color, and anything you like.
It also allows you to use dynamic tags to pull off your WordPress user’s name and information. To bring up dynamic tags, just hit the ‘@’ button on your keyboard.
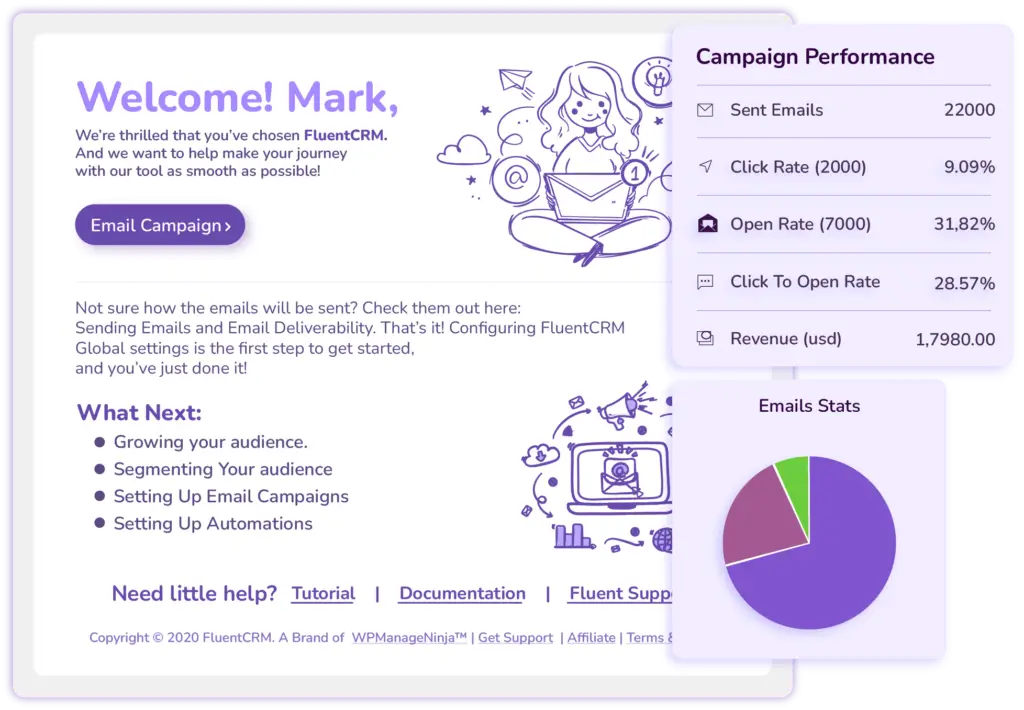
Here’s a custom welcome email we’ve created using FluentCRM:
If you’ve saved an email template earlier, you can always click Use Email Template to import it within the editor. To check if the email looks okay, you can click the small “eye” icon or Send a Test Email.
Once you’re happy with your email, click the Save Settings button. And you’re ready to send a custom welcome email to new WordPress users!
Let’s add two more welcome emails!
And our automation is ready. When you’re ready to automate, simply toggle the draft button to Published.
Now all WordPress users with the selected user roles will start receiving custom welcome emails, especially crafted by you. Isn’t it much better than those annoying user registration emails WordPress sends by default?
Provide a personalized experience to your new WordPress users!
People make a WordPress site for literally hundreds of reasons. While some websites are all about blogging, some are product and membership-selling websites. A custom welcome email allows you to onboard any new WordPress user with automated, personalized emails.
So start providing a personalized experience to your new WordPress users today by sending customized welcome emails!

Also, check out FluentCRM Pro. The plugin helps you turn your WordPress dashboard into a fully functioning email marketing automation hub. And using this plugin, you can do much more than sending custom welcome emails!
We hope you liked our tutorial. For more, subscribe to our blog and follow us on Twitter!

Nazir Himel
Product Marketing Lead
Hey! I’m an inbound marketing specialist focused on email marketing automation. I love turning complex features into clear, user-centric messaging and when I’m not shaping product stories, I’m experimenting with content frameworks, conversion journeys, and helping others communicate value without sounding salesy!


Leave a Reply