

Easily Add Email Subscription to WordPress Site (for Free!)

Summarize with


So you’ve created a beautiful WordPress site, written blog posts, and applied various marketing strategies to drive visitors. All these are good ways to start your venture. But if you’re not putting any effort into email marketing, you’re not doing yourself any favor.
Email marketing is vital for building and growing a sustainable business. And by building an email list, you can give your business a solid platform for launching personalized email marketing campaigns, sequences, and marketing automation funnels to build customer relationships and grow a delighted fanbase!
Sounds brilliant?
It all starts with adding email subscriptions to your WordPress site. And the simplest way to do this is to ask your website’s visitors to sign up for your email list.
So today, we’ll show you how to add email subscriptions to your WordPress site – and more, we’ll also show you how to automate a welcome email to your subscribers immediately after they join your email list!
Essentially, we’ll be showing you how you can set up an entire email subscription mechanism to your WordPress site. That too, within your WordPress site – for free!
Things to consider before adding email subscription to WordPress
Setting up email subscriptions on your WordPress site is relatively easy. Plus, we’ll be setting up the entire email subscription mechanism. But before you do so, you need to ask yourself a few questions. These are:
- How will the leads be generated?
There are certain regulations to follow before you can send marketing emails to visitors, and one of them is your subscriber’s consent. So you need to ensure that you’re not using any unethical method to grow your subscriber base (i.e., buying email lists). Why?
Many countries have strict data protection regulations. When you collect emails, you essentially collect data from your website’s visitors.
- Which email marketing tool will be used for email marketing?
An email marketing tool makes it easy to collect leads, segment audiences, and broadcast personalized emails manually or automatically. It also ensures things that you need to comply with general email marketing regulations. So you need to choose one that’s built for sending marketing emails.
- How will your leads/contacts join the email list you made on your email marketing tool?
Whatever tools you’re using, they need to integrate with your email marketing tool to exchange data between platforms. This way, you can be assured that your contacts won’t fall through the cracks.
- How will the emails be sent?
Not every email marketing tool comes with a dedicated email sending service. And even if they do, not all of them can offer a good email deliverability ratio (i.e., what percentage of your emails will reach your audience’s inbox). That’s why it’s crucial to determine how the emails will be sent.
It will be easy to understand how your email subscription mechanism should work and which tools you’ll need with all these questions answered. So let’s find out what tools we’ll be using for adding email subscriptions to WordPress.
The tools you need to add email subscription to WordPress
WordPress allows you to create beautiful websites. But the massive number of plugins in the WordPress repository means that you also have access to tons of incredible tools that can extend its functionality.
As we have mentioned in one of our previous articles, there are some fantastic WordPress email marketing plugins. One of them is FluentCRM, a free, native email subscription, and marketing automation plugin for WordPress.
However, in order to set up an email subscription mechanism on your WordPress site, we’ll need two other plugins that integrate with FluentCRM. Don’t worry; all of them are free, and none of them needs to be installed manually.
The email subscription plugins we’ll be using are:
- FluentCRM
- Fluent Forms
- FluentSMTP
FluentCRM

FluentCRM is a free email marketing automation and CRM plugin for WordPress. We’ll be using FluentCRM for building our email subscribers list and for sending out emails.
FluentCRM comes with contact profiling, segmentation, email campaign management, email marketing automation, and a granular reporting system. It also has a premium version that adds many additional features and integrates with many WordPress plugins.
Fluent Forms

In terms of features and build quality, Fluent Forms is the best free WordPress form plugin. We’ll be using this as our email subscription plugin to collect leads.
Although we’ll show you how you can create contact forms and embed them on your website in less than 30 seconds, you can achieve much more than that with Fluent Forms. It makes it super simple to create complex forms like conversational forms and multi-step forms.
FluentSMTP

Emails triggered from WordPress are basically PHP emails sent through your hosting server. In many cases, PHP mails are blocked by email clients or sent to spam. Besides, hosting servers aren’t even optimized for sending a mass volume of emails. So we’ll be using FluentSMTP for email deliverability.
FluentSMTP is a free SMTP plugin that lets you connect your WordPress site to external email sending services for sending marketing and transactional emails. Most email sending services allow for sending a good volume of emails for free, and we’ll use a free service for our purpose.
Adding email subscription to WordPress
If you look at the questions you should ask yourself before setting up an email subscription mechanism, the FluentCRM-Fluent Forms-FluentSMTP combo answers them all. They collect leads for your business and help you send out marketing emails while ensuring email deliverability.
So without further ado, let’s start our journey to add email subscriptions to WordPress.
Install and activate FluentCRM
This is the only plugin you’ll need to install and activate to achieve your objective. You can activate the other two plugins as you’re setting up the entire thing.
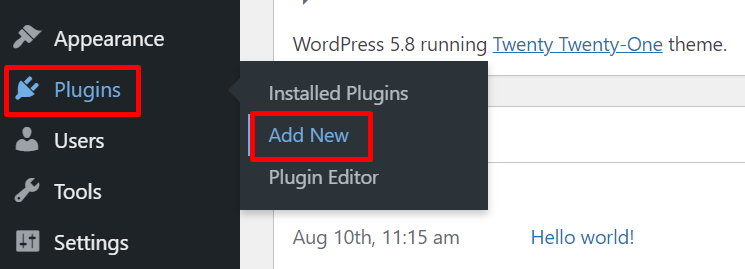
So head over to your dashboard and go to Plugins>Add New.
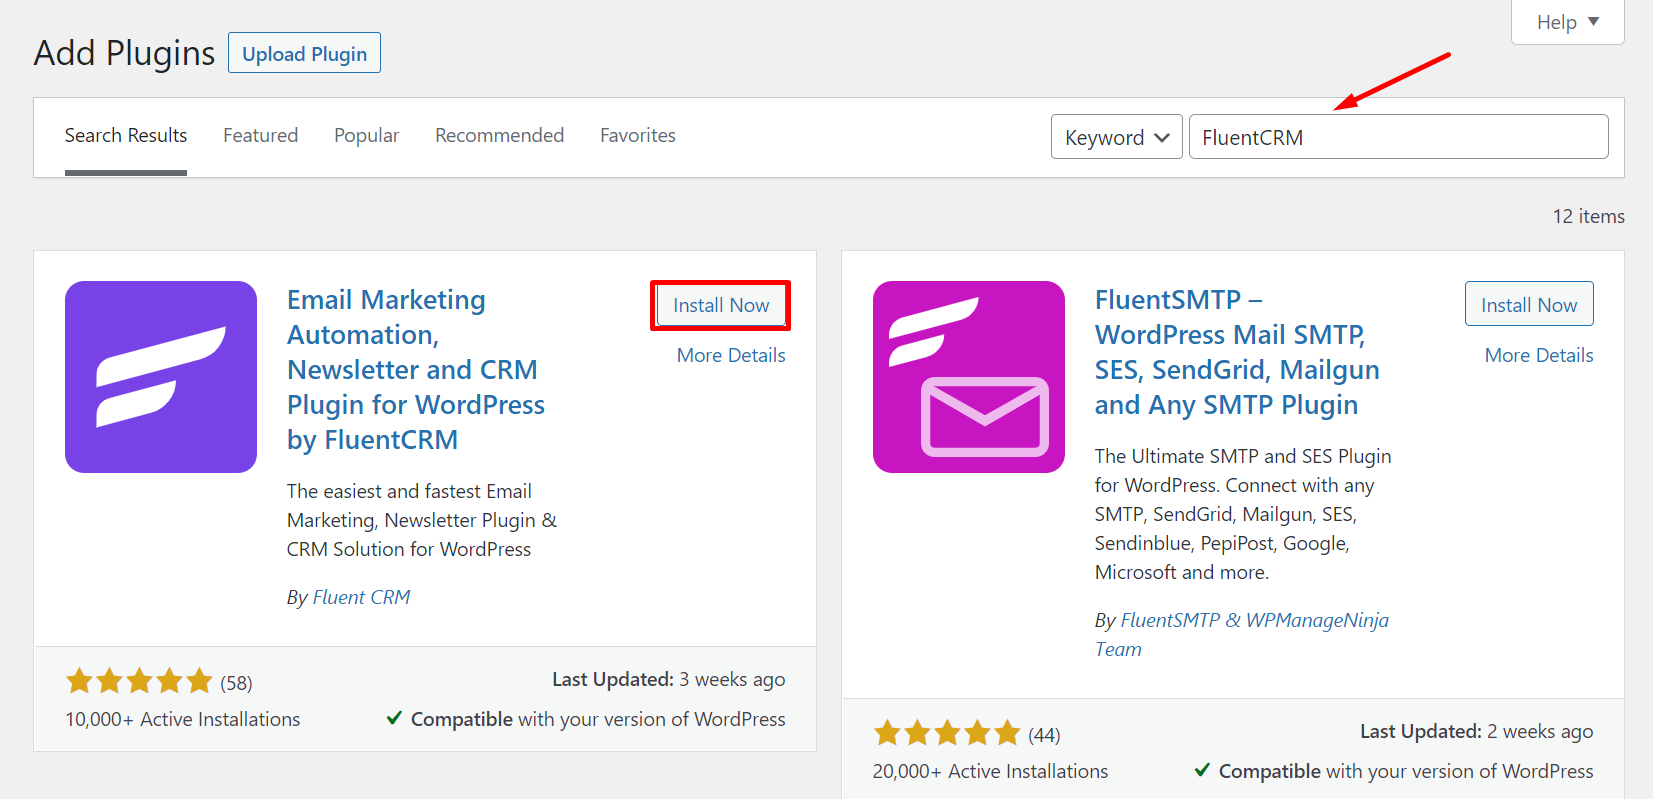
Next, search for FluentCRM and click Install Now. Once installed, you can click the Activate button to activate the plugin from here.
Getting started with FluentCRM
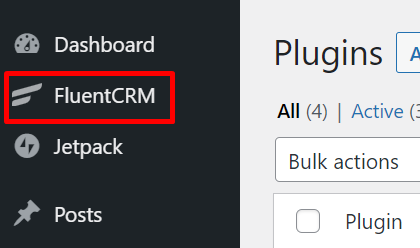
With FluentCRM activated, you’re ready to get started. So head over to your dashboard and locate FluentCRM from your sidebar.
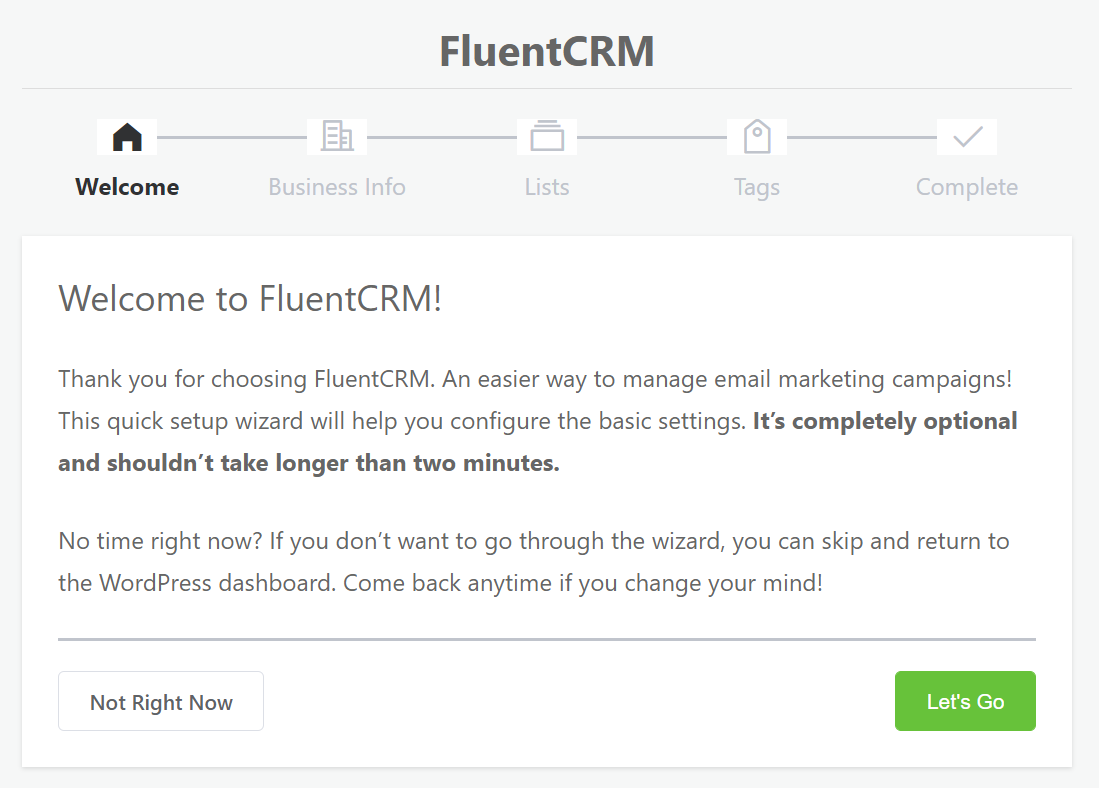
When you click on the plugin, a setup wizard will open. Click the big green button to get started.
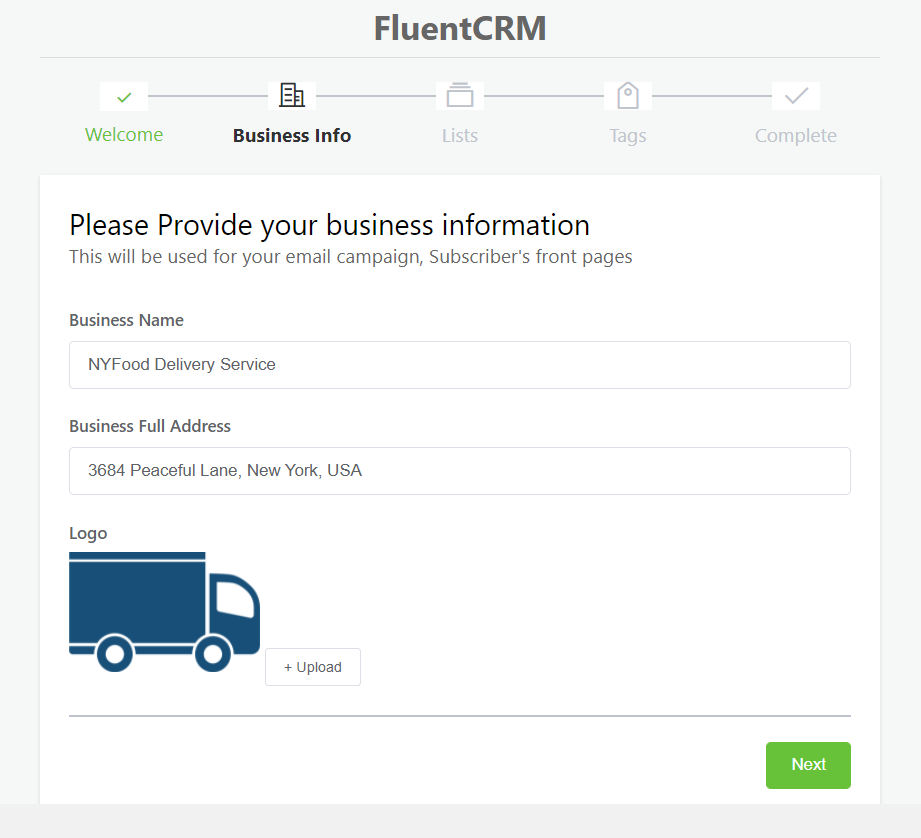
In the next window, you need to insert your business info. Note that these will be used on your email footer. Since business information and address are a requirement for sending marketing emails, you should fill out these fields accordingly. Plus, you can upload your business logo for footer branding.
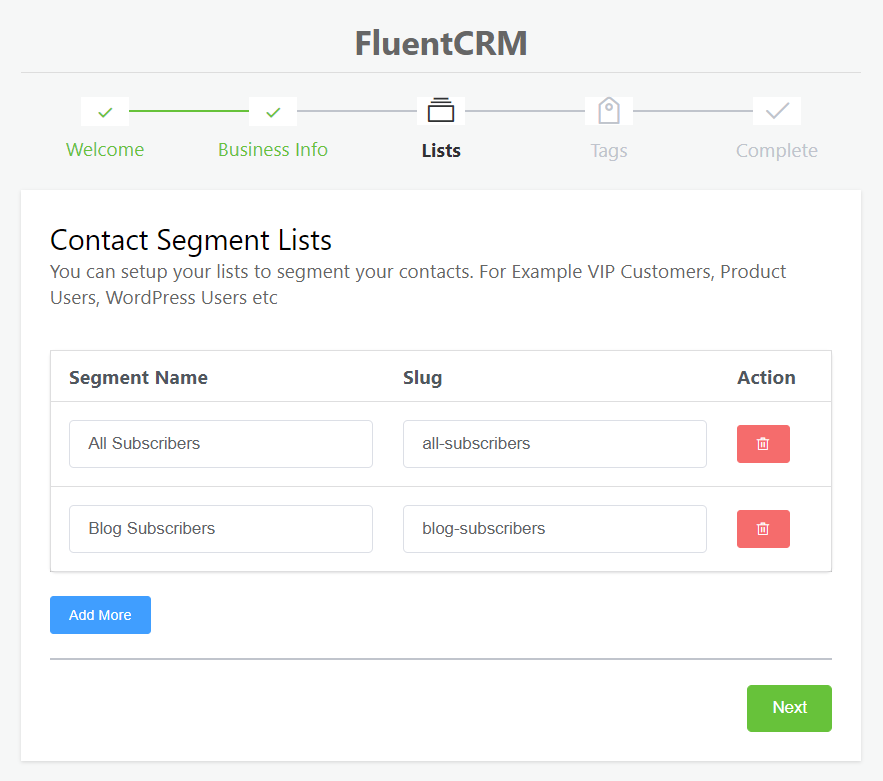
Then, create the Lists to segment your contacts. This should be done based on the category your contacts belong to. For example, we created two lists. One of which will include all our email subscribers and one that will only include our blog subscribers.
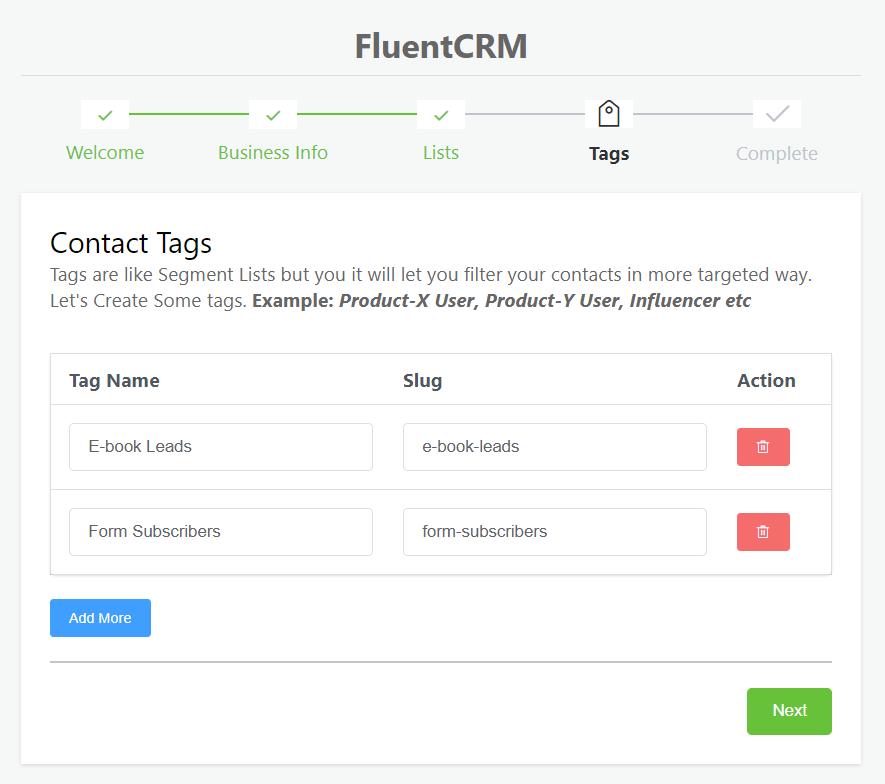
In the same way, you can create Tags to filter and sort contacts.
In the next window, you’ll be asked to install Fluent Forms to collect leads. Keep that option ticked to install and activate Fluent Forms automatically.
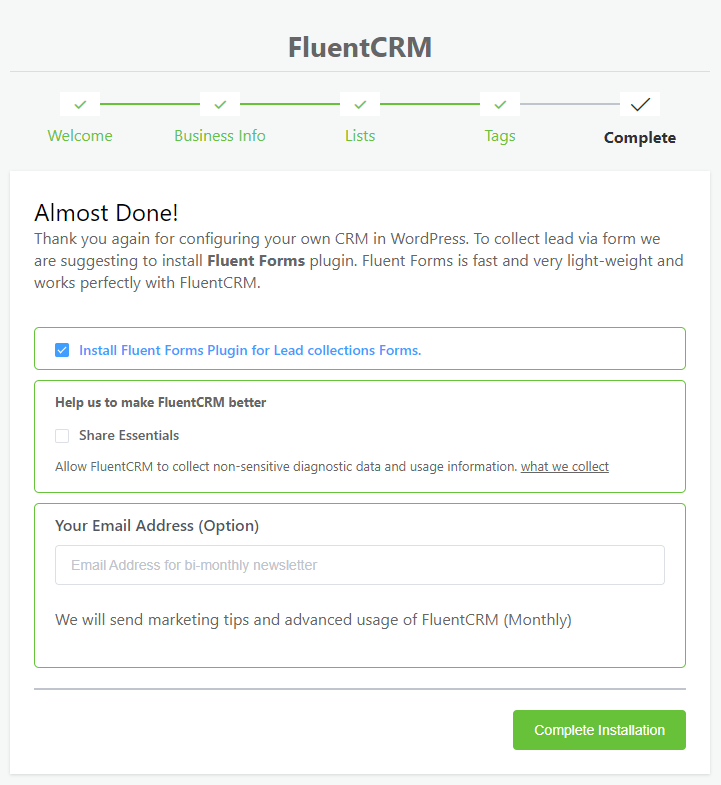
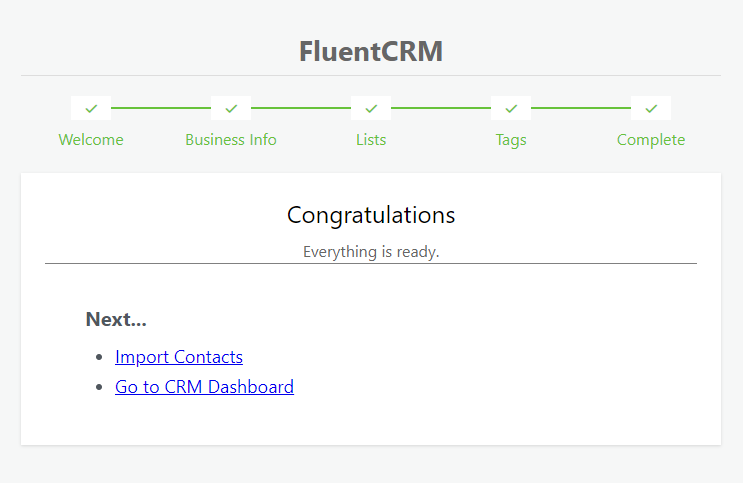
There are also some options to share anonymous data and your email address. But they are entirely optional. Upon clicking the Complete Installation button to finalize the setup, FluentCRM will show you a congratulation message.
If you already have an email list, you can click Import Contacts or go directly to your CRM dashboard. We’ll select the second option.
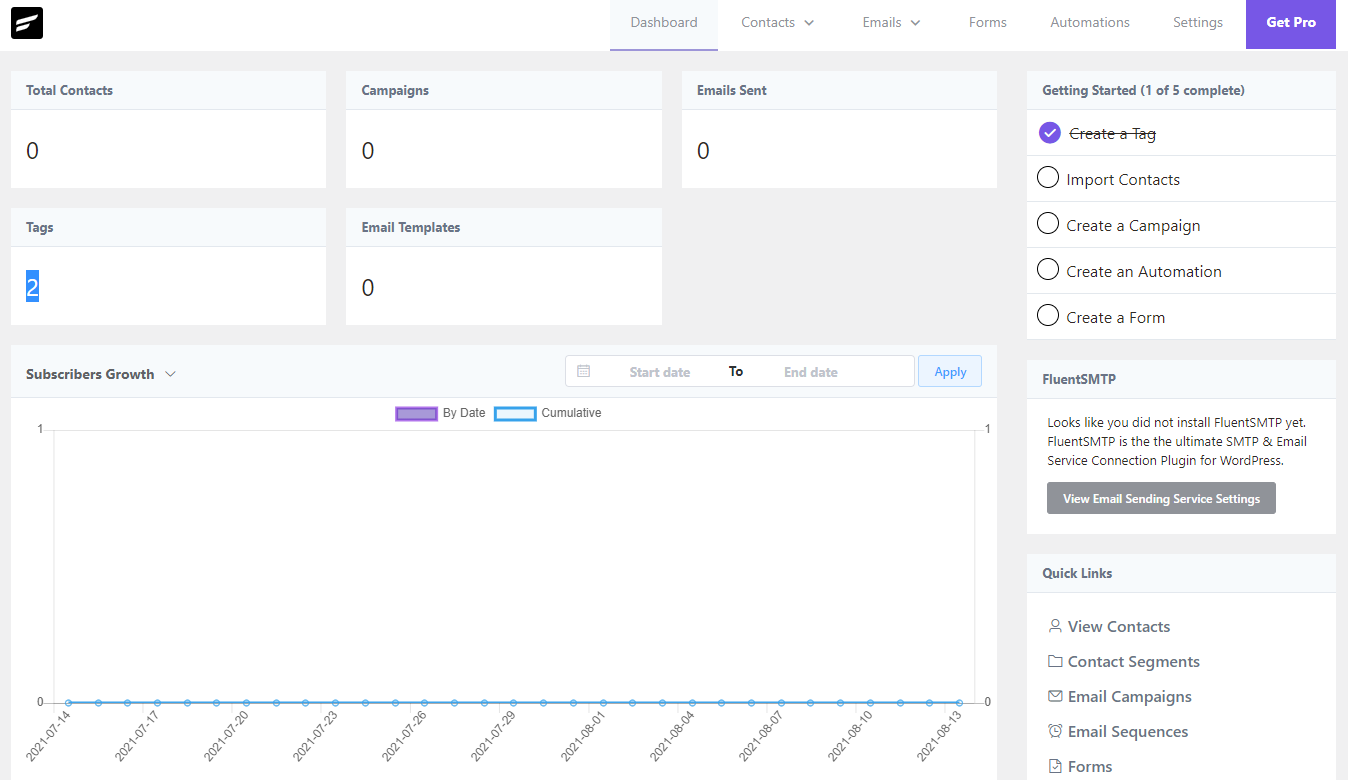
FluentCRM’s dashboard gives you a lot of information about your email subscriptions, campaigns, contacts, and emails. You can see the steps you’ve completed for getting started and a few quick links to access various options on the right sidebar.
So that completes the FluentCRM setup. We can do a lot of things from here. But before that, there’s one more thing we need to do.
Configuring an email sending service
Yeah, that’s what we’ve been missing. No email marketing tool can work without an email sending service, and that’s why we need to use FluentSMTP to connect our WordPress site with an email sending service.
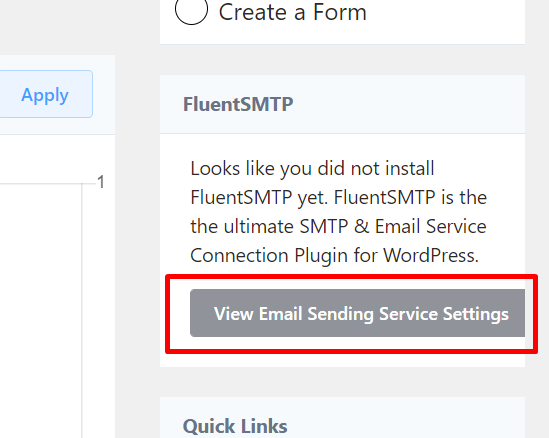
First off, from the right sidebar in FluentCRM, click View Email Sending Service Settings.
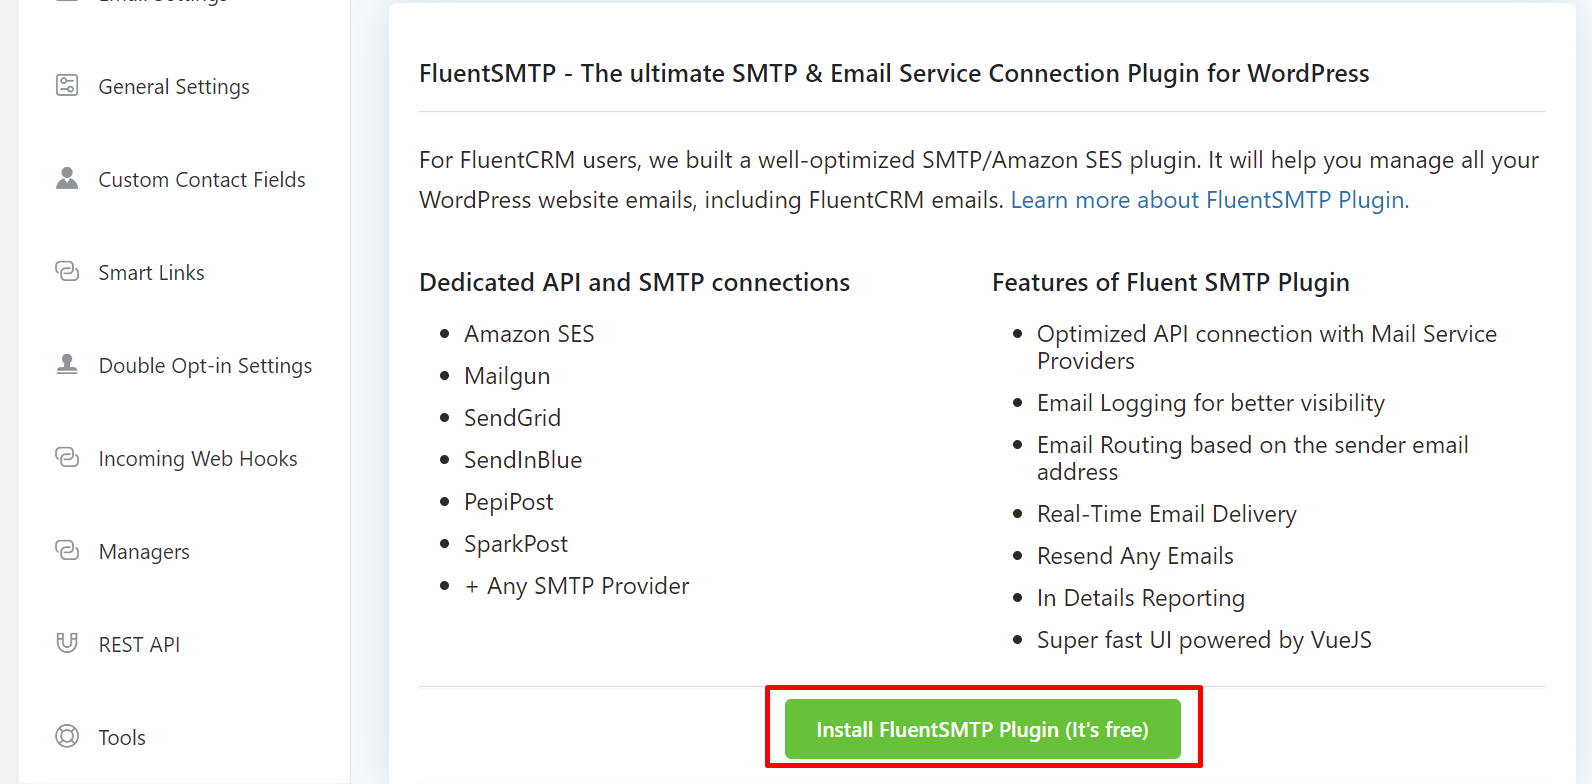
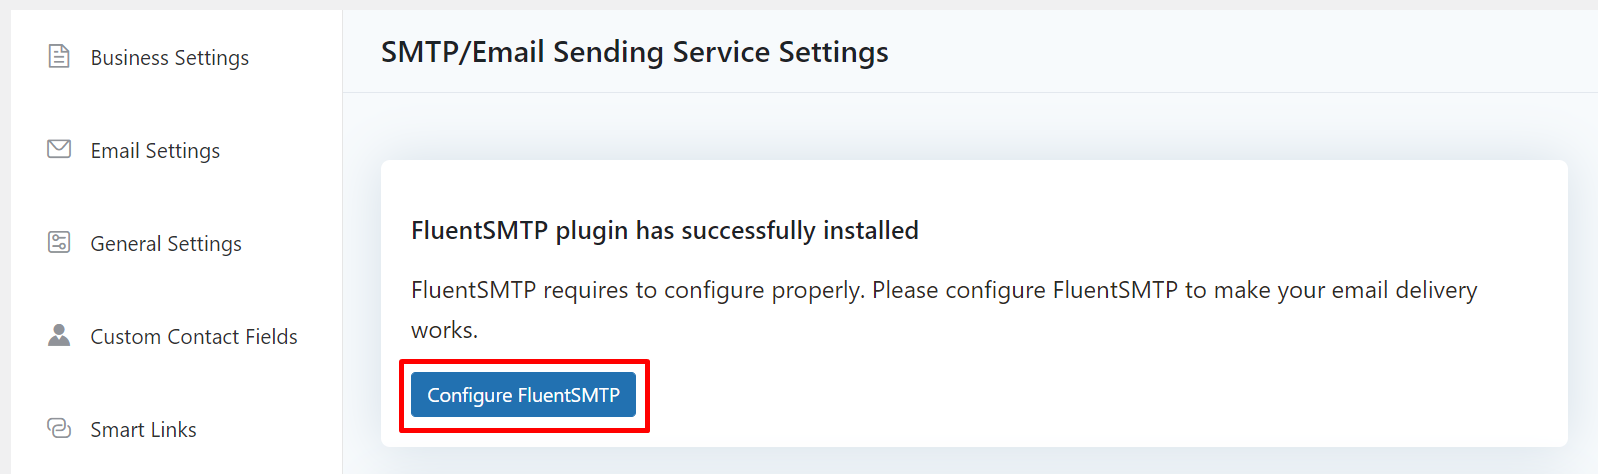
This takes you to SMTP/Email Sending Service in FluentCRM, where it will ask you to install FluentSMTP, another Fluent plugin that lets you integrate external email sending services with both WordPress and FluentCRM. Click the large green button to activate the plugin on your website.
Then again, click Configure FluentSMTP.
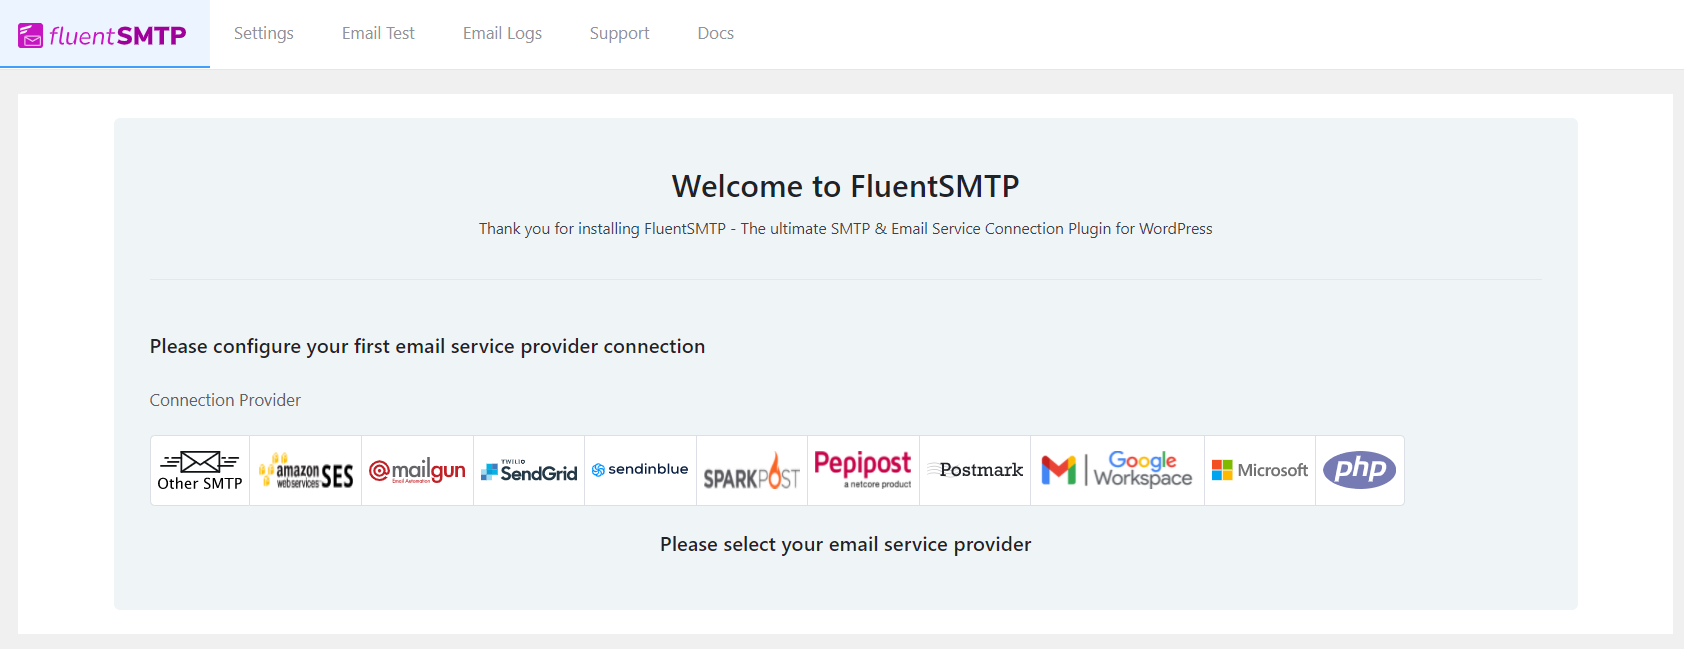
This takes you to the FluentSMTP setup wizard, where you can configure any external email sending service for both FluentCRM and your WordPress site.
Note that most of these email sending services offer a free email sending limit and charge a small amount as you scale. Check the pricing table below to see how each of them compares:
| Email Sending Service | Free Email Limit | Pricing |
|---|---|---|
| SendGrid | 100/day | 100,000 emails – $14.95/mo |
| Amazon SES | N/A | 1,000 emails – $0.10 |
| SendInBlue | 300/day | 10,000 emails/$25/mo |
| MailGun | 100/Day | 50,000 emails – $35/mo |
| SparkPost | 100/Day | 100,000 emails – $30/mo |
| Pepipost | N/A | 150,000 emails – $25/mo |
If you send a lot of emails, we recommend Amazon SES. It’s a significantly cheaper option than others, and you can send any amount of emails without worrying much. We also have a detailed tutorial on setting up Amazon SES with FluentCRM, so you’ll have no problems!
However, as we promised to set up email subscriptions for free on WordPress, we’ll go with SendGrid.
Simply signup for a free account and follow their documentation to get your SMTP API keys. Then go back to FluentSMTP and fill out the fields as we’ve shown below:
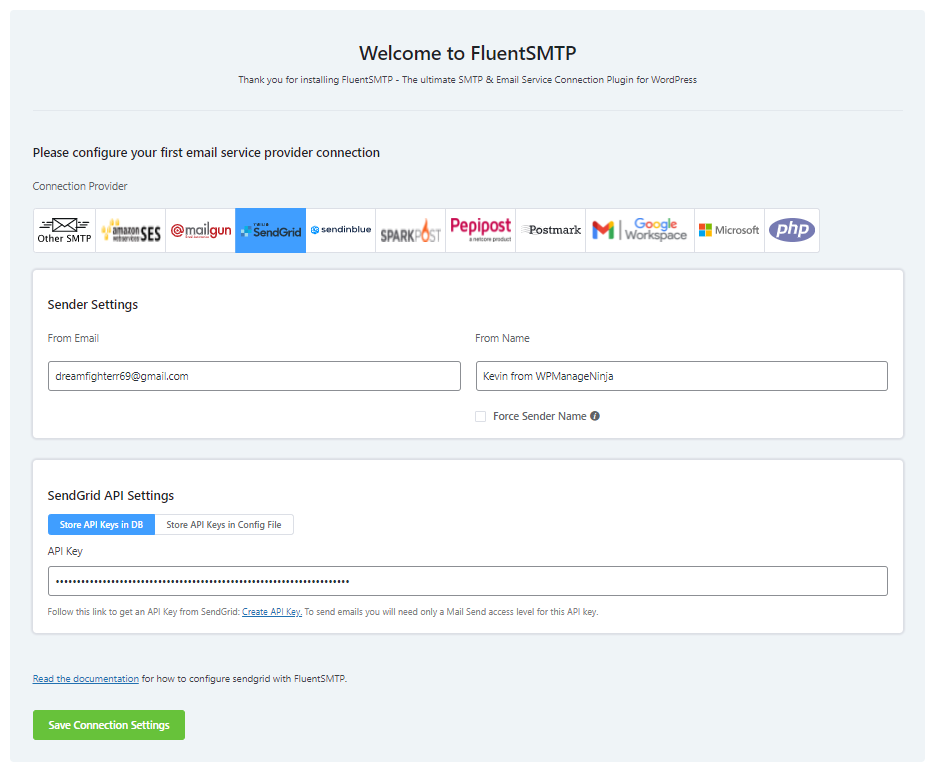
Click Save Connection Settings to finalize the integration.
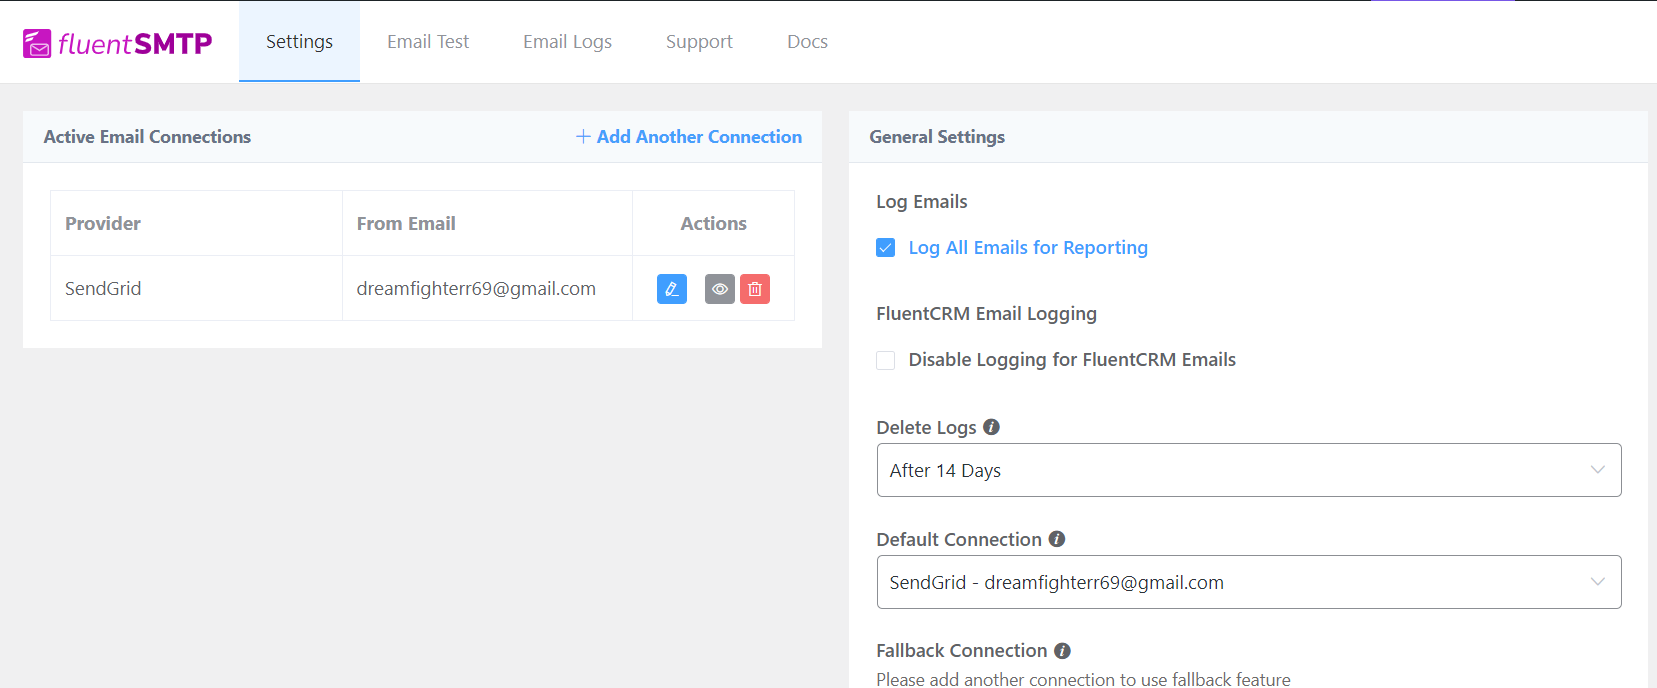
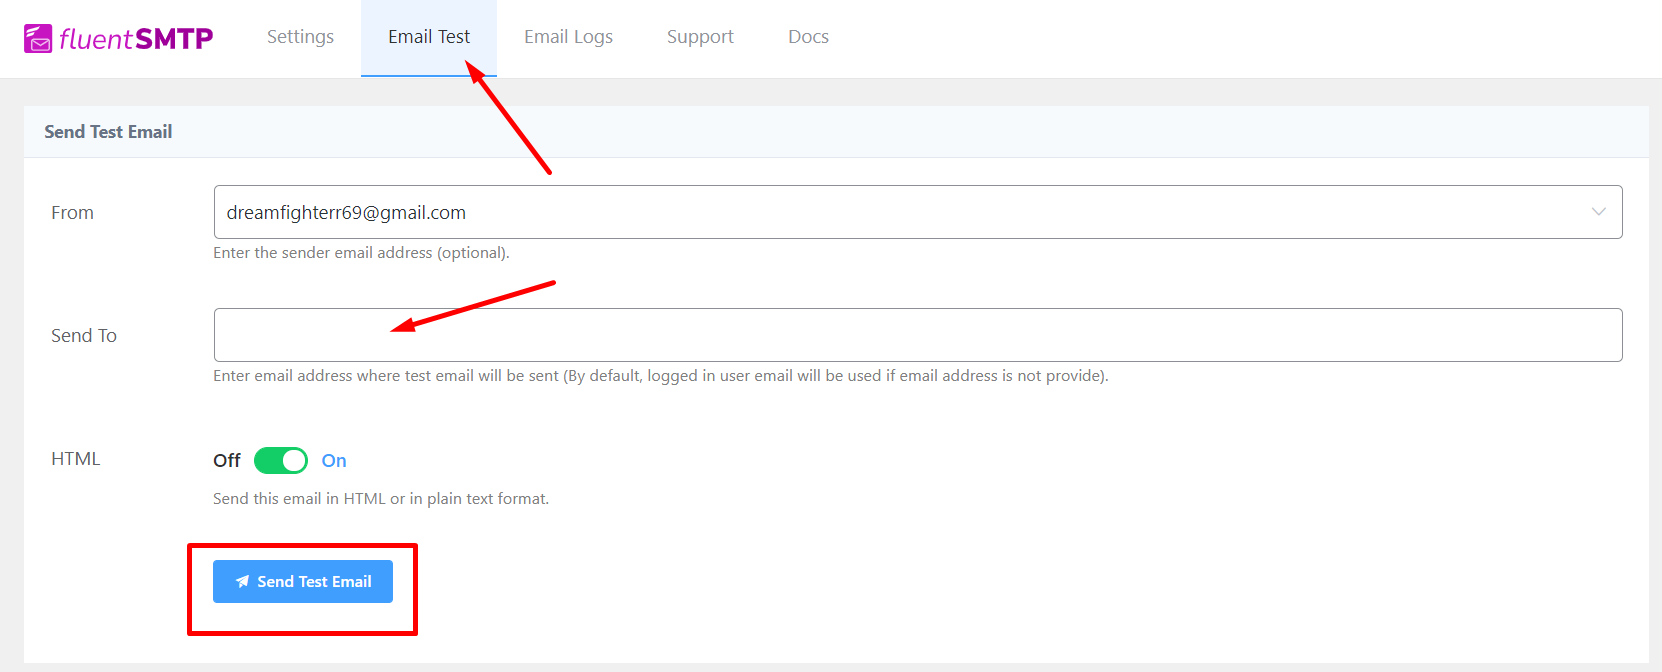
If you want, you can also send a test email to any email address of your choice from the Email Test tab. If that email made the inbox, it means your WordPress emails are working just fine.
With your email sending service integrated, you now have to get back to FluentCRM>Settings>Email Settings. In the From Email Address field, choose the email address you just added in FluentSMTP.

Click Save Settings when you’re done, and your email sending service is fully configured with FluentCRM!
Creating an email subscription form
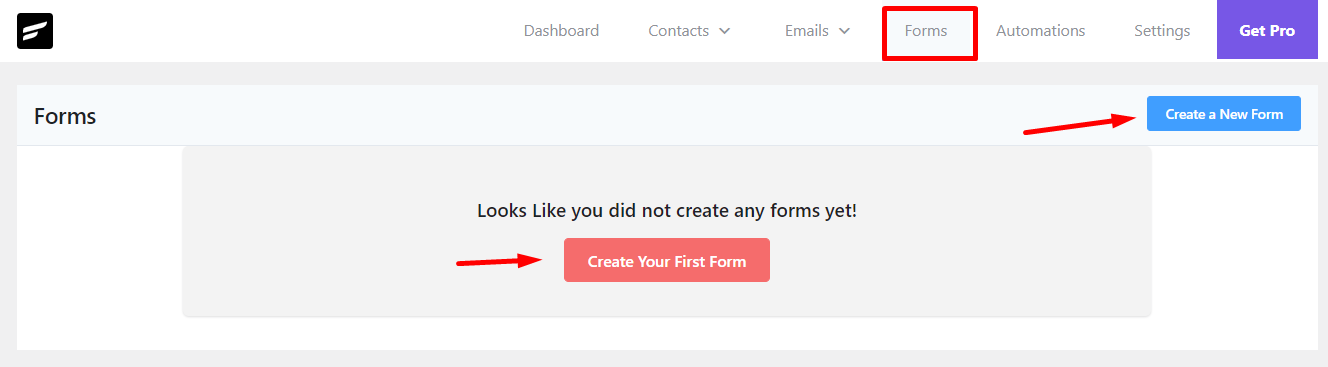
An email subscription form is what lets you collect email subscriptions. So let’s head over to the Forms tab in FluentCRM and click one of the buttons to create your first email subscription form.
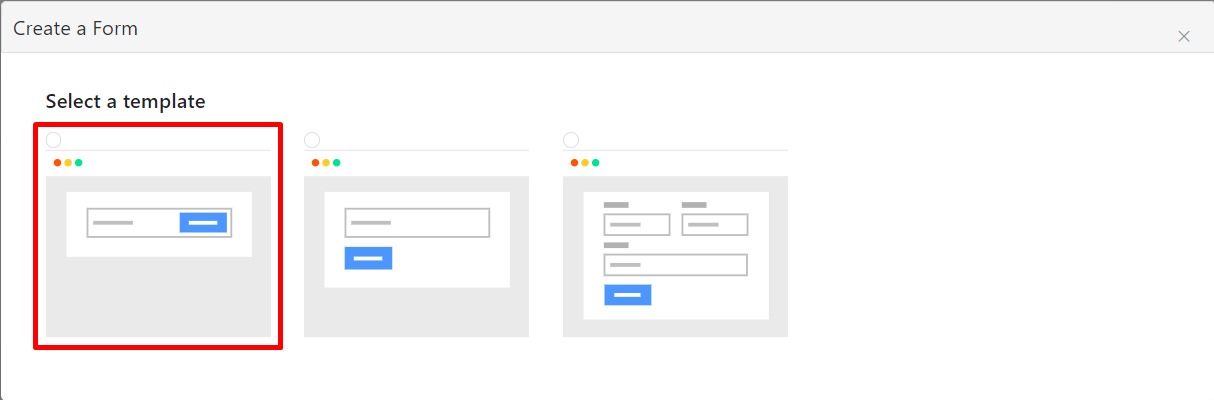
In the pop-up, you’ll see three pre-made templates to get started. We’ll select the first one as it’s easier for the visitors to just drop their email.
Next, it will ask you to specify your form’s name and segment email subscribers by Lists and Tags. You can also enable or disable double opt-in confirmation here.
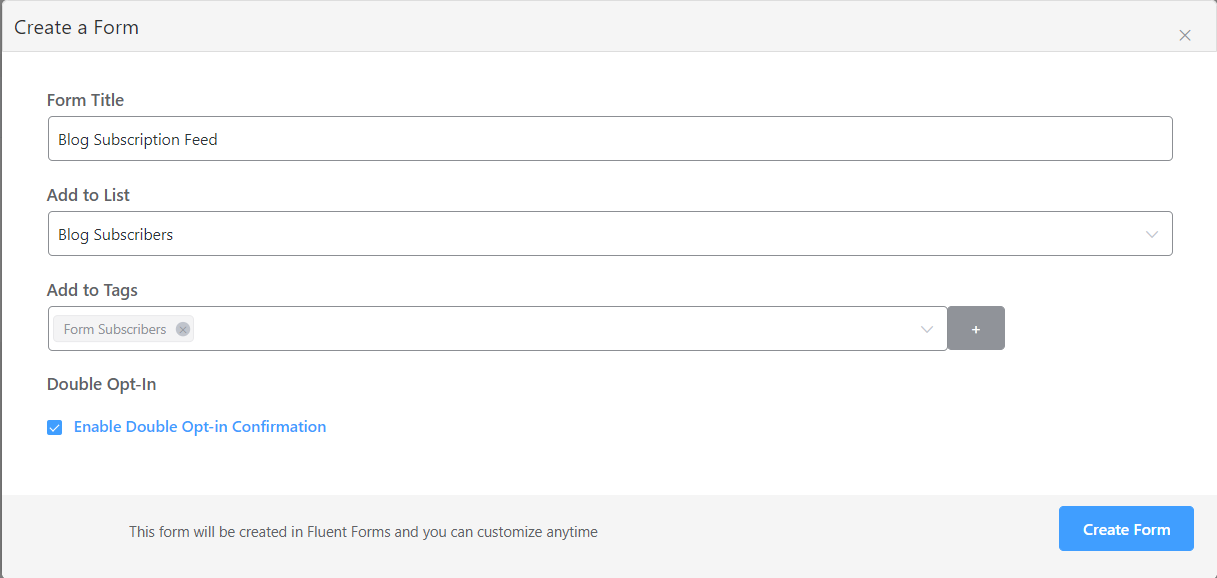
**Double opt-in is used for opt-in marketing. It adds an extra layer of safety for collecting your visitor’s consent and preventing spam submissions. In case the double opt-in is enabled, FluentCRM will send an email asking visitors to confirm their email subscription.
Click Create Form after you’re done with setting them up. A success message will appear with the form shortcode and options to Preview, Edit, or change the Connection Settings. Copy the form short-code and close the pop-up if you don’t want any modifications.
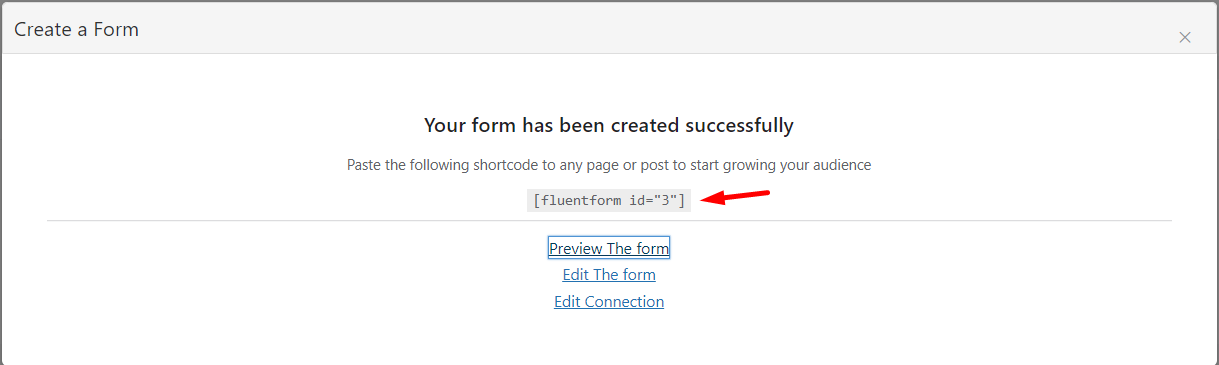
Now go ahead and place the form short-code anywhere you like – blog posts, landing pages, footers, or even on your website’s home page. If you feel your visitors are likely to leave their emails in a specific spot on your website, go ahead and place your form there.
Creating a welcome email
So here we are – only one step away from adding a solid email subscription mechanism to your WordPress website.
Why is it important?
You may be busy with many tasks, but if you’re asking visitors to leave their email addresses, you simply can’t ignore the importance of sending a nice thank you email. It’s like greeting the guests you invited to your party.
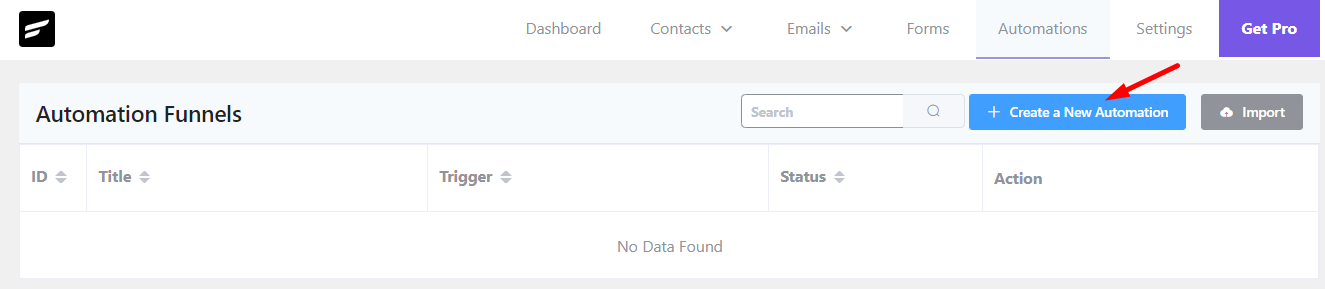
So head over to the automation tab and click Create a New Automation to get started.
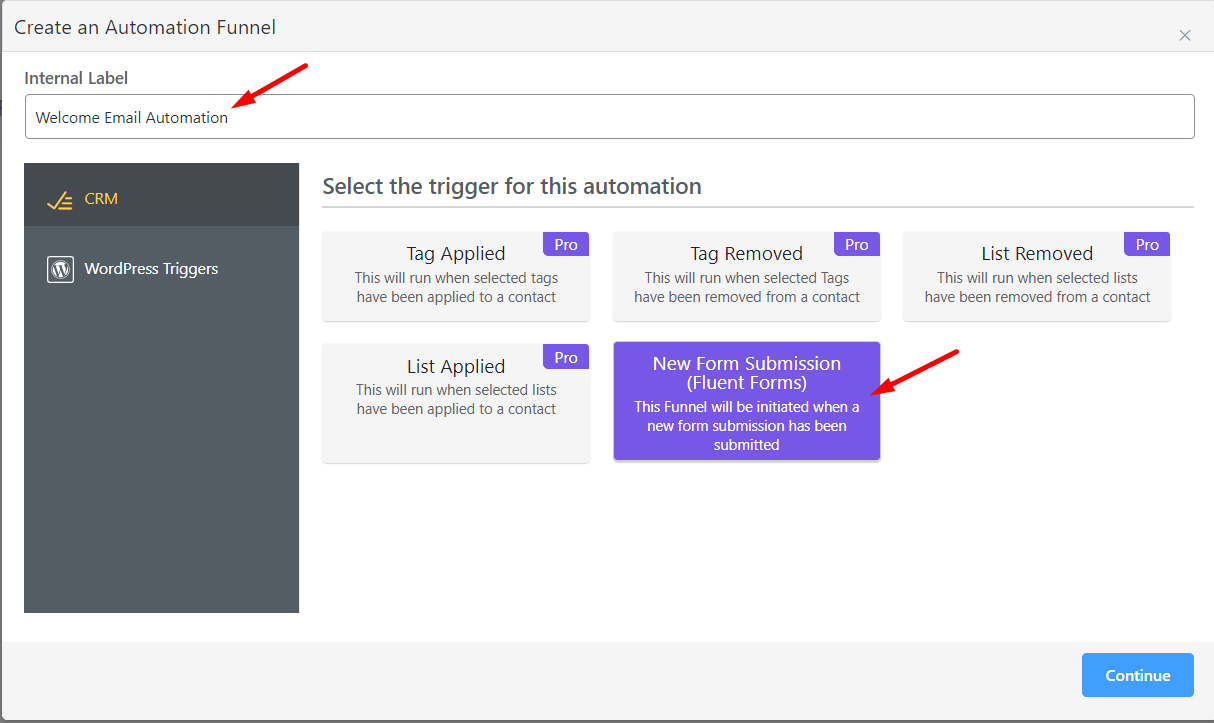
This brings up what we call triggers. Think of these like events on your website, when people visit your site, sign up on your mailing list, buy products, etc.
In this case, our visitors are submitting a form. So we’ll choose a New Form Submission trigger and hit Continue. Also, don’t forget to set an internal label!
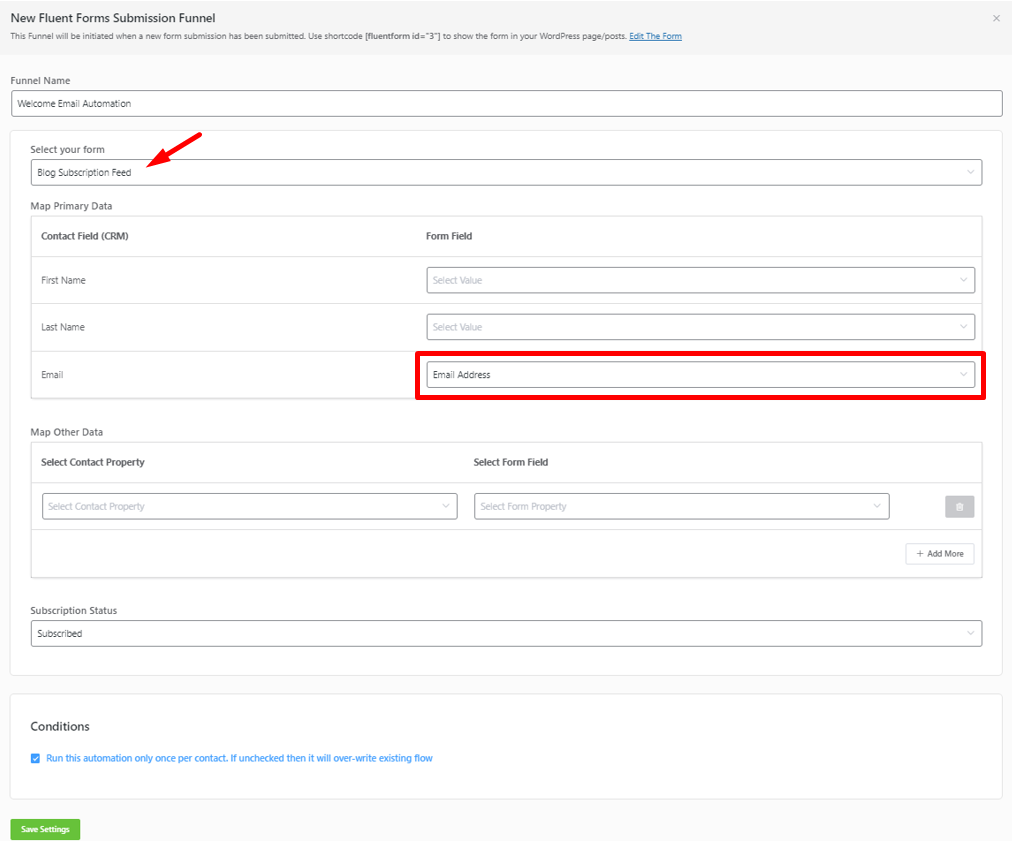
When the automation window opens, you need to configure the trigger. So select your form and map the fields. You can keep the rest unchanged and hit Save Settings.
This will bring up a visual funnel window where you can automate emails based on various conditions. To add conditions or actions, you need to click the plus(+) button.
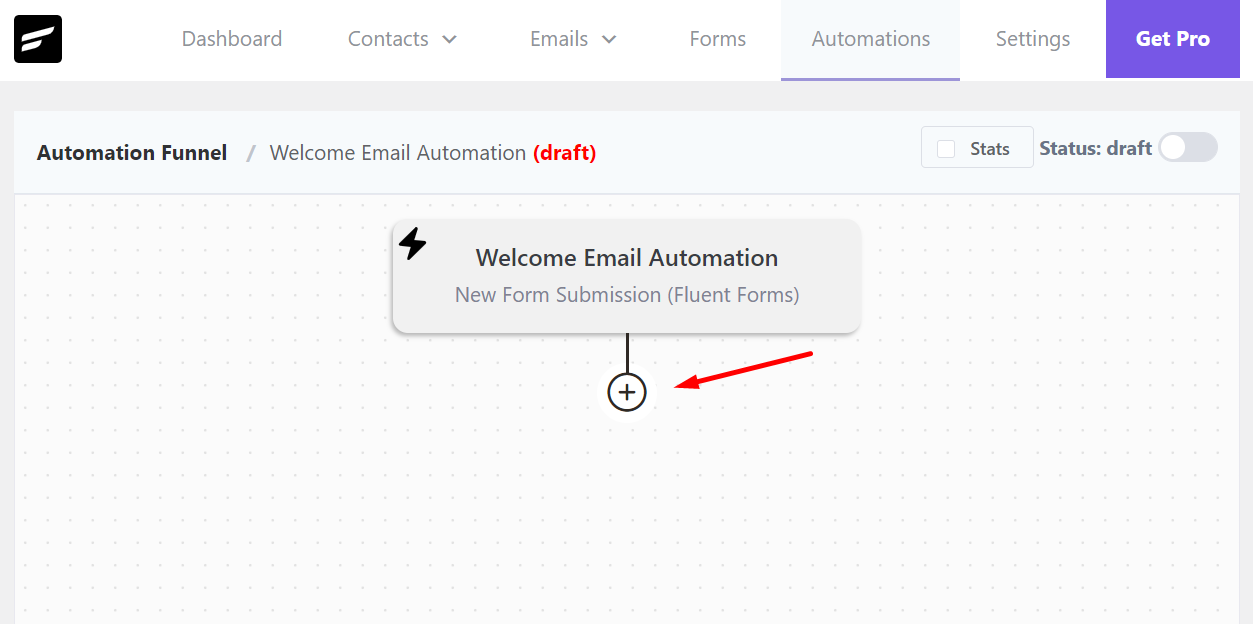
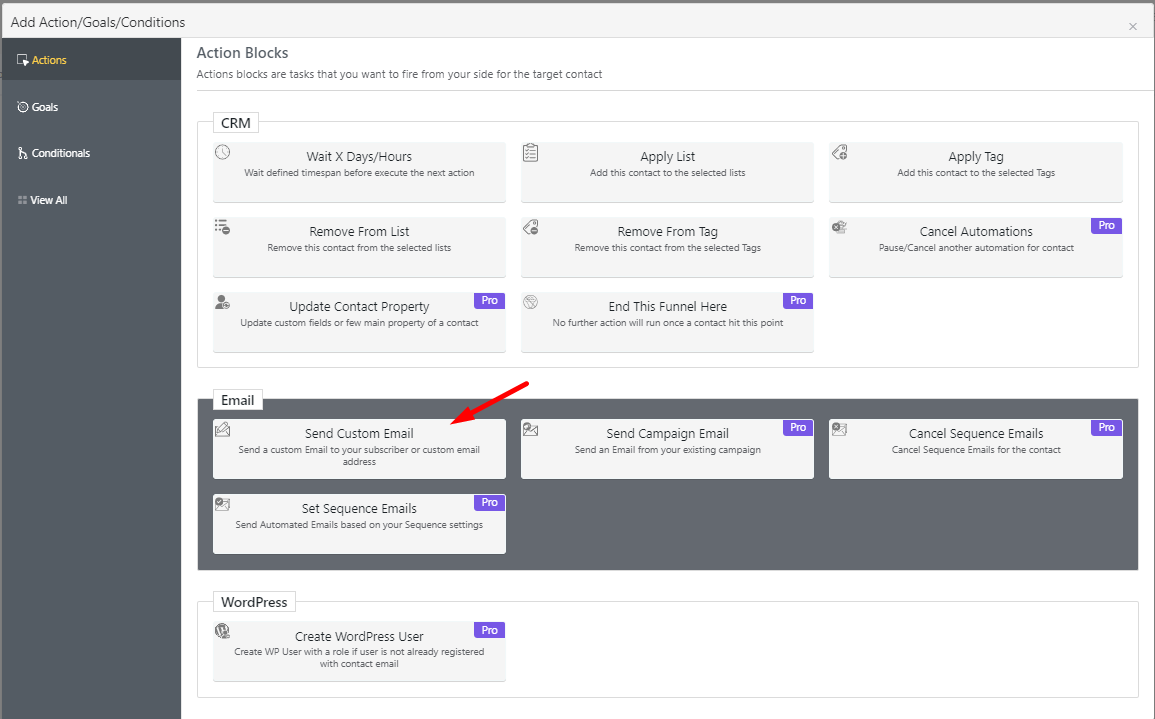
Honestly speaking, there are so many things you can do that initially it can feel overwhelming. You can add delay, apply or remove lists and tags, update contact property, send various types of emails, create WordPress users, and more,
And these are only actions. With goals and conditionals, you can create sophisticated automation funnels.
However, we only want to add a welcome email, so we’ll go ahead and choose the Send Custom Email action.
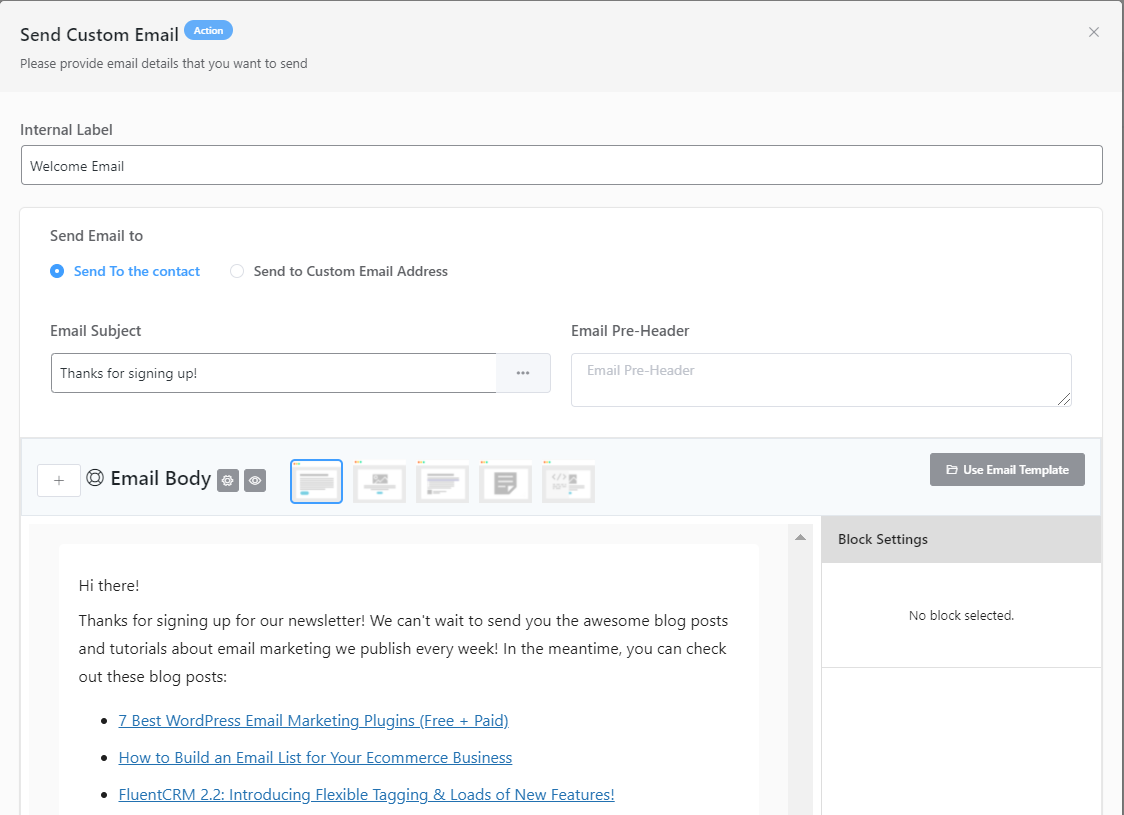
Now, start composing your email. Write your subject line and fill out the pre-header text you want to display. For composing emails, you can use both block editor and classic editor in FluentCRM. If you want, you can even write your HTML code!
Hit the Save Settings button once you’re done.
So we’ve selected a form trigger and added a welcome email. Notice that the automation is in the draft? Simply toggle it to Published to activate the automation funnel.
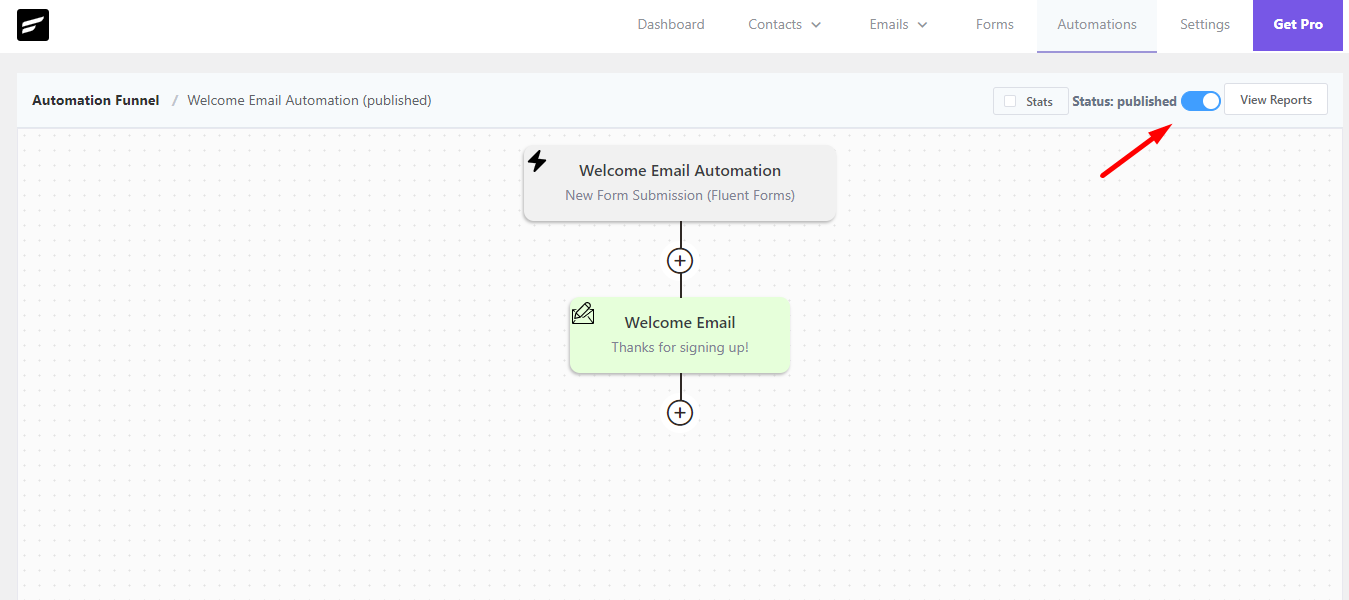
Our automation welcome email is ready!
Wrapping up
The more email subscribers you have, the more profit your business will make. It’s as simple as that. Honestly speaking, we can keep talking about email marketing’s importance, but it just works.
We just showed you how to add email subscriptions to your WordPress site and send a welcome email when subscribers join your email list. However, if you’ve followed our tutorial, you’ve not only added email subscriptions but an entire email subscription mechanism.
Let’s recap what did we do to achieve our goal:
- We’ve added and activated an email marketing tool to our WordPress dashboard
- Configured and connected it to an email sending service
- Created an email subscription form to collect leads
- Added an automation funnel that automatically sends a welcome email when someone signs up using our form
And like we said, both FluentCRM and Fluent Forms give you many other email marketing features. So keep exploring the tools, figure out more ways to increase email subscriptions, and set up more email marketing automation funnels and campaigns.
The potentiality is there; you just have to find them. In case you get stuck, feel free to drop a comment. If this article helped you, subscribe to our blog and follow us on Twitter.

Nazir Himel
Product Marketing Lead
Hey! I’m an inbound marketing specialist focused on email marketing automation. I love turning complex features into clear, user-centric messaging and when I’m not shaping product stories, I’m experimenting with content frameworks, conversion journeys, and helping others communicate value without sounding salesy!
Table of Content
Related Articles and Topics
-

FluentCRM Email Signature Generator: Create Professional Signatures for Every Email
FluentCRM’s Email Signature Generator is a browser-based email signature builder that creates professional, HTML-formatted signatures…
-
How to Create a Newsletter Archive on WordPress within 5 Minutes!
You send a newsletter to your subscribers, once they reach their inboxes and read it…

Leave a Reply