FluentCRM provides several Conditionals for Membership Platforms like Paid Membership Pro, Wishlist Member, and Restrict Content Pro, allowing you to create conditional checks and take alternative Actions based on those set conditions.
This article will provide detailed information about all Membership Conditional Actions of FluentCRM Automation.
Remember, to use these Membership Conditionals you must install and activate all the LMS Plugins in your website. Additionally, learn the detailed integration process of Paid Membership Pro and Restrict Content Pro with FluentCRM.
All Membership Conditionals #
To learn how you can use all the Membership Conditionals in your FluentCRM, follow the steps with screenshots below –
First, go to the Automation section from the FluentCRM Navbar, and open your desired Automation by clicking on its title. Or, create a new one by clicking the + New Automation.
To learn the process of creating a new automation funnel, read this Documentation.
For example, I opened the List Applied automation funnel to explain all the Membership Conditionals.
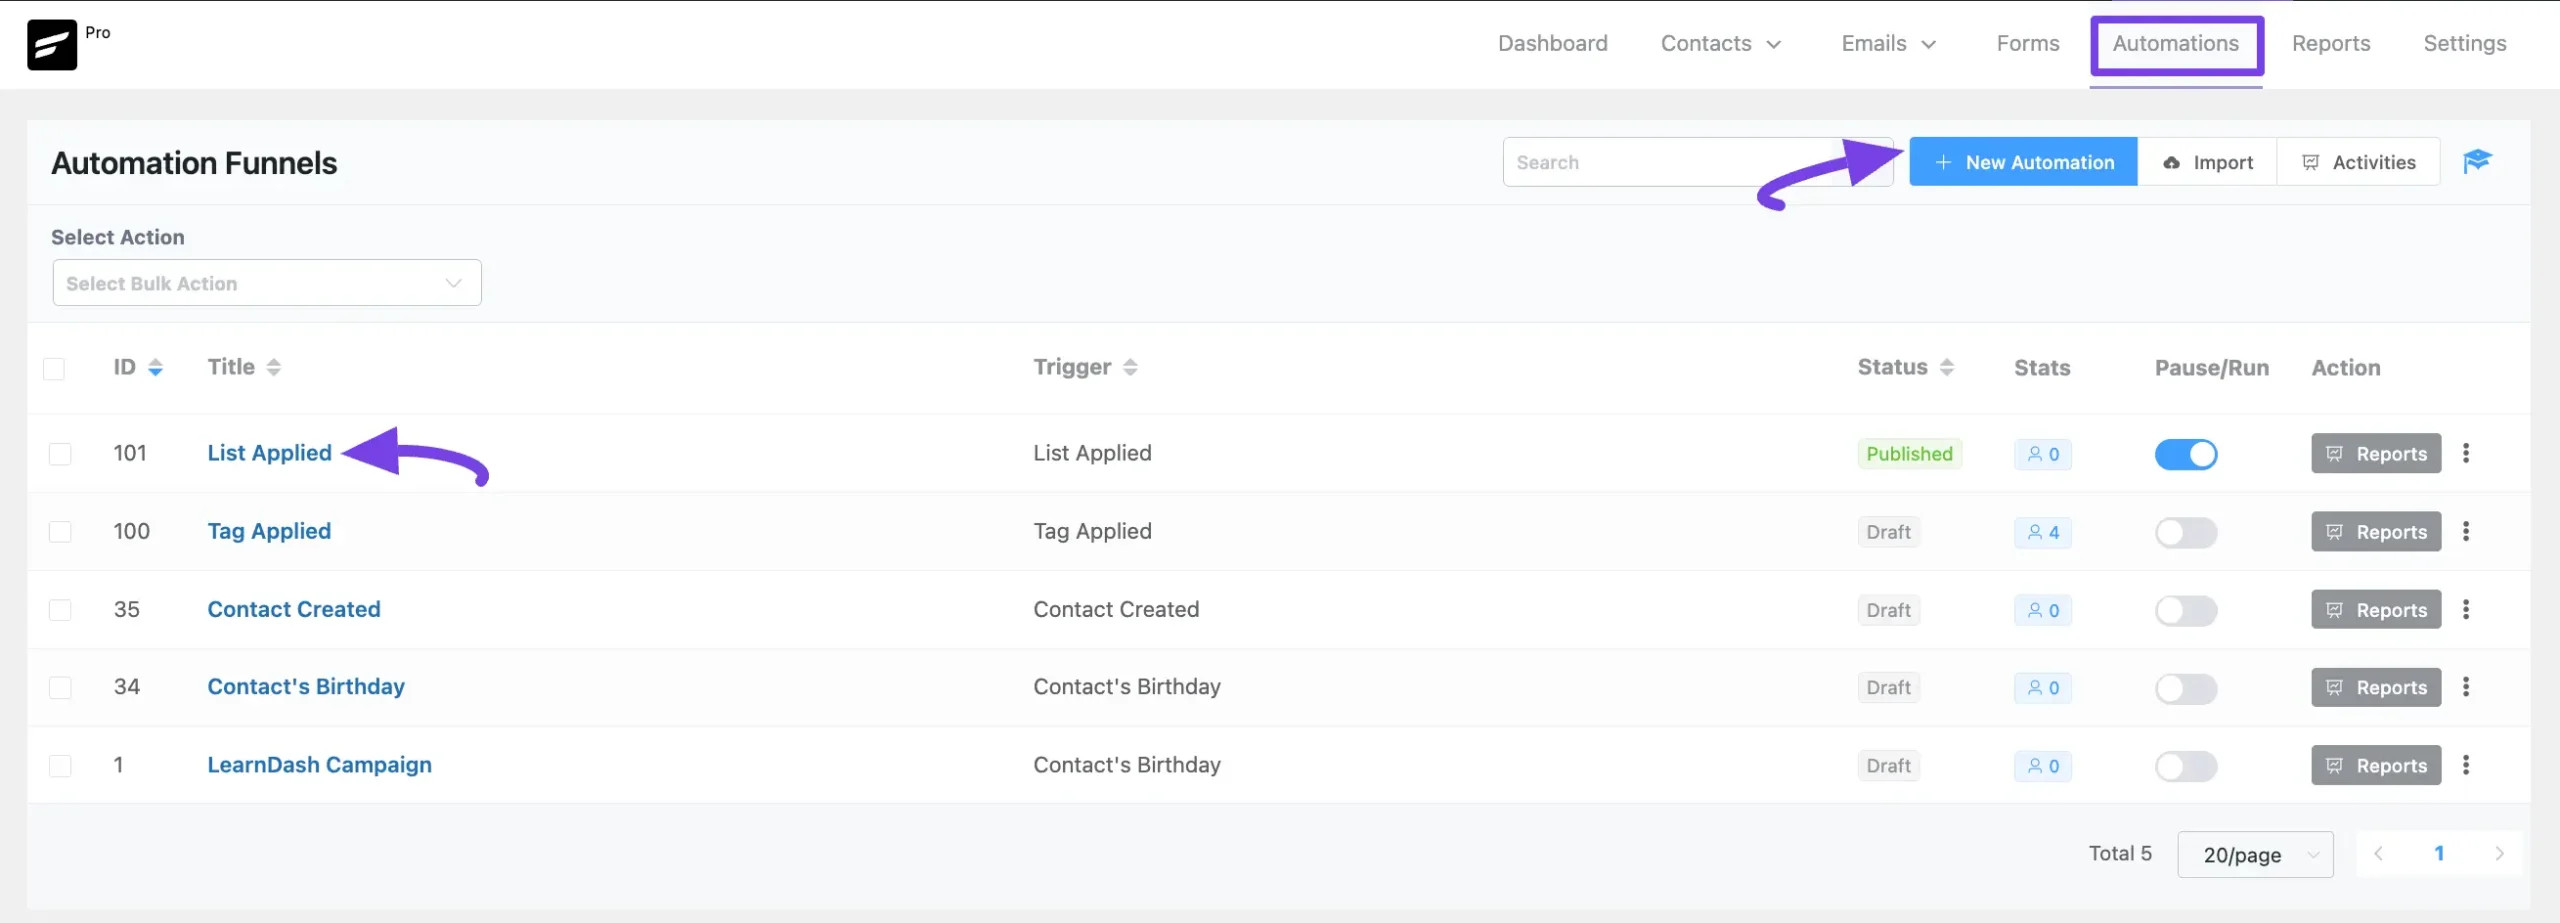
Now, click the Plus Icon or hover over it and click the Conditional Action option to view all the Membership Conditionals.

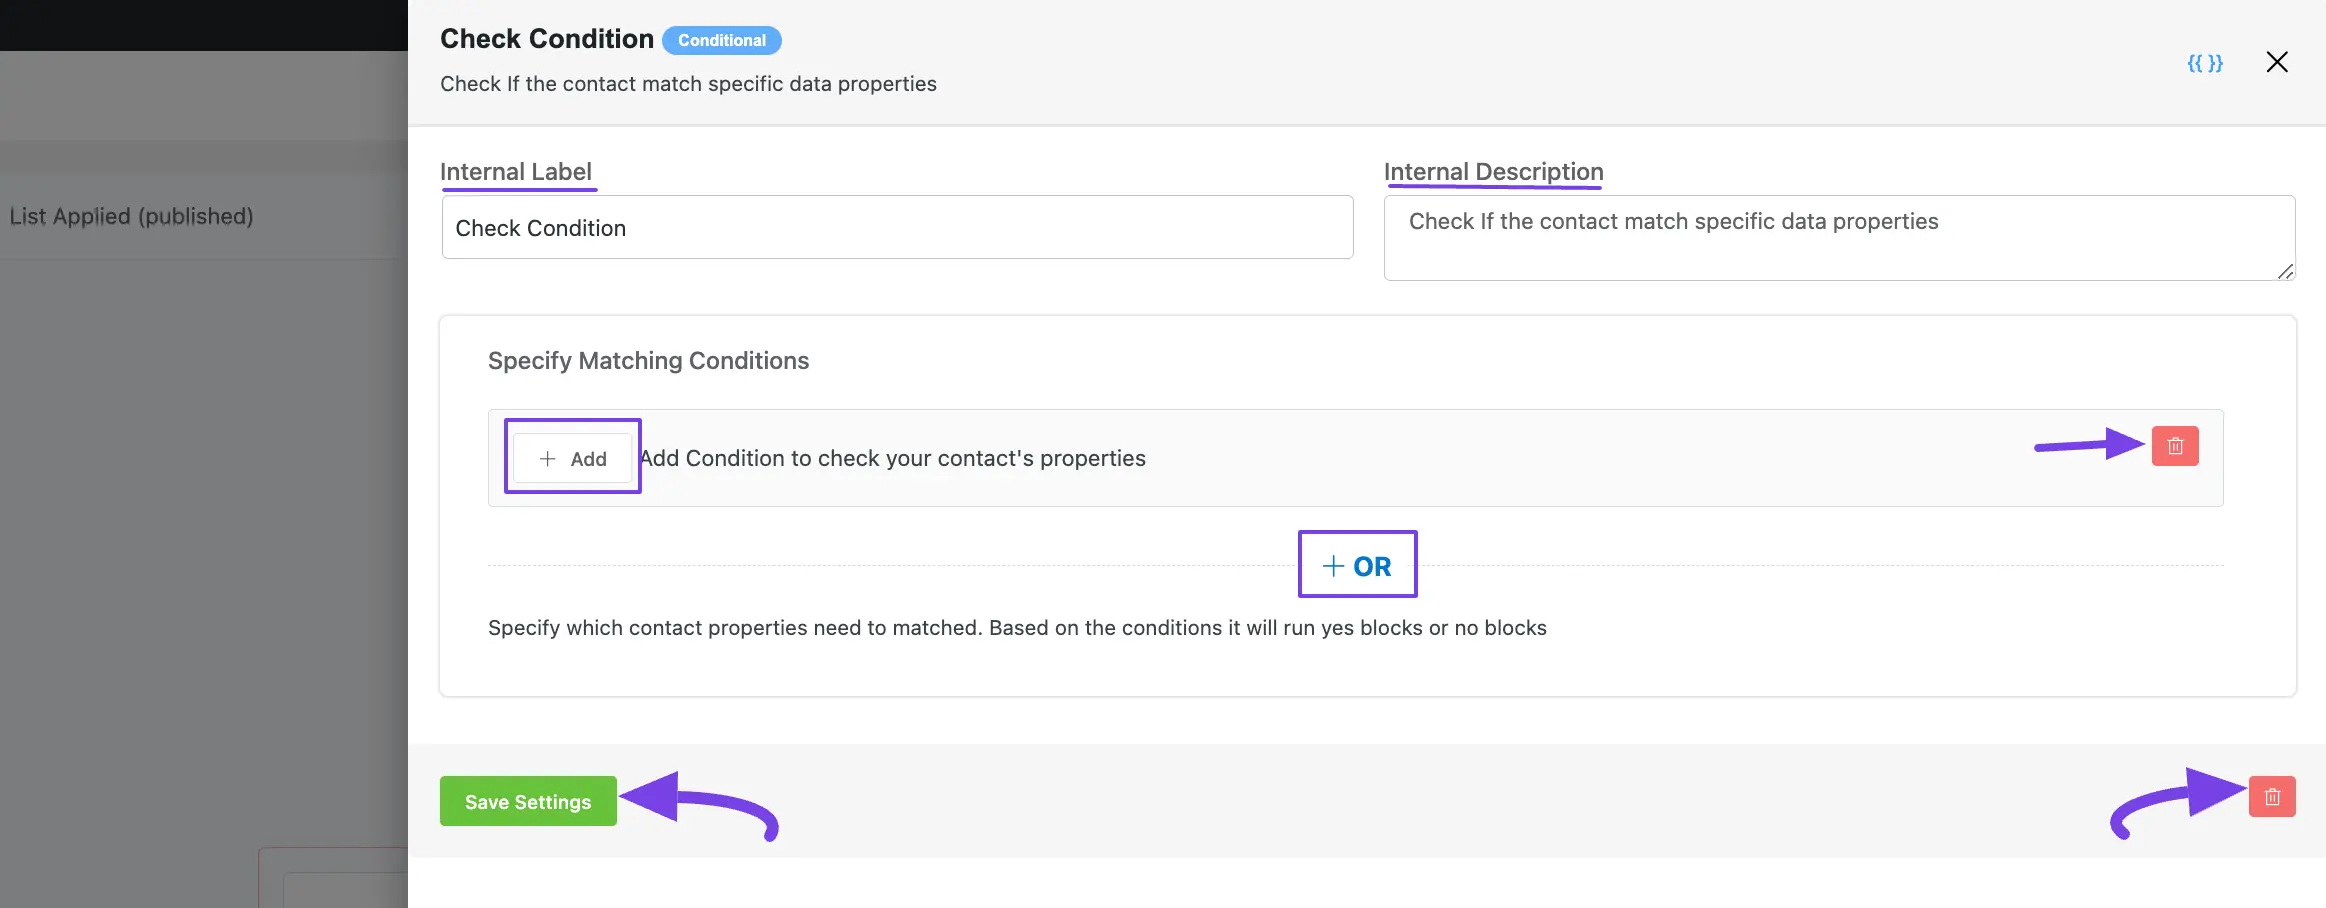
Then, a Check Condition page will appear in the left Sidebar for adding conditions.
The explanation of the following settings is given below:
- Interval Label: Here, a Name for the Action will be automatically added so you can easily find it later. You can change it that suit your needs.
- Internal Description: A description of the action will also be automatically added as a Subtitle. You can also change it suit to your needs.
- + Add Button: To add a new condition/s, always click this + Add button. And, to delete any existing condition, always click the Trash Icon.
- + OR Button: To add condition/s against any existing condition/s, always click the + OR button. Then, the process of adding conditions here is also the same.
Once you are done, click the Save Settings button to save all your changes.
You can also Delete the action by clicking the Trash Icon if needed.
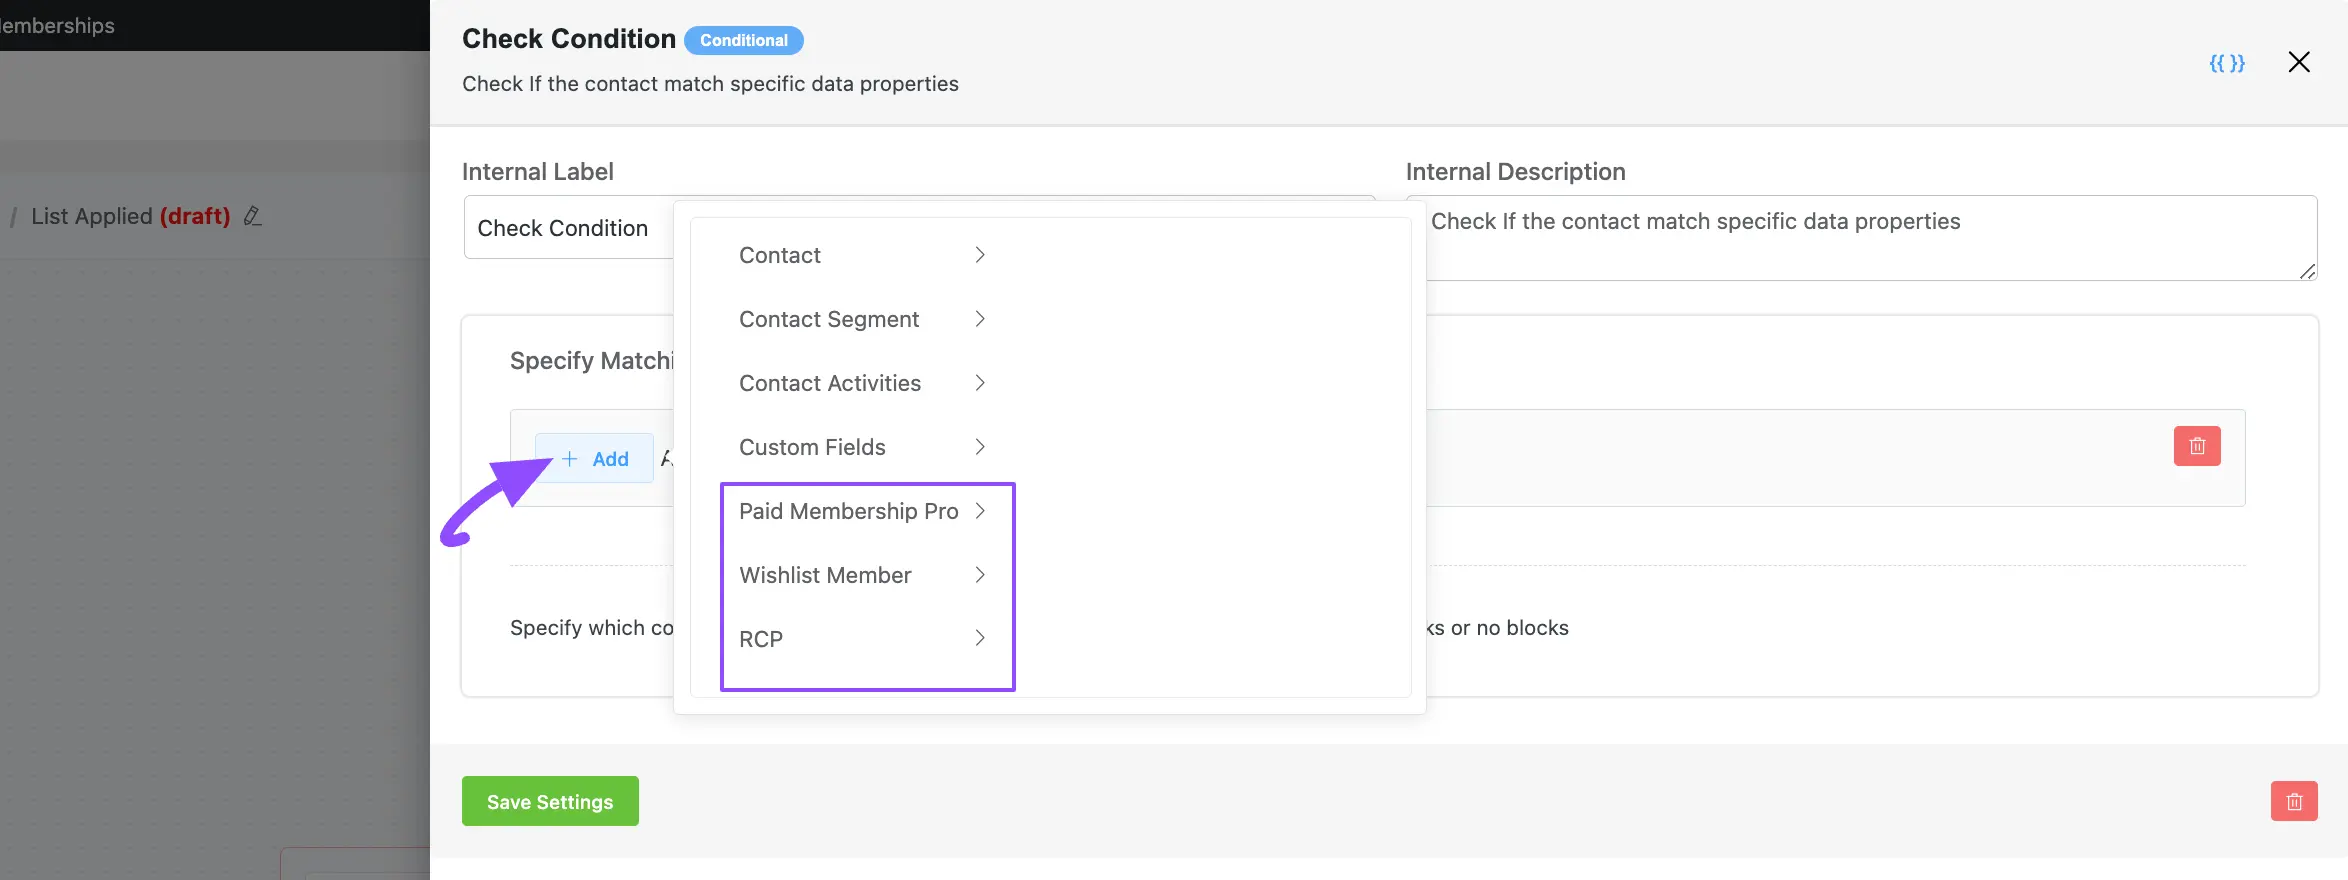
Once you click the + Add button, you will get all the Membership Properties to set the Parameter based on the selected property.
These are:
- Paid Membership Pro
- Wishlist Member
- RCP (Restrict Content Pro)
To learn the full process of creating a conditional action, read this full Documentation.
A detailed explanation of the Properties mentioned above is given below –
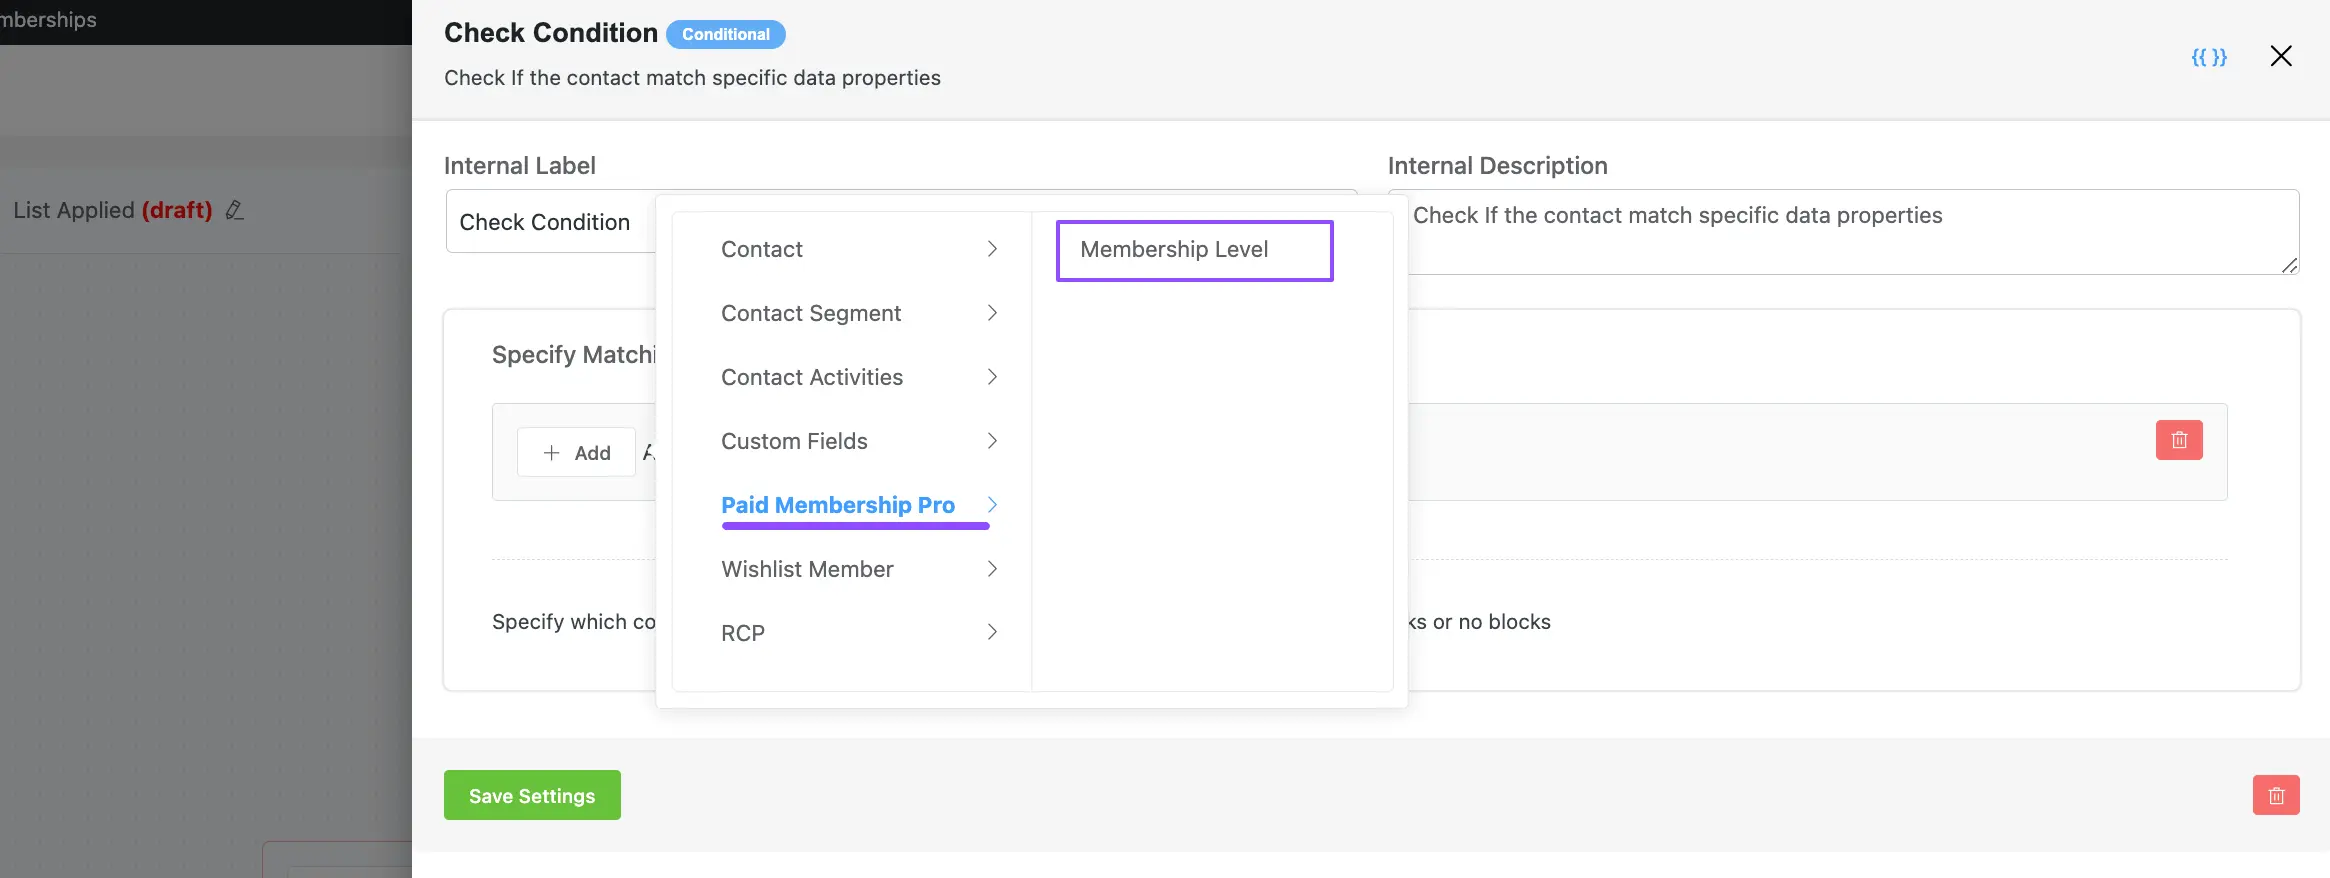
1. Paid Membership Pro #
Here you will get a wide range of Options based on the Paid Membership Pro property to set the desired Parameter for your condition. These are:
- Membership Level
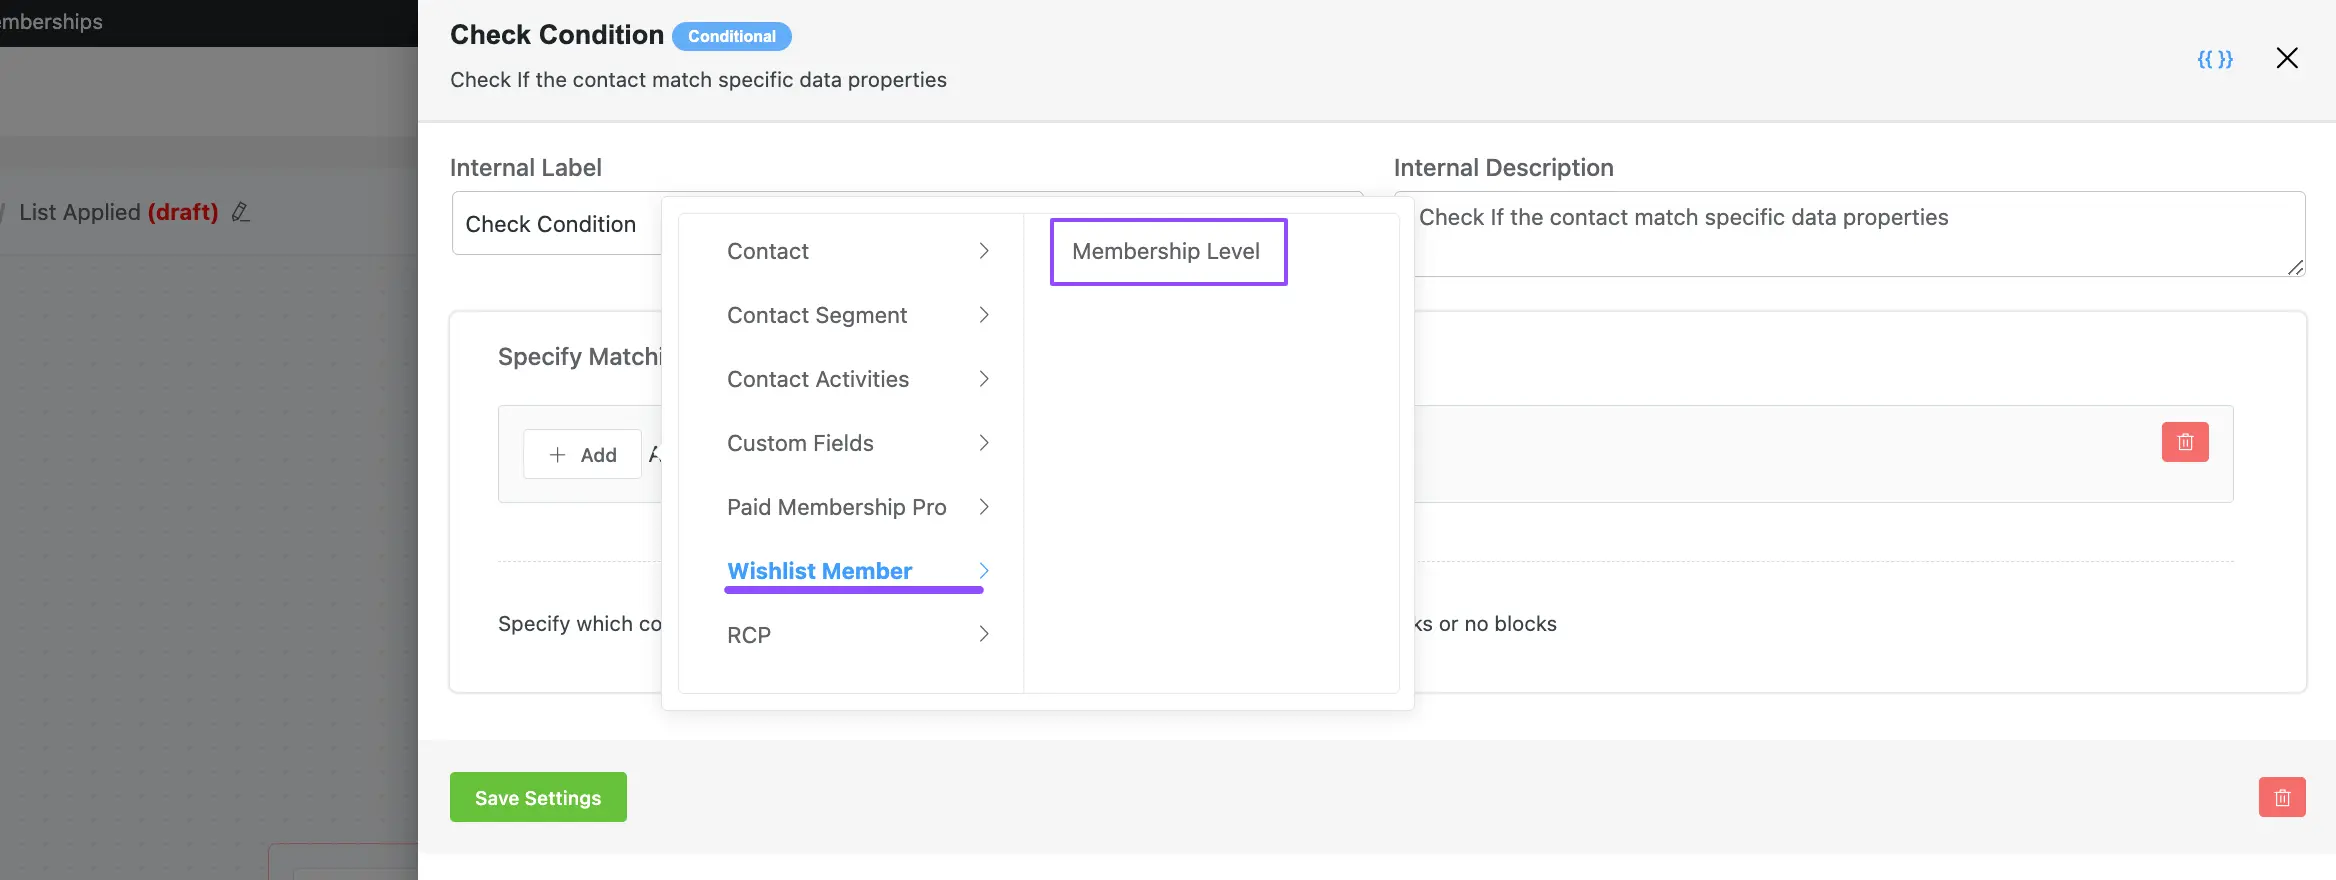
2. Wishlist Member #
Here you will get a wide range of Options based on the Wishlist Member property to set the desired Parameter for your condition. These are:
- Membership Level
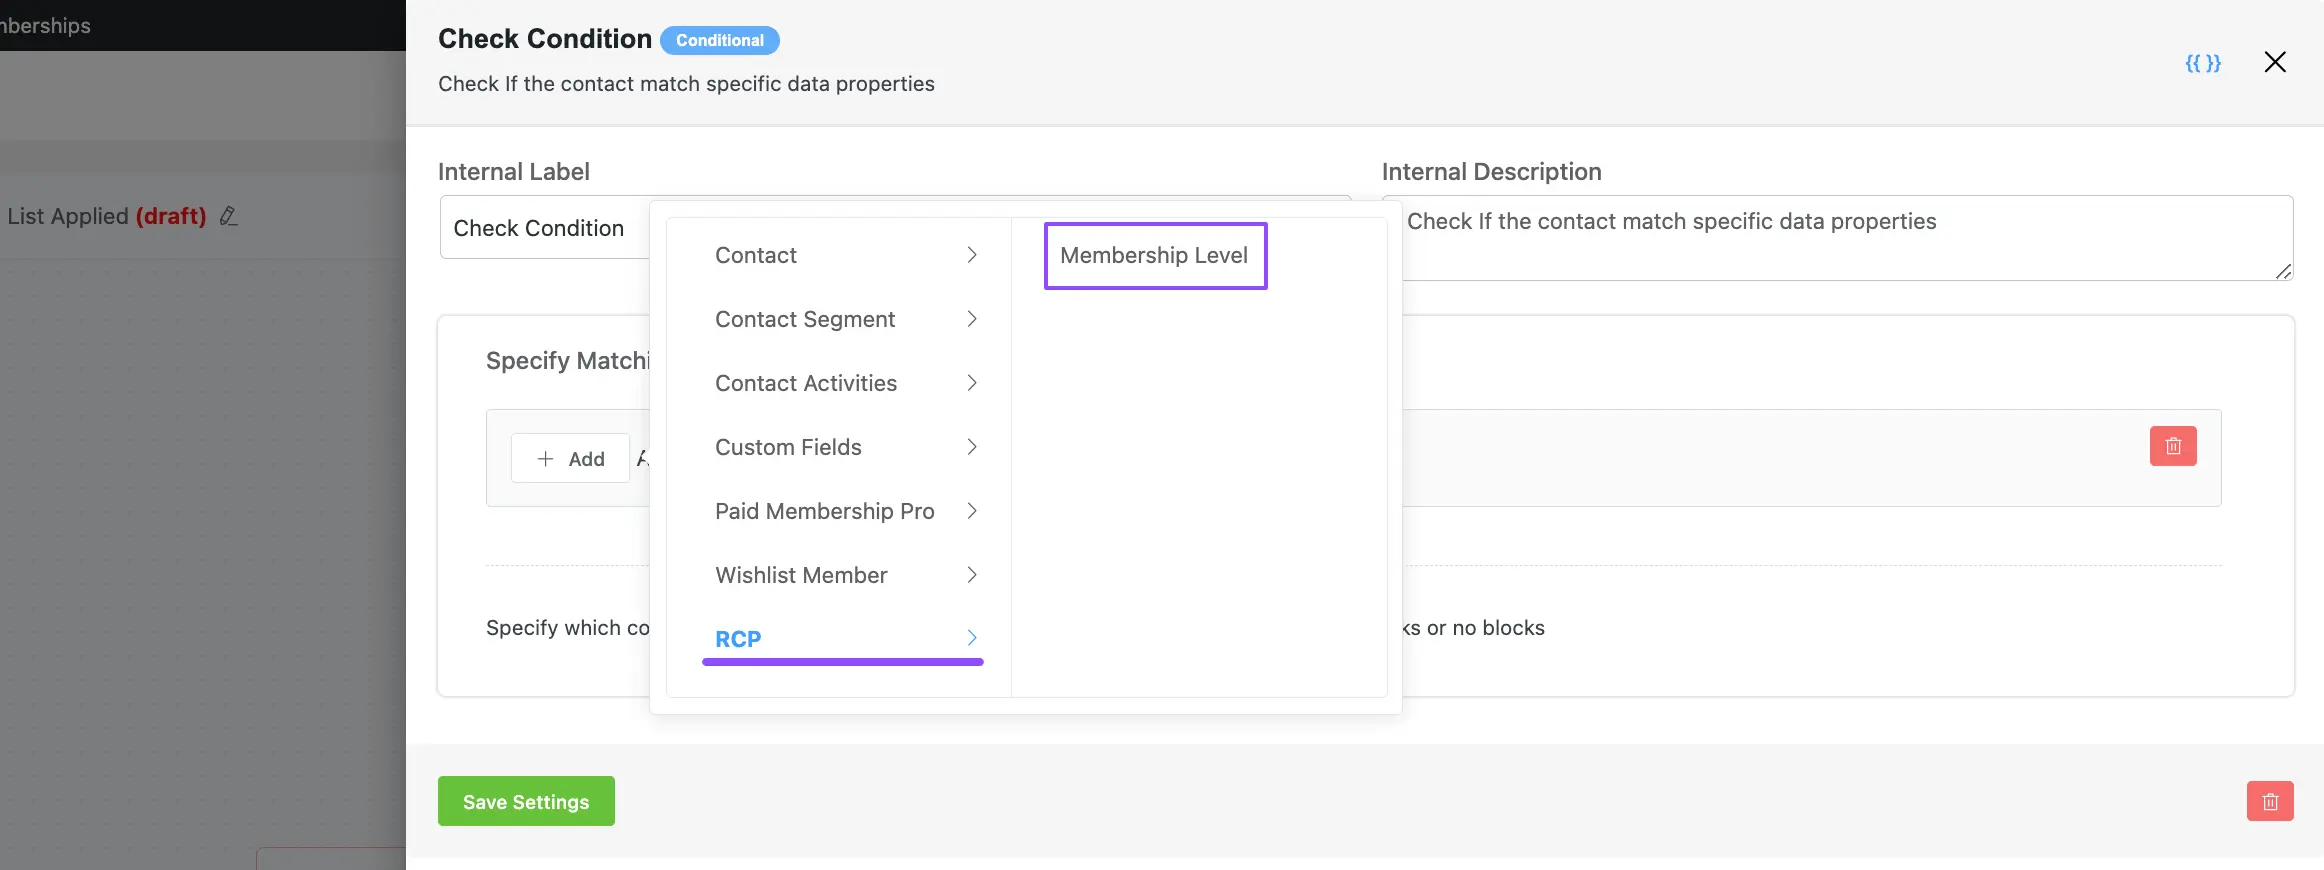
3. RCP (Restrict Content Pro) #
Here you will get a wide range of Options based on the RCP property to set the desired Parameter for your condition. These are:
- Membership Level
If you have any further questions, concerns, or suggestions, please do not hesitate to contact our @support team. Thank you.


What is the context for this? I think it’s Automations? But in Page Design, is there a Gutenberg Integration?
Hi Ken, not sure what kind of integration you’re looking for. Do you want to add a form inside your page and integrate with FluentCRM?
Hey folks, I like Fluent a LOT but its biggest limiting factor is that you do not provide integration for the WooCommerce Subscriptions plugin. It makes your automated workflows unusable because Fluent is unable to trigger new events when a subscriber cancels their subscription.
Is it possible for you to add the Subscriptions plugin to Fluent asap?