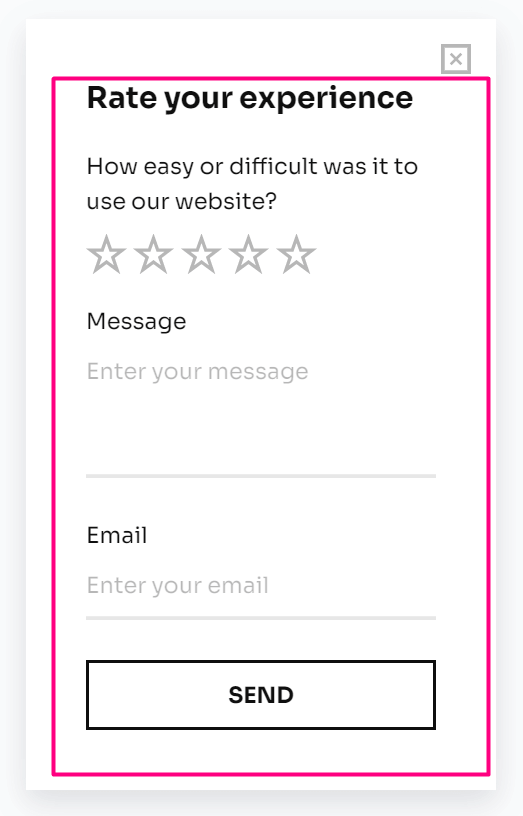
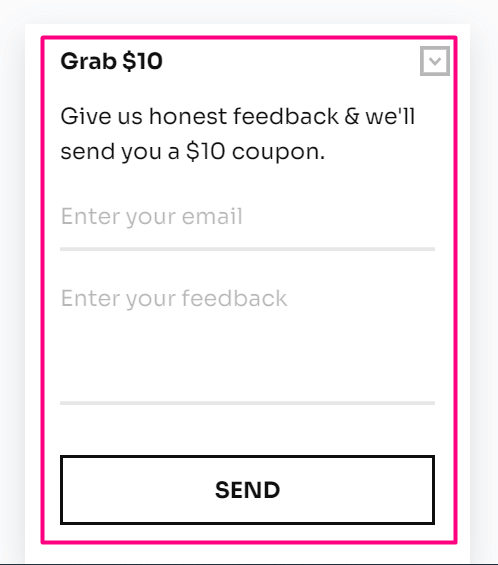
You might wonder if it is possible to integrate with FluentCRM and manage those users and run automation, email campaigns, email sequences, etc. Below you will see 2 examples of subscription forms that can connect with FluentCRM.
One of the best features of FluentCRM is that it has native integration with Fluent Forms which is also a popular Subscriptions and Payment Form Plugin for WordPress. FluentCRM uses this plugin to handle the default subscriptions of Contacts in FluentCRM.
The good news is you can customize the Subscriptions as you want in Fluent Forms and connect the form with FluentCRM. If you want to add more people to your marketing campaign, you can create a landing page including a form. Your audience can fill up the form and they will get a double opt-in email and register as a contact for your email marketing campaigns.
Activating Fluent Forms #
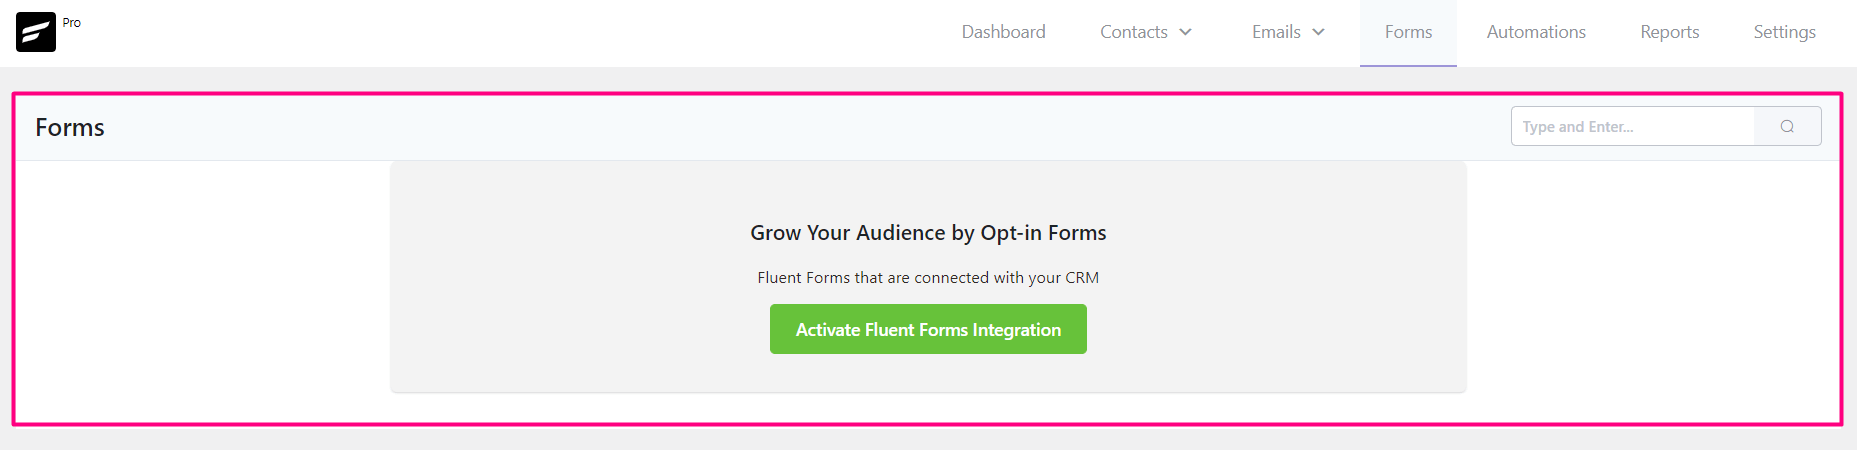
To get started with Subscription Forms in FluentCRM, go to the FluentCRM Dashboard ➜ Forms, Click on the Activate Fluent Forms Integration button, and wait for the confirmation. This will install the Fluent Forms plugin in the background.
Create Subscription Form #
Once the plugin is installed, you will see a success message on the top right corner of the dashboard as shown in the below screenshot.
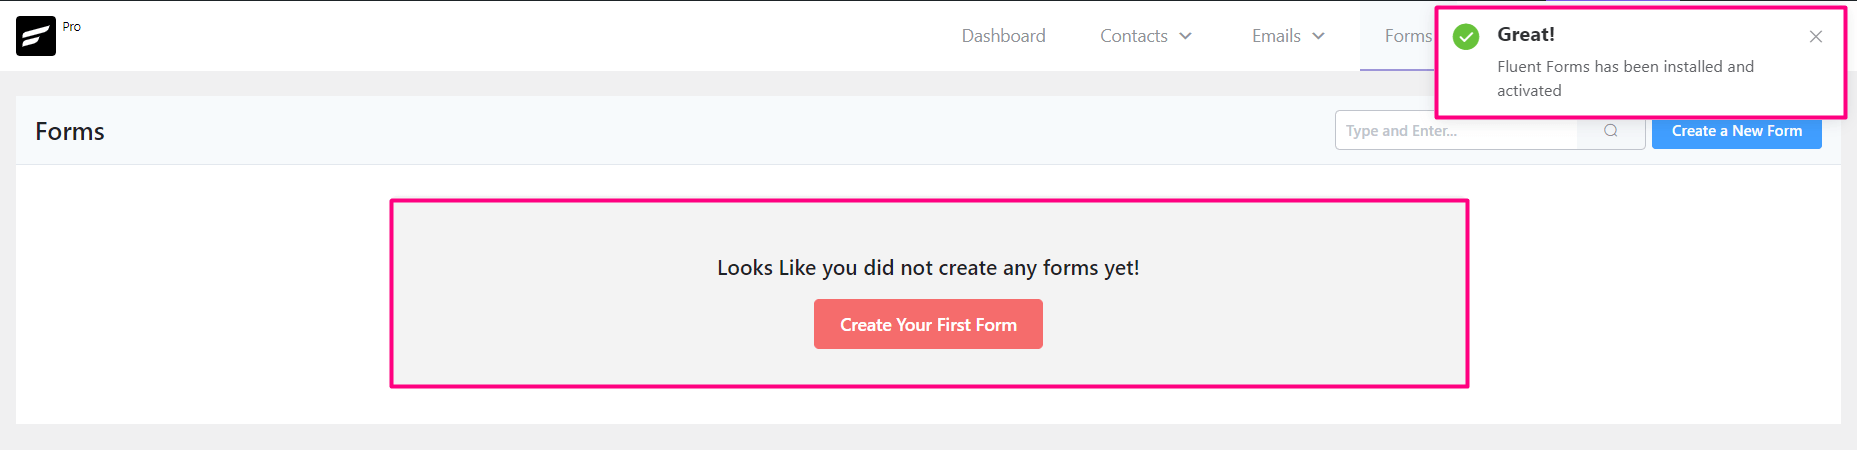
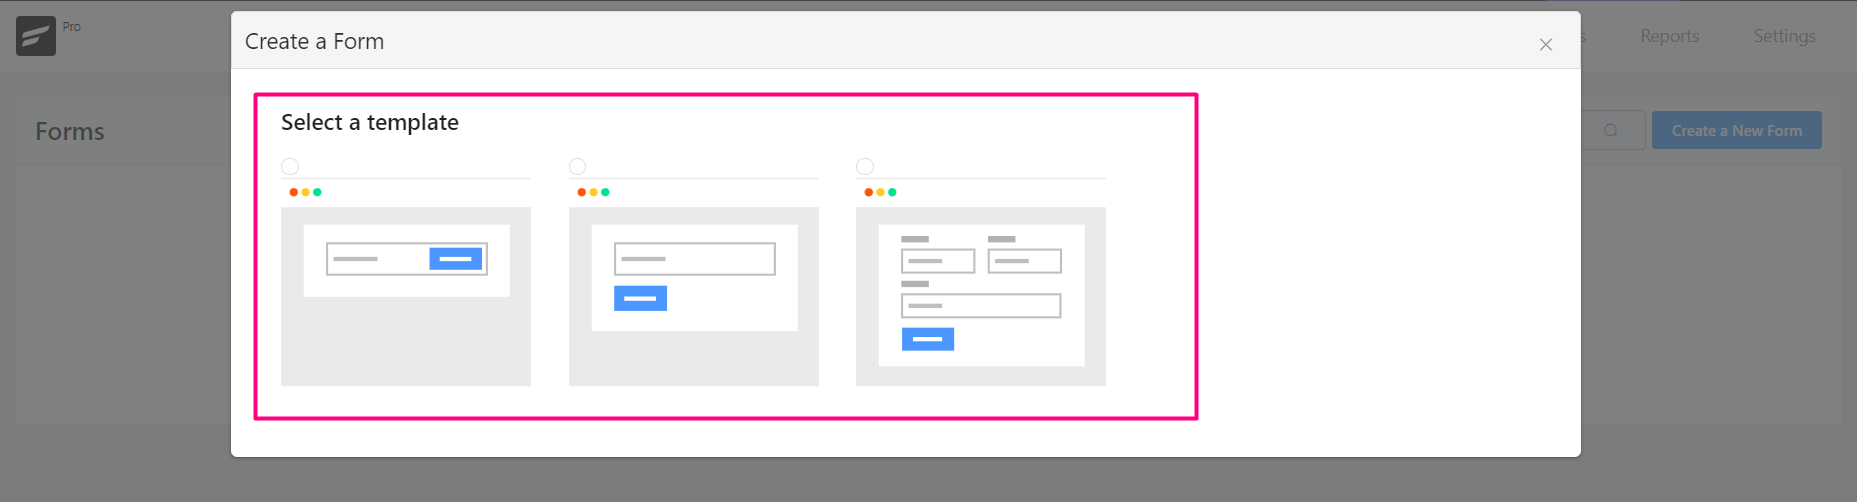
Now you can create your first subscription form by clicking on the red button saying Create Your First Form or the blue Create a New Form button. A popup will appear, and you will see a list of templates ready for you, pick any template you wish.
Templates #
The templates offered while creating the form look like below:

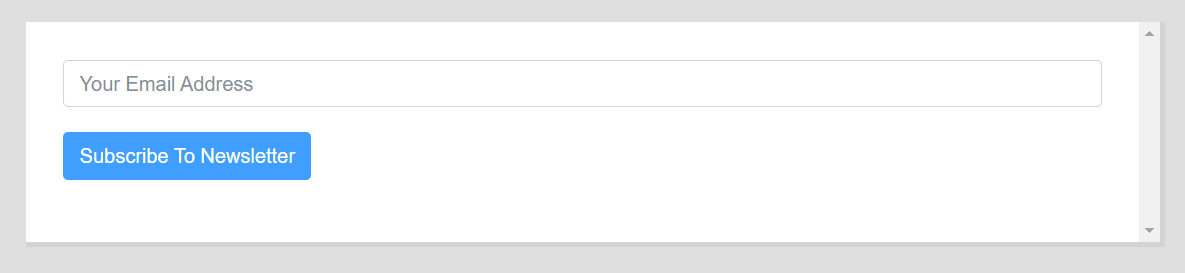
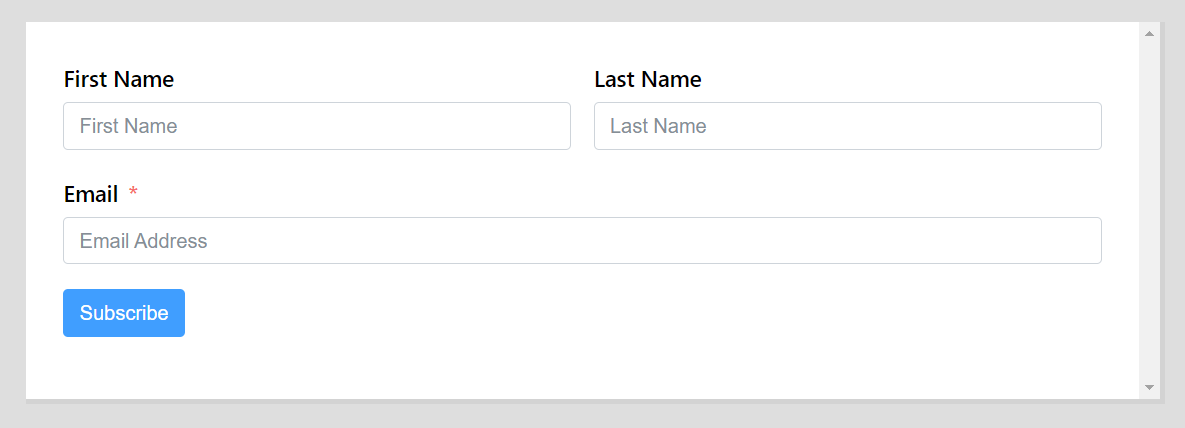
You might want to use the 3rd template as it is a regular and common use case for subscription forms that include both Name & Email.
Mapping List & Tags #
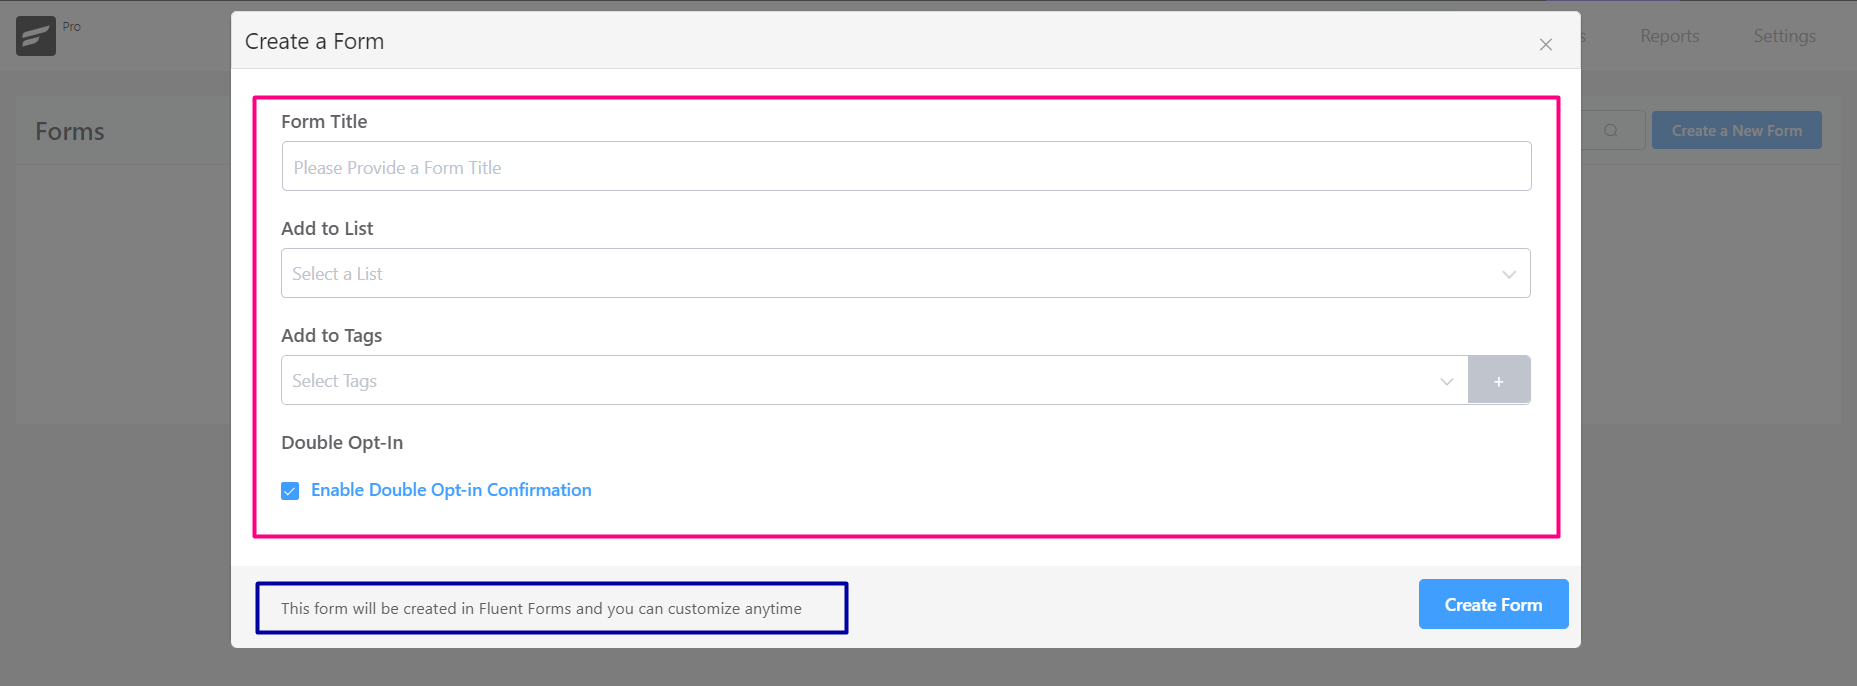
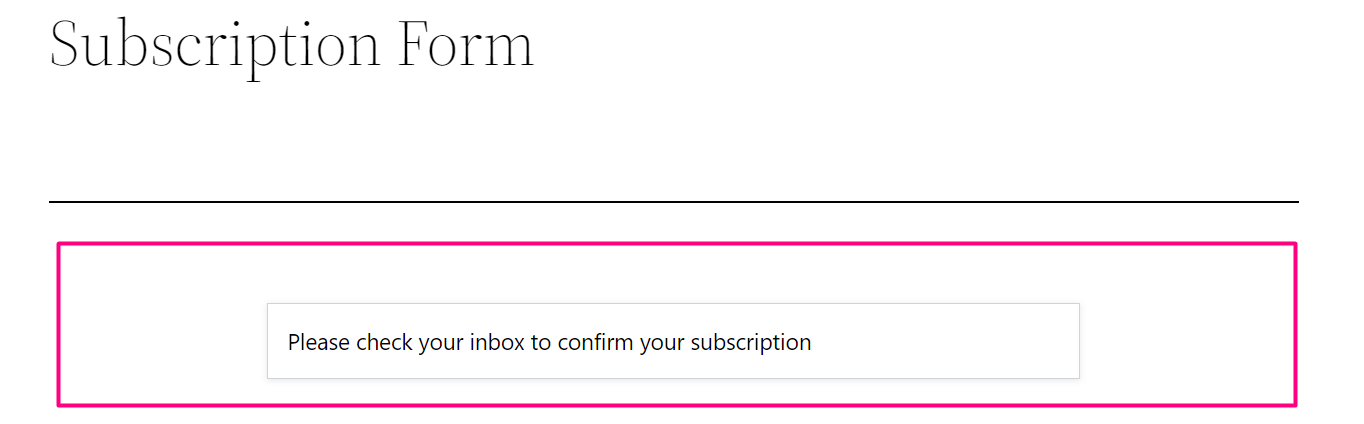
Now it’s time to fill in the Form Title, Select the List and Tags you want to map with FluentCRM. It is required to create the List and tags before creating the form. Check the checkbox Enable Double Opt-in Confirmation for new contacts so that FluentCRM will send a double opt-in email to the user as soon as the form is submitted to confirm their subscription. Now click on the Create Form button.
You will also see a message saying “This form will be created in Fluent Forms and you can customize it anytime” which means the form is customizable and you can design and configure settings later at any time. We made a dedicated guide on that in Fluent Forms Advanced Configuration
The form will be created with an active feed with FluentCRM, all the submitted entries will be added to your assigned Lists and Tags.
Form Actions #
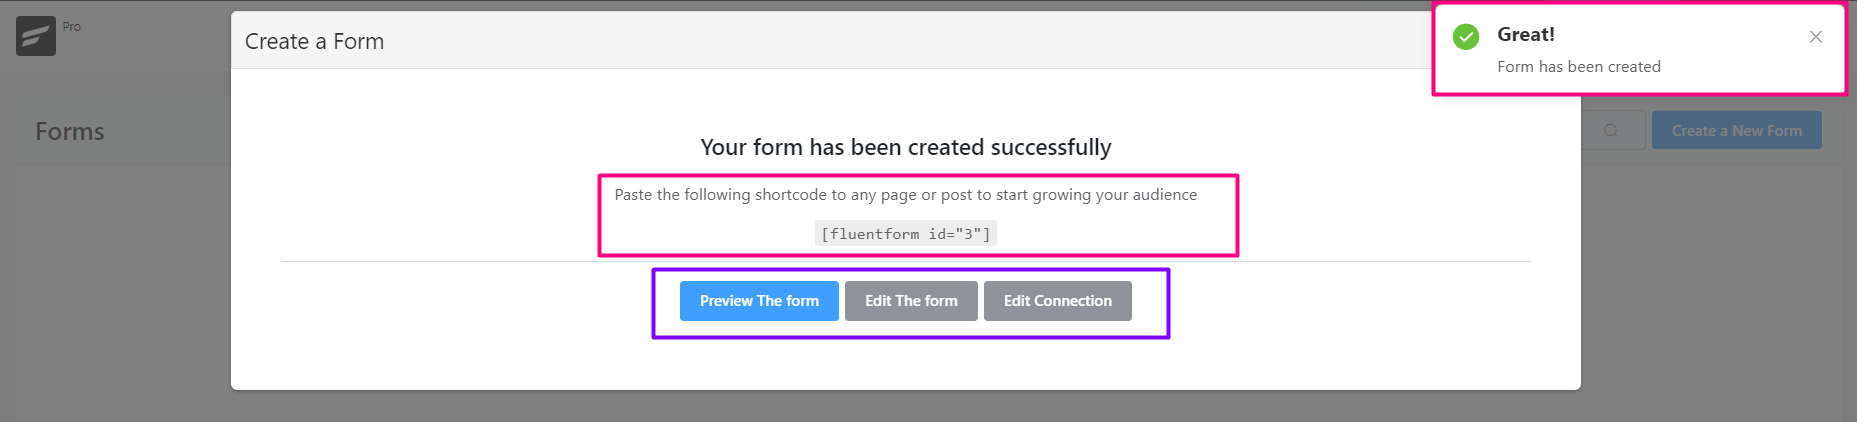
Once the form is created you will a success message on the top right corner of the dashboard. Now you can Preview the Form, Edit the Form and also Edit the Connection with FluentCRM feed by clicking on each link.
Preview #
When the form is created you will be provided with a shortcode of Fluent Forms to use the form on any Page or Post. To Preview the Form how it looks like click on the Preview The Form Button.
Edit Form #
You can also Edit the Form Fields, and add more fields from various types of fields. This will take you to the Fluent Forms Editor directly.
Edit Connection #
This is the FluentCRM Feed Integration settings that connect the Fluent Form with FluentCRM. More about this is discussed in Fluent Forms Advanced Configuration.
If you close the popup window, you can anytime do these actions from the Forms Dashboard as shown in the below screenshot.
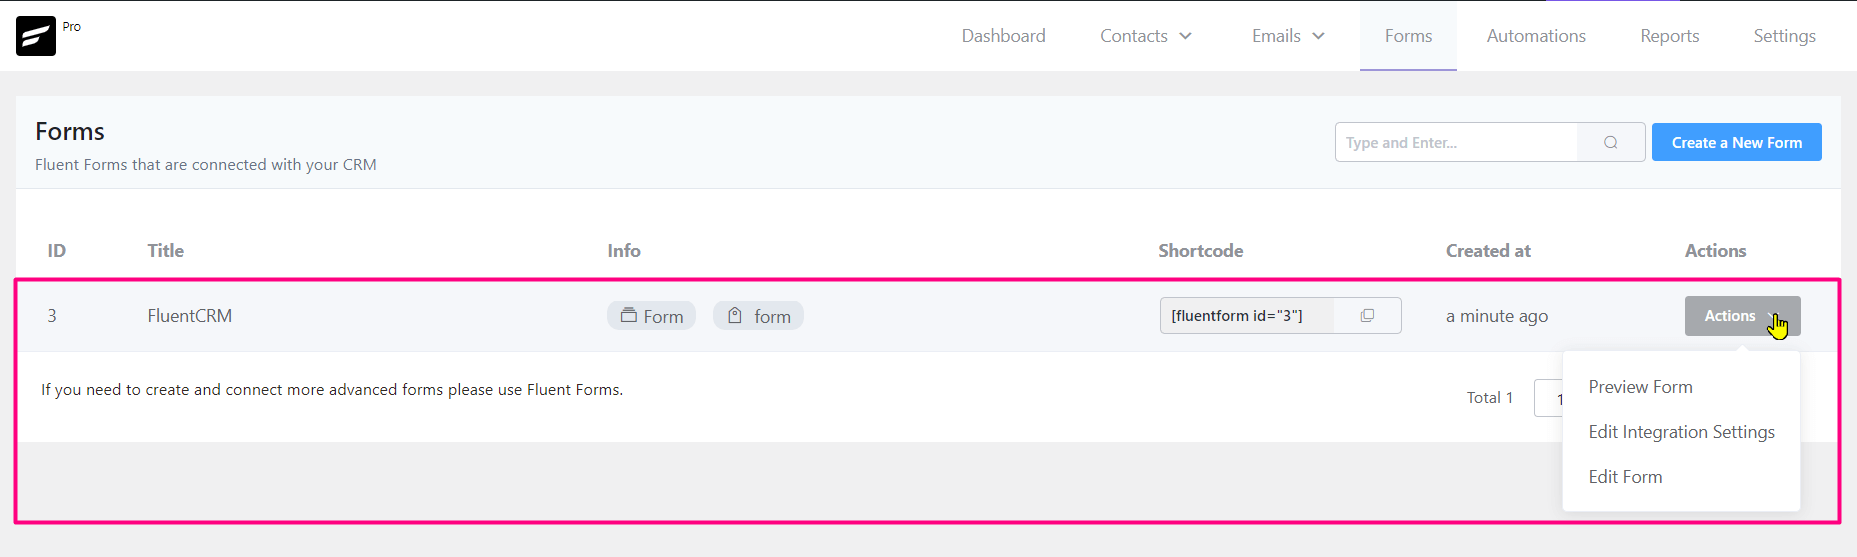
Actions from Fluent Forms #
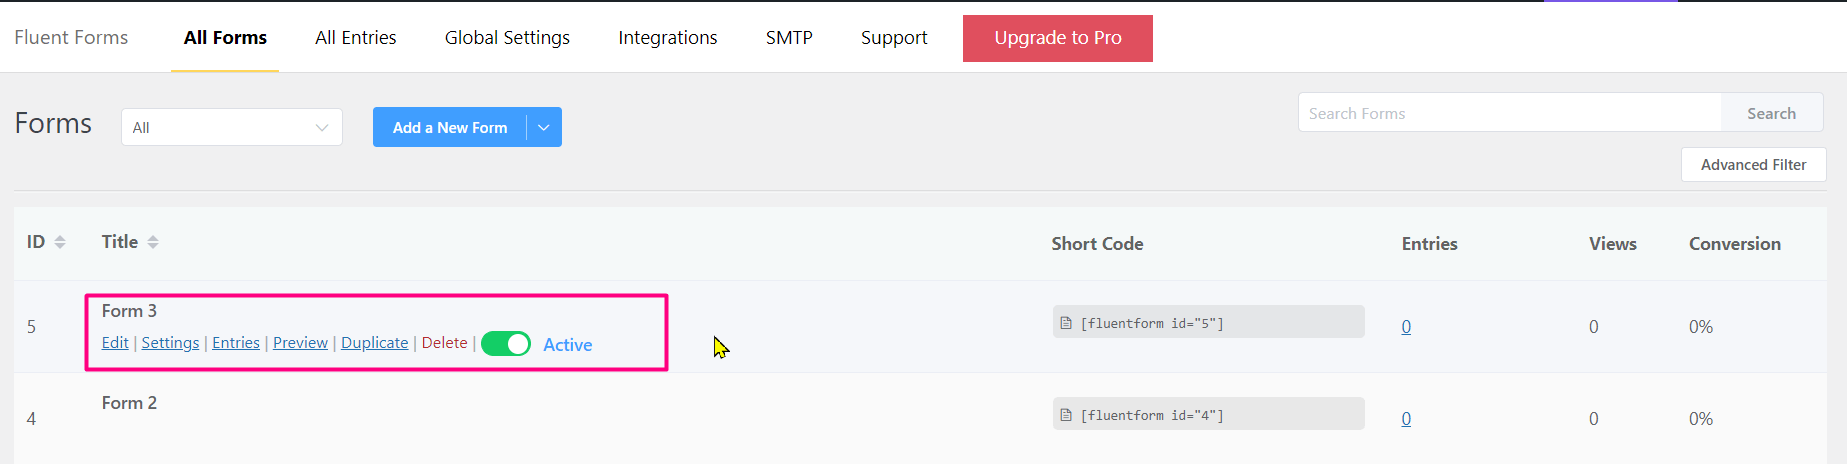
The above options are the exact same from the Fluent Forms dashboard as below:
Form Submission #
Now it is time to add the form to a Page or Post and then test the submission.
Embedding Subscription Form #
To use the form we need to use the shortcode or even a Gutenberg Editor Block that will let us select the Fluent Form on any page or post. In this tutorial we will be adding the form on a new page as below:
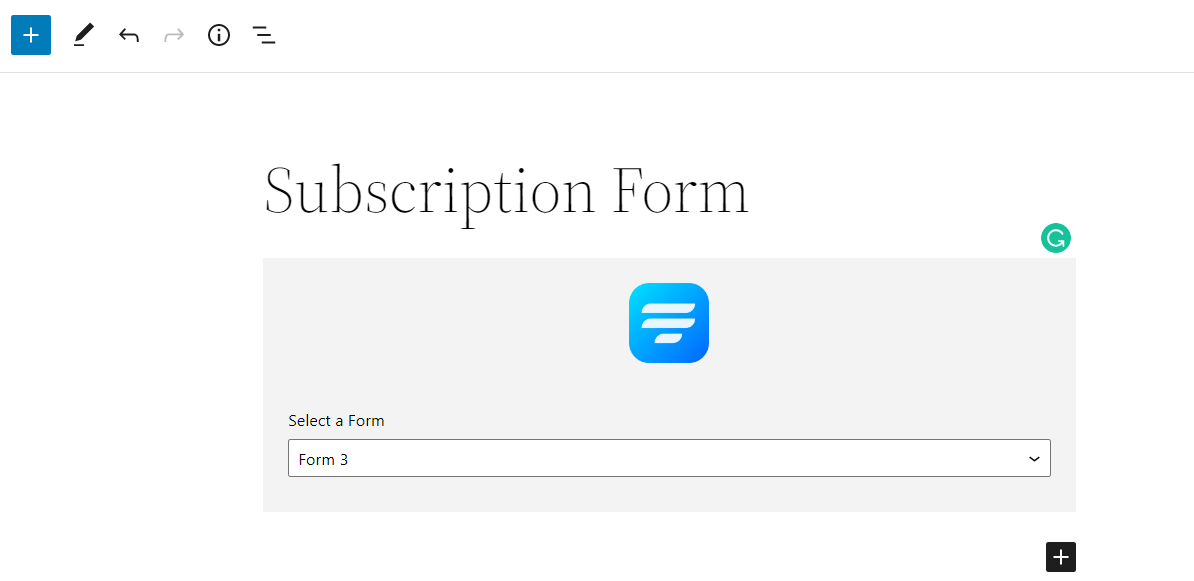
After publishing the page with the form only we will see a page similar to the screenshot below:
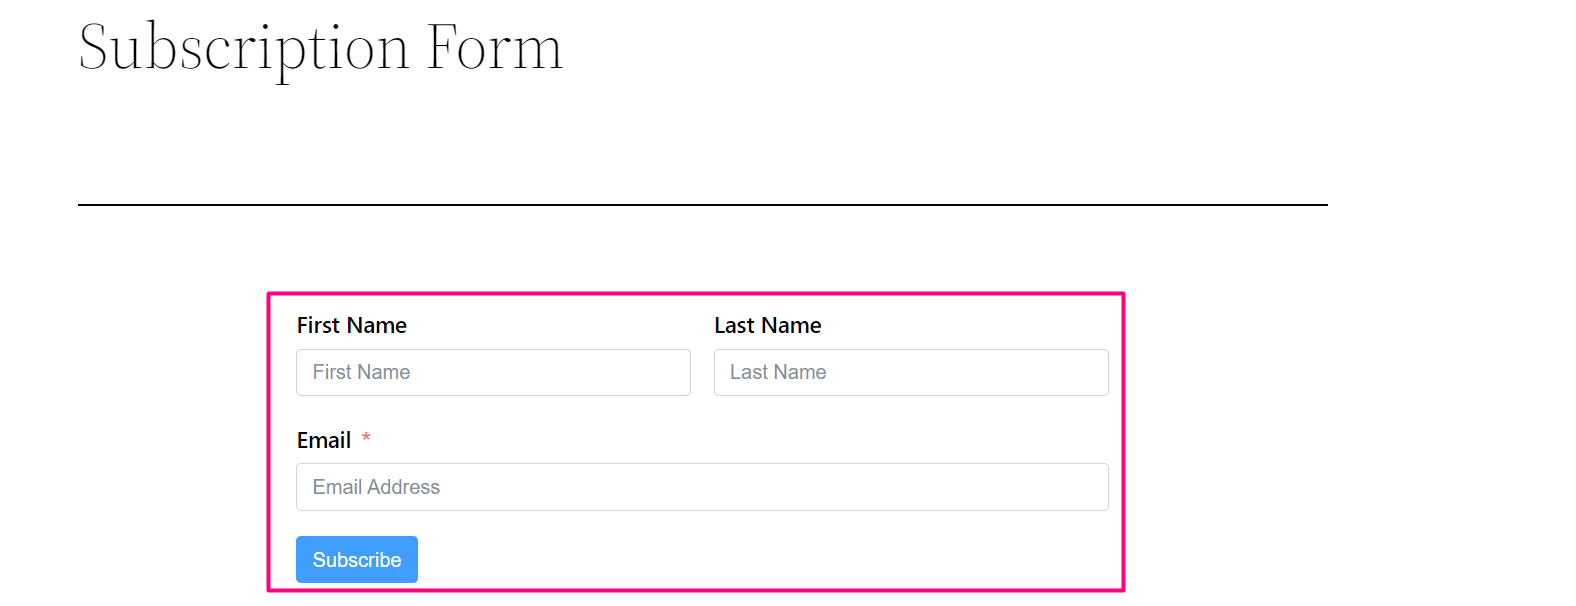
We could also create a page and add the form’s shortcode to the page in a paragraph or shortcode block, or use the shortcode in the sidebar widget or within a post.
Entry in Fluent Forms #
Now let’s test our form by submitting a test name and an email address and then Go to Fluent Forms > either All entries or the Form specific Entries and check the entry that is submitted.
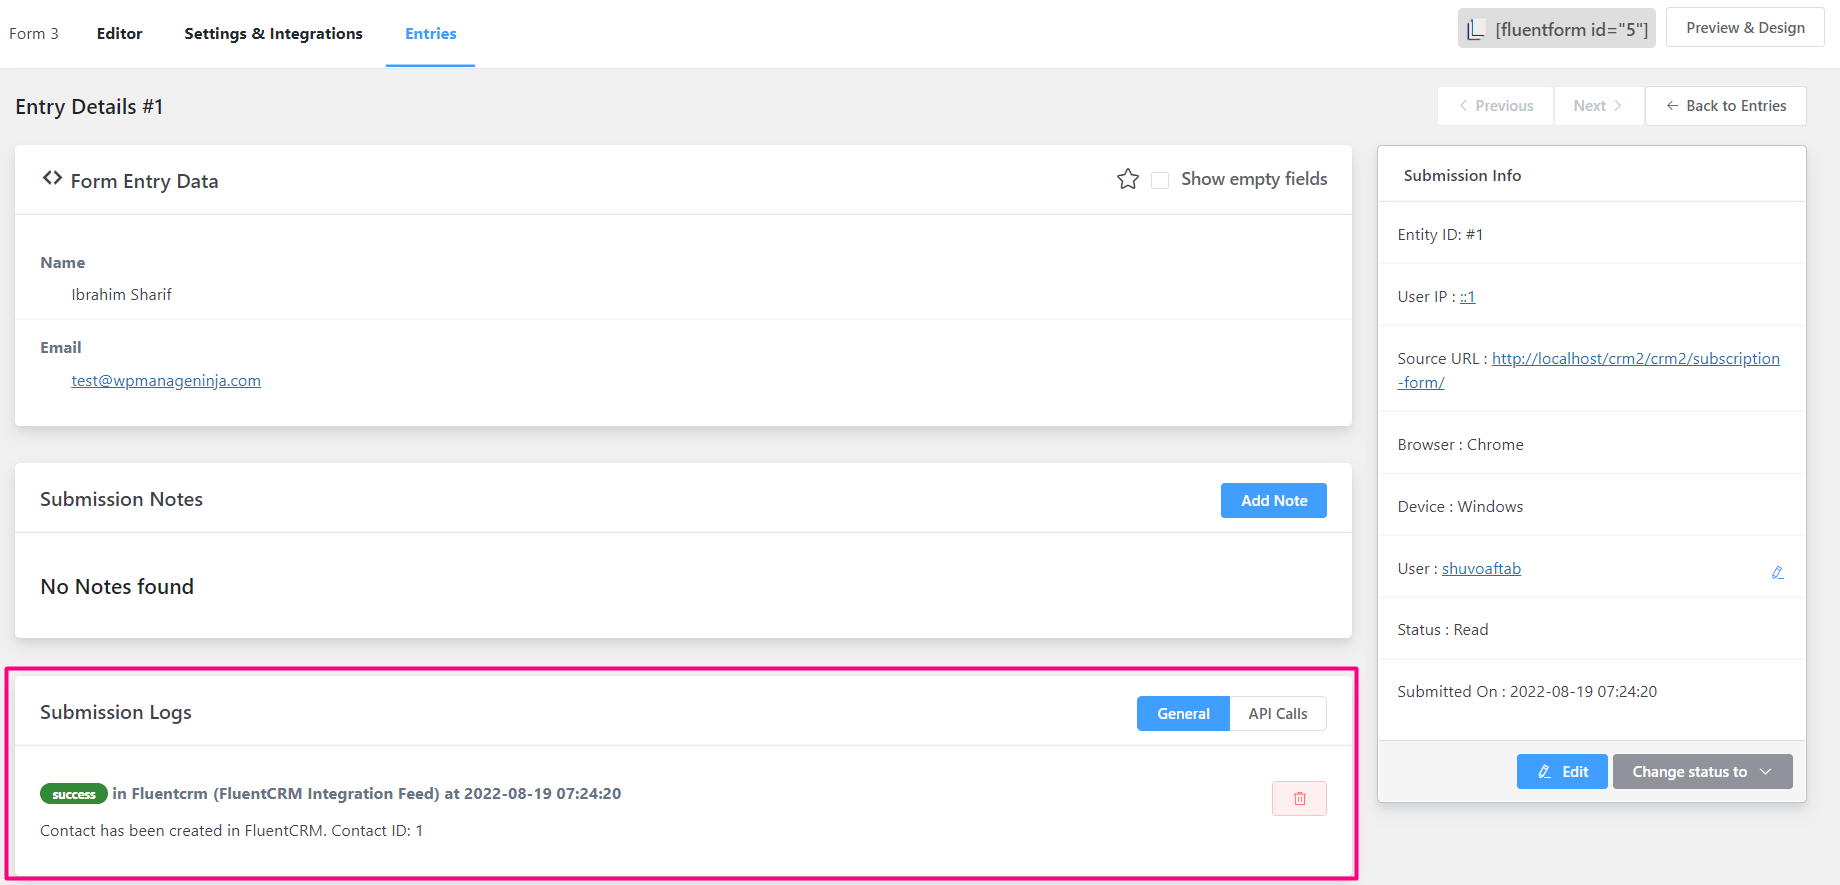
After submitting the form with test details check the entry in the Fluent Forms dashboard. You will see the entry details as shown below:
Feed Status #
Important: The Submission Logs section is very important working with any feeds like FluentCRM in this case. If you ever see any unwanted behavior or the form does not submit the contact to FluentCRM, please check the entry if it is submitted and then this section to check if it shows a success message or not. It will also log the reason if it fails to submit the contact into FluentCRM.
Contact in FluentCRM #
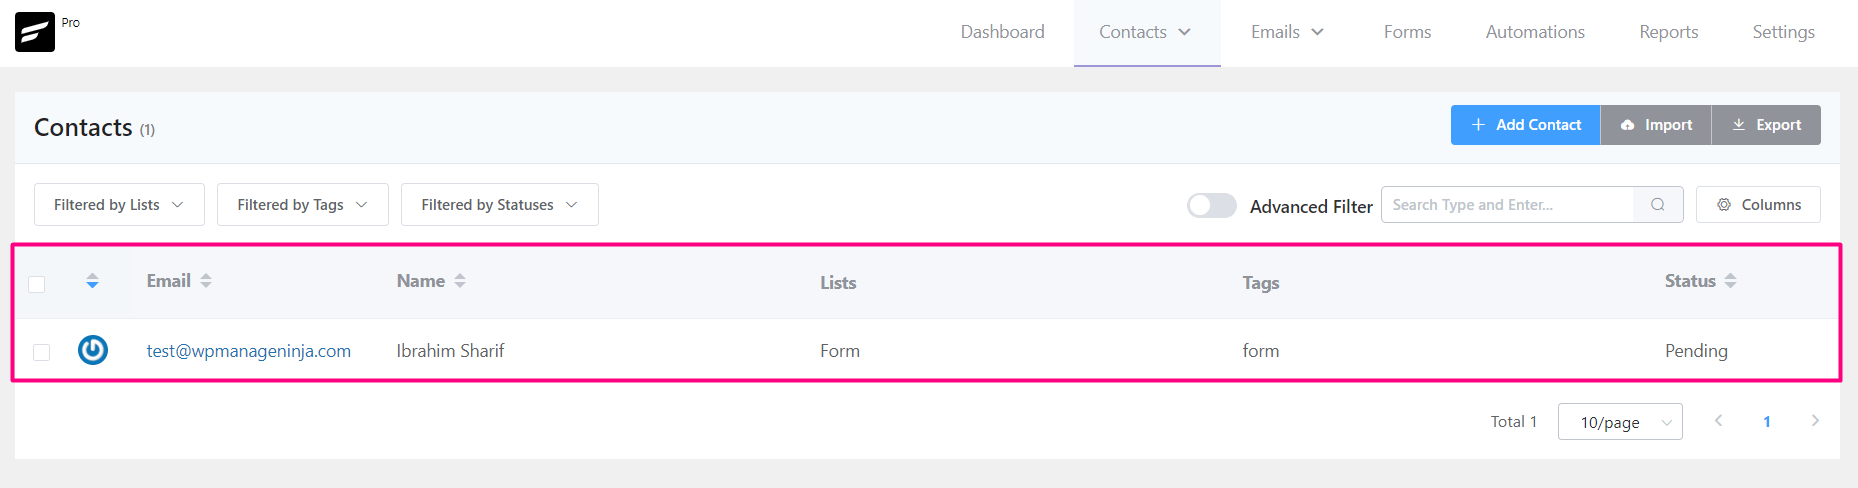
Since the entry shows a success message for the FluentCRM feed, let’s check the FluentCRM contacts to see if our test form submission successfully added the contact or not. Go to FluentCRM ➜ Contacts or the Contacts Dashboard and you should see the contact as shown in the below screenshot.
That’s all for the Subscription Form and collecting contact information into FluentCRM. To go beyond please check Fluent Forms Advanced Configuration for further and advanced configuration.


when using fluentcrm and fluent forms, how can I add Elementor forms or double opt in?
You can add Elementor forms when using Elementor and integrate with FluentCRM. For double opt-in, just keep the double opt-in email enabled in settings.
Hello,
I cannot get FluentCRM to send the confirmation link. I do not know whether 3 of my email providers has blocked those messages. My campaigns have been working so I am not sure where the problem lies. I have received them in previous tests however.
Any help would be appreciated.
Thank you.
Having the same problem, followed all documentation….
Hi,
Is it possible to activate DOI only if the subscriber has checked a respective DOI-checkbox in the form? Let’s say somebody is subscribing to a paid training, which I want to let him do regardless of a Newsletter Opt In. So if he doesn’t check the “yes I want your Newsletter” checkbox, I want to integrate him in fluent CRM (as pending forever?) but he shouldn’t receive any DOI-confirmation mail.
Thanks and regards,
Roger
Yes, it’s possible via conditional logic(Form>Edit integration).
How check birthday to send email?
Hi Nguyen Vu, We are already working on this kind of automation. You can expect to see these soon. 🙂
Hi Nazir,
thank you very much for the helpfull link. Now we are a pro licenced user of fluentCrM too.
Greetings
Jan
Hi,
how to change bg-color in global emails. Opt-in Emails in mostly all solutions look so unpro boring. More styling options corresponding to the Companys Corporate Identity is prefered. Maybe FluentForms/FluentCRM will be the winner in this case soon.
Greetings
Although a workaround, I believe the best way to achieve this is to design an opt-in email using Stripo, switch to text mode in FluentCRM, and select RAW HTML design template. Don’t forget to use the shortcode as the confirmation link though!
I’m using Bloom by Elegant Themes for my opt-in and I have Double Opt-in set inside of FluentCRM. While it does send a confirmation link, I can’t see any difference between users who do or do not click the link.
Users get added to my list before clicking the confirmation link. I do not see any benchmark or trigger I can use in an automation to tell if they did or did not click the confirmation link.
Can you direct me to any other documentation about this, without referencing Fluent Forms?
Hi William, FluentCRM differentiates confirmed and unconfirmed contacts as Subscribers and Pending. This status will change based on whether the contact has clicked on your confirmation link or not. Please check this doc: https://fluentcrm.com/docs/types-of-contact-status/
Sorry, I forgot to follow-up. The reason I didn’t see a difference is due to a bug in Bloom. They send everything over as Subscribed. I made them aware of the problem, as none of the leads came in Pending. Sadly, they have not ETA to fix and it doesn’t seem to be high on their agenda.
I haven’t used bloom yet. But in that case, you can take advantage of our dynamic segmentation. Here’s what I suggest, use dynamic segments to find your new contacts and mark them as pending contacts. Then you can trigger a double opt-in email for them. I know it’s somewhat manual work but at this moment, this is what I can suggest instead of using Fluent Forms.