
This is the drag and drop visual email, template builder. It lets you focus on building personalized visually seductive content without a framework or HTML codes. Using a visual template designer you can create marketable templates that will build successful campaigns.
Go through the following steps to create a visual email.
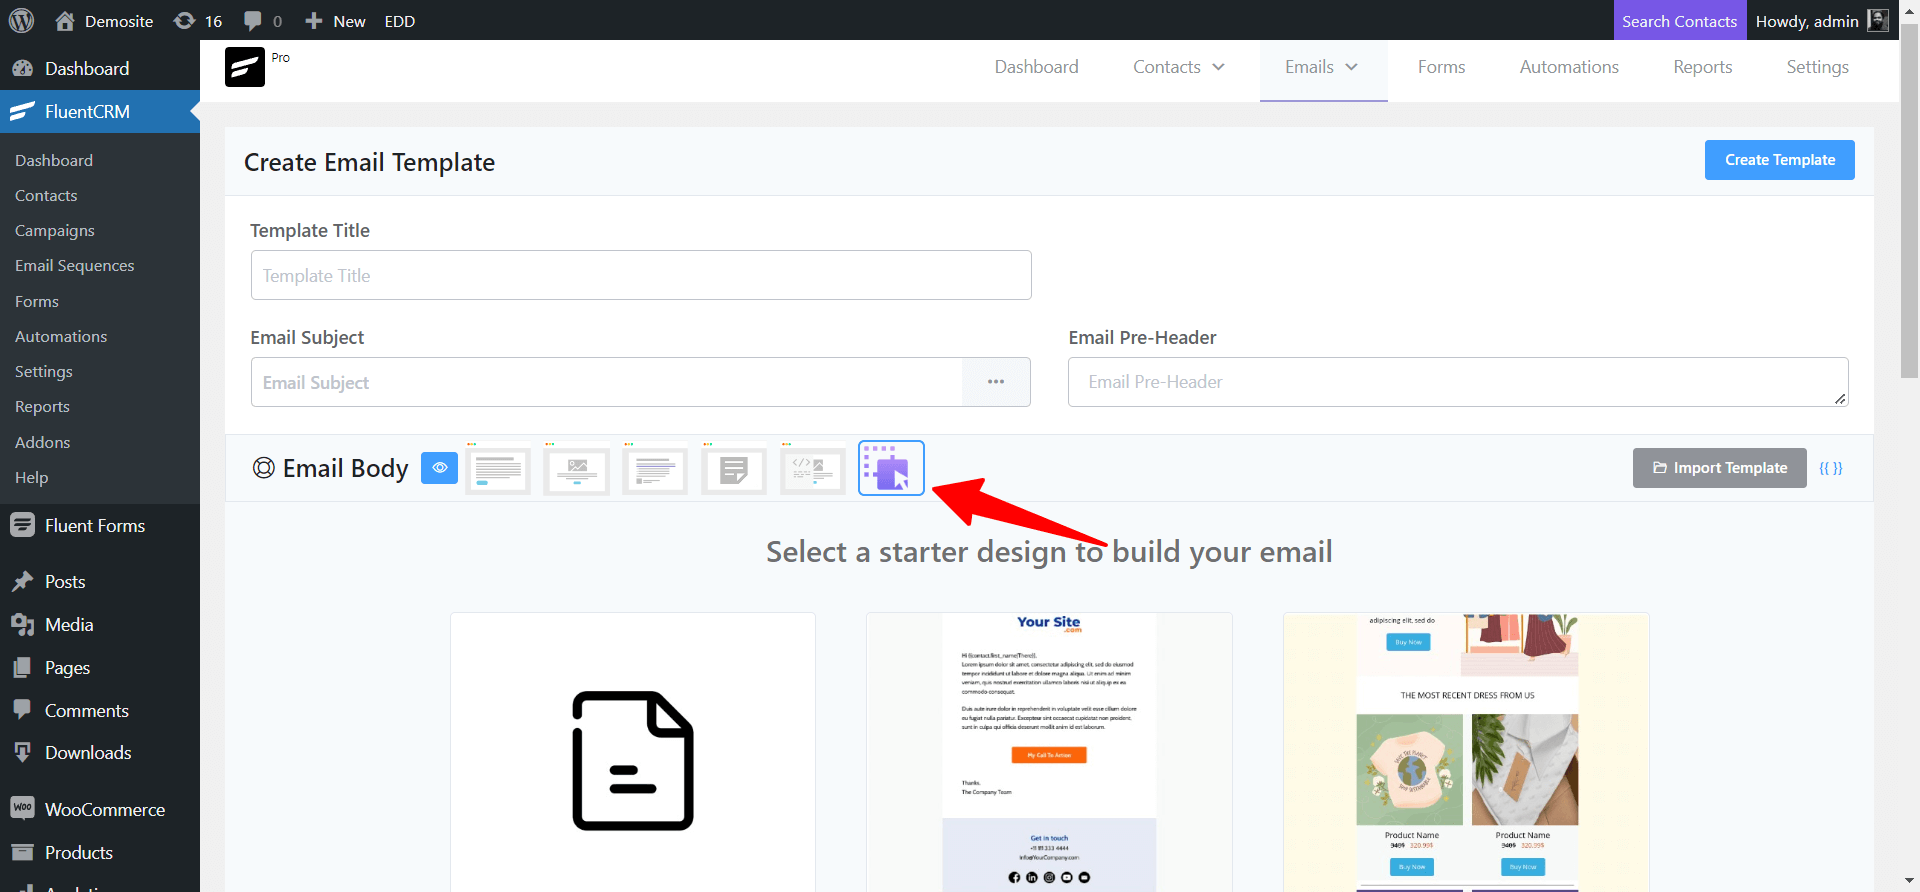
In FluentCRM you will find an Email option in some places like Email Campaigns, Email templates, Email sequences, Automation, and the good news are you will find Visual Builder there.
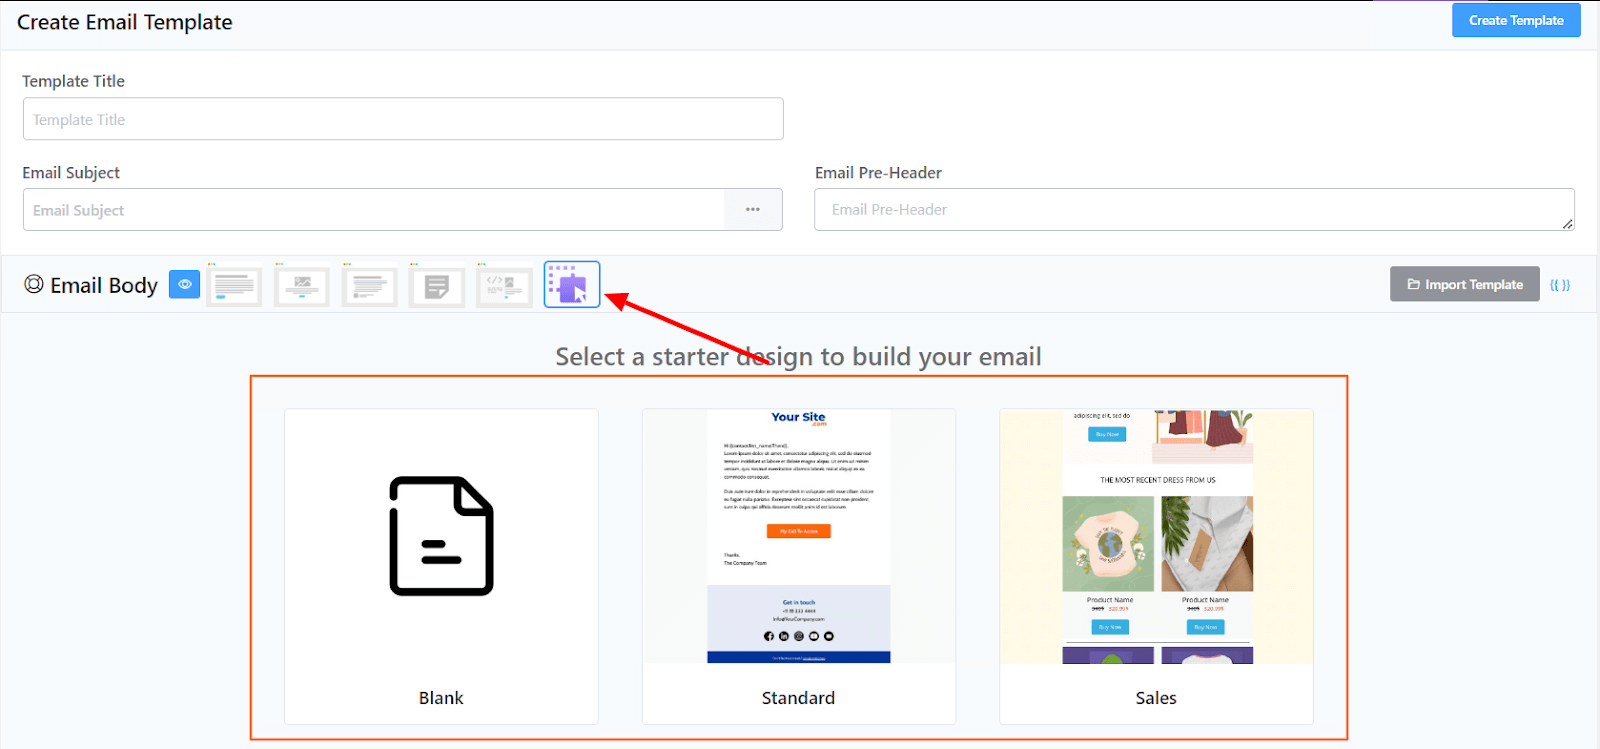
Here are two default free email templates for your visual email body. Just click on the template to use them or you can start with the Blank template.
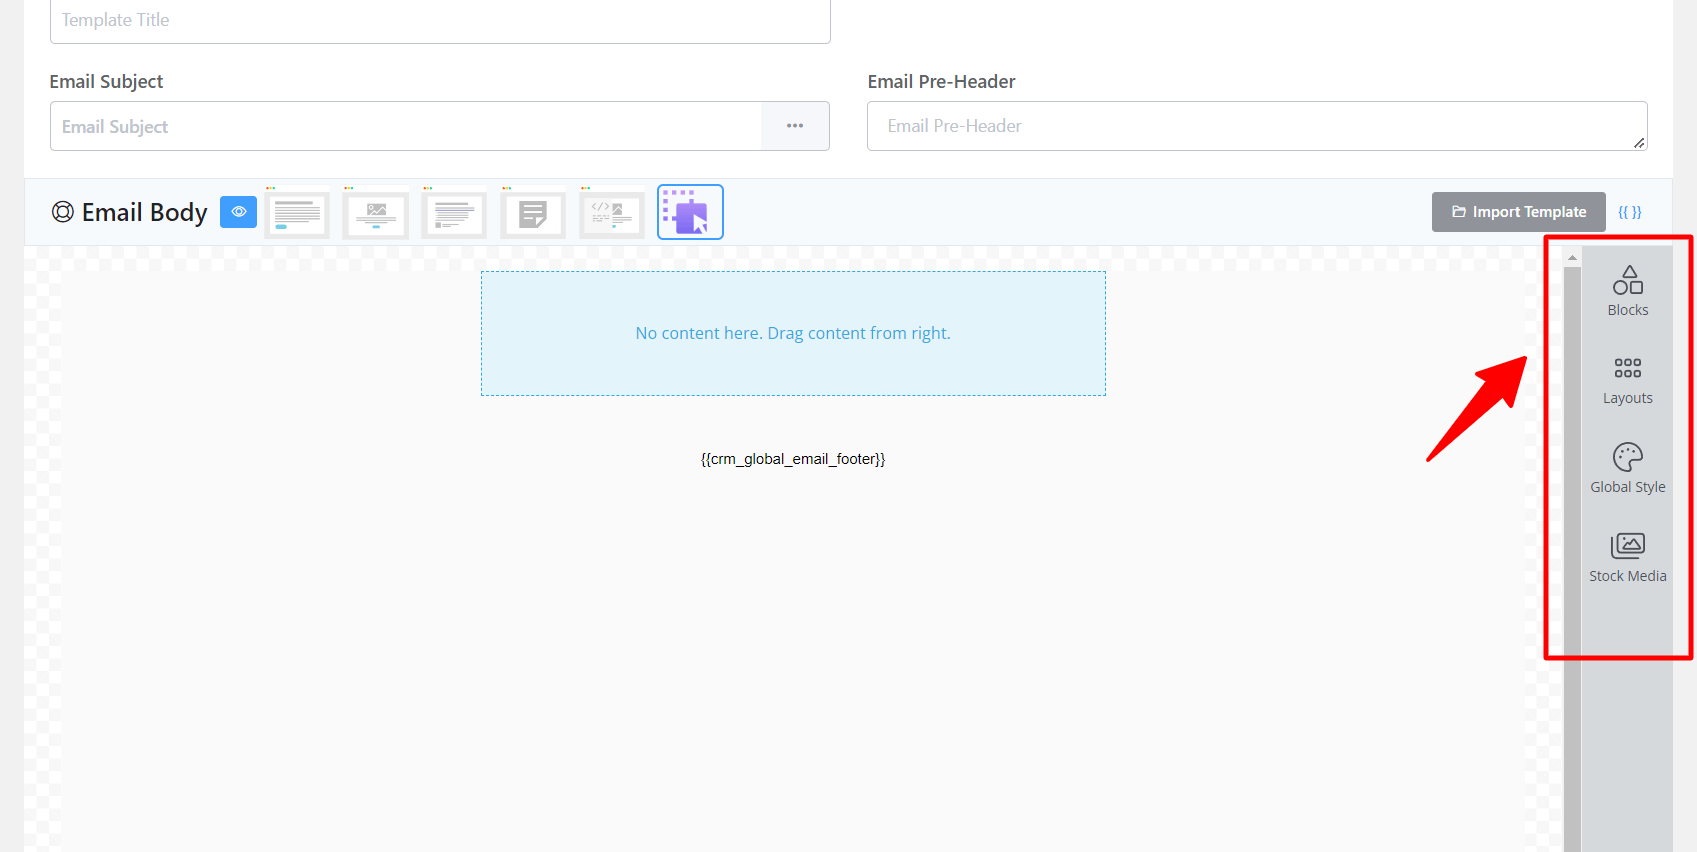
On your right here are some main custom options for your visual email template.
- Blocks
- Layouts
- Global Style
- Stock Media
Blocks #
The block section helps you to create your visual email template section in your way. All the features of the Block section are drag and drop.
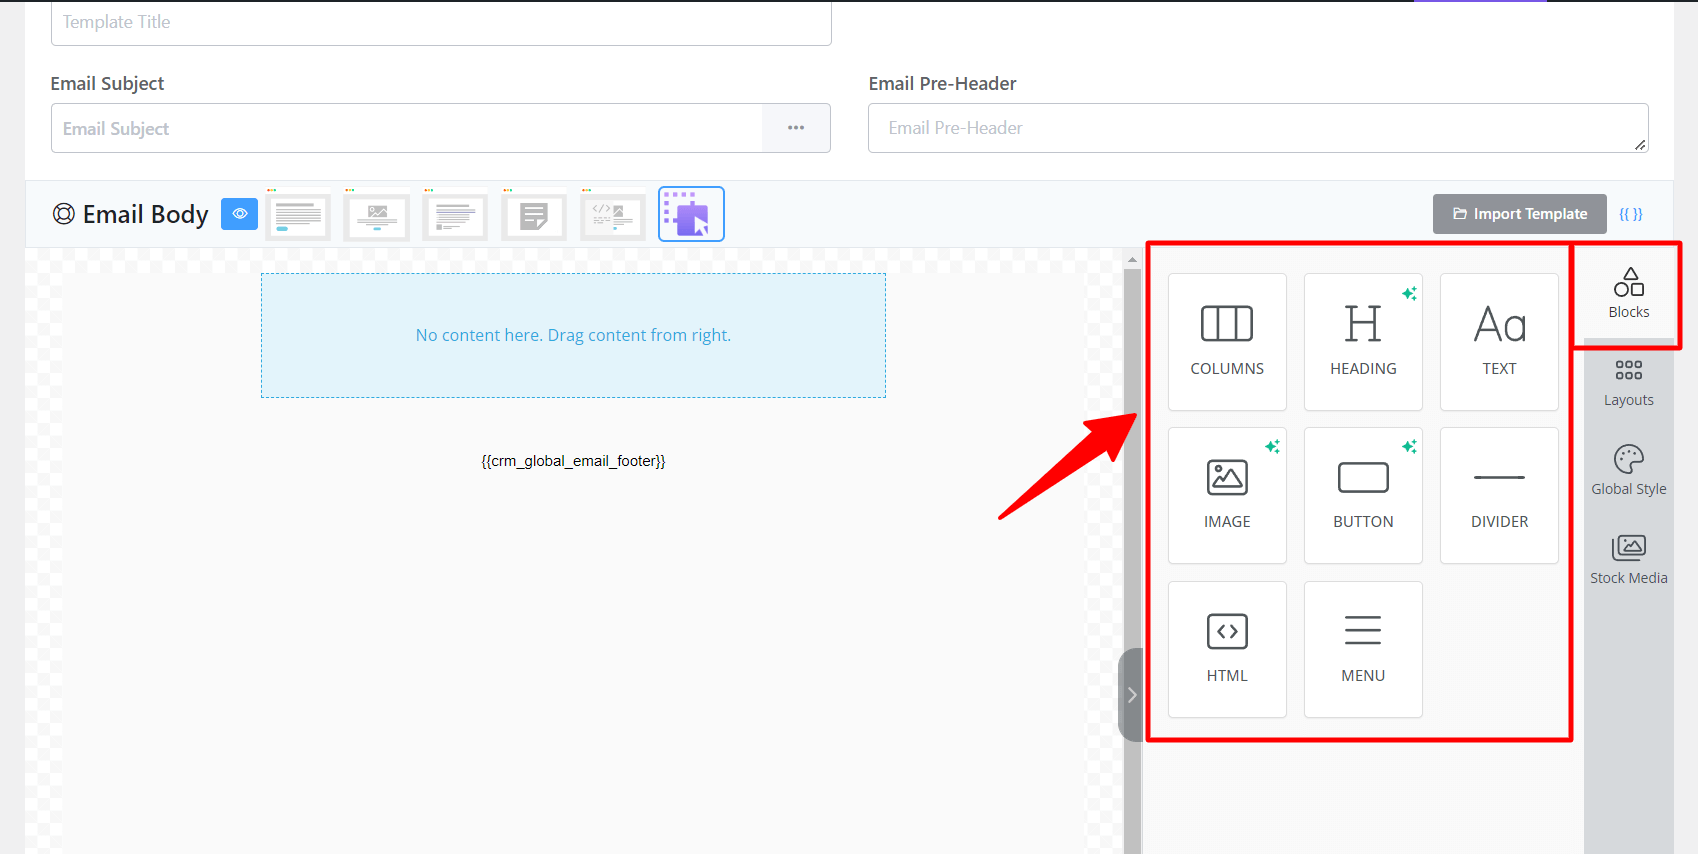
1.1 Columns #
Column helps to ensure the design has consistent spacing, proper alignment, and appropriate visual grading. If you need a column for your visual email template just click on the column section and drag it to your email body.
On the right side, you will see some options to customize your column.
Display Condition: Target your specific tags for the mail.
Columns: You can select a column style following the requirement of your design.
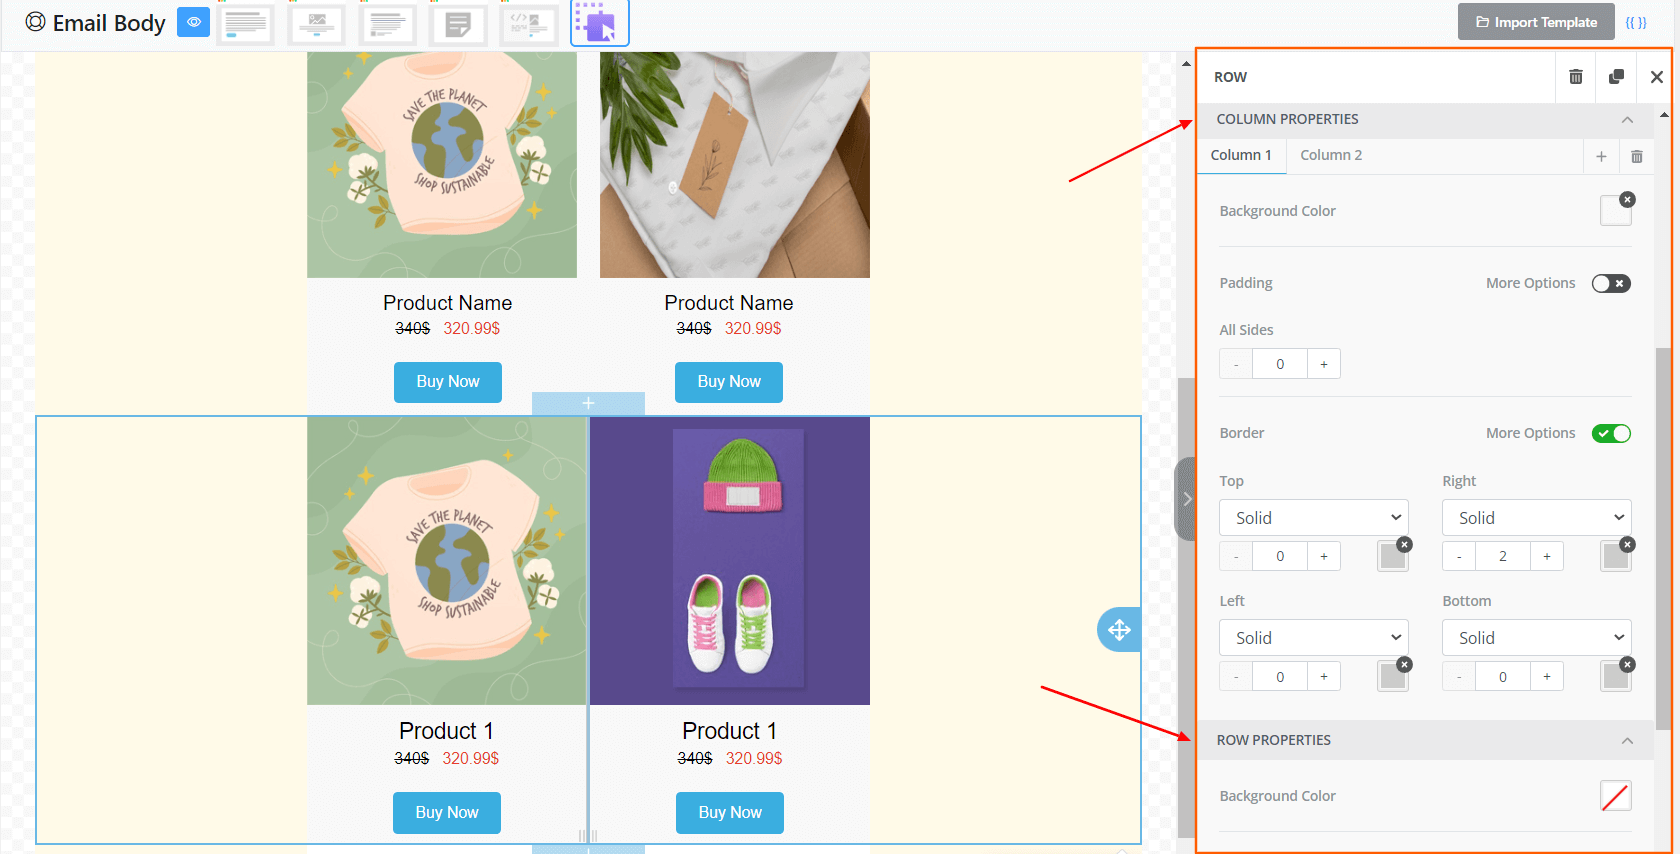
Column Properties: Column properties are for background color, padding, and border styles.
Row Properties: Row properties is for content background color, image, and padding. You can upload images from your device.
Responsive Design: If you want to hide your content on the desktop just enable the Hide on Desktop option and your column or content will be hidden on the desktop only.
1.2 Heading #
You want a heading for your visual email on the right side Heading option is available.
You will find some options for your heading section like below screenshots.
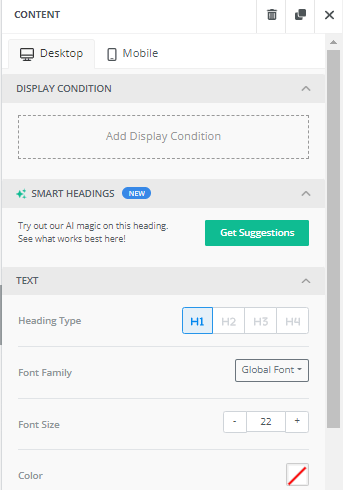
Display Condition: The display condition gives you the freedom to choose who can see your specific contents in this column. You can set conditions according to your tags and list for the mail.
Smart Headings: Smart AI will give you suggestions for an attractive heading for your visual email template.
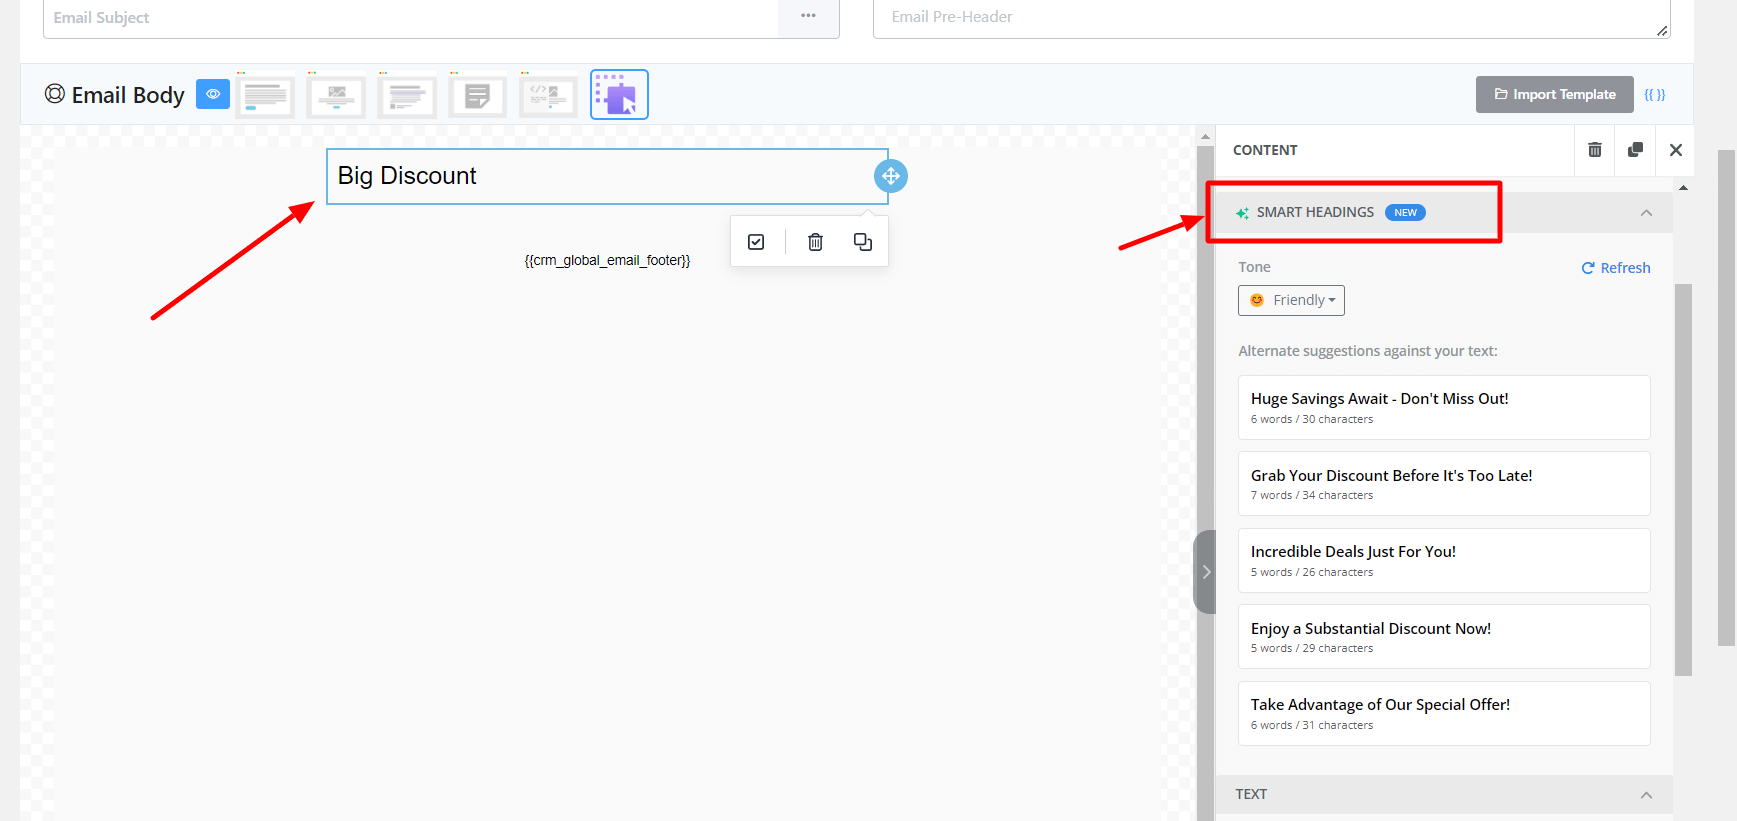
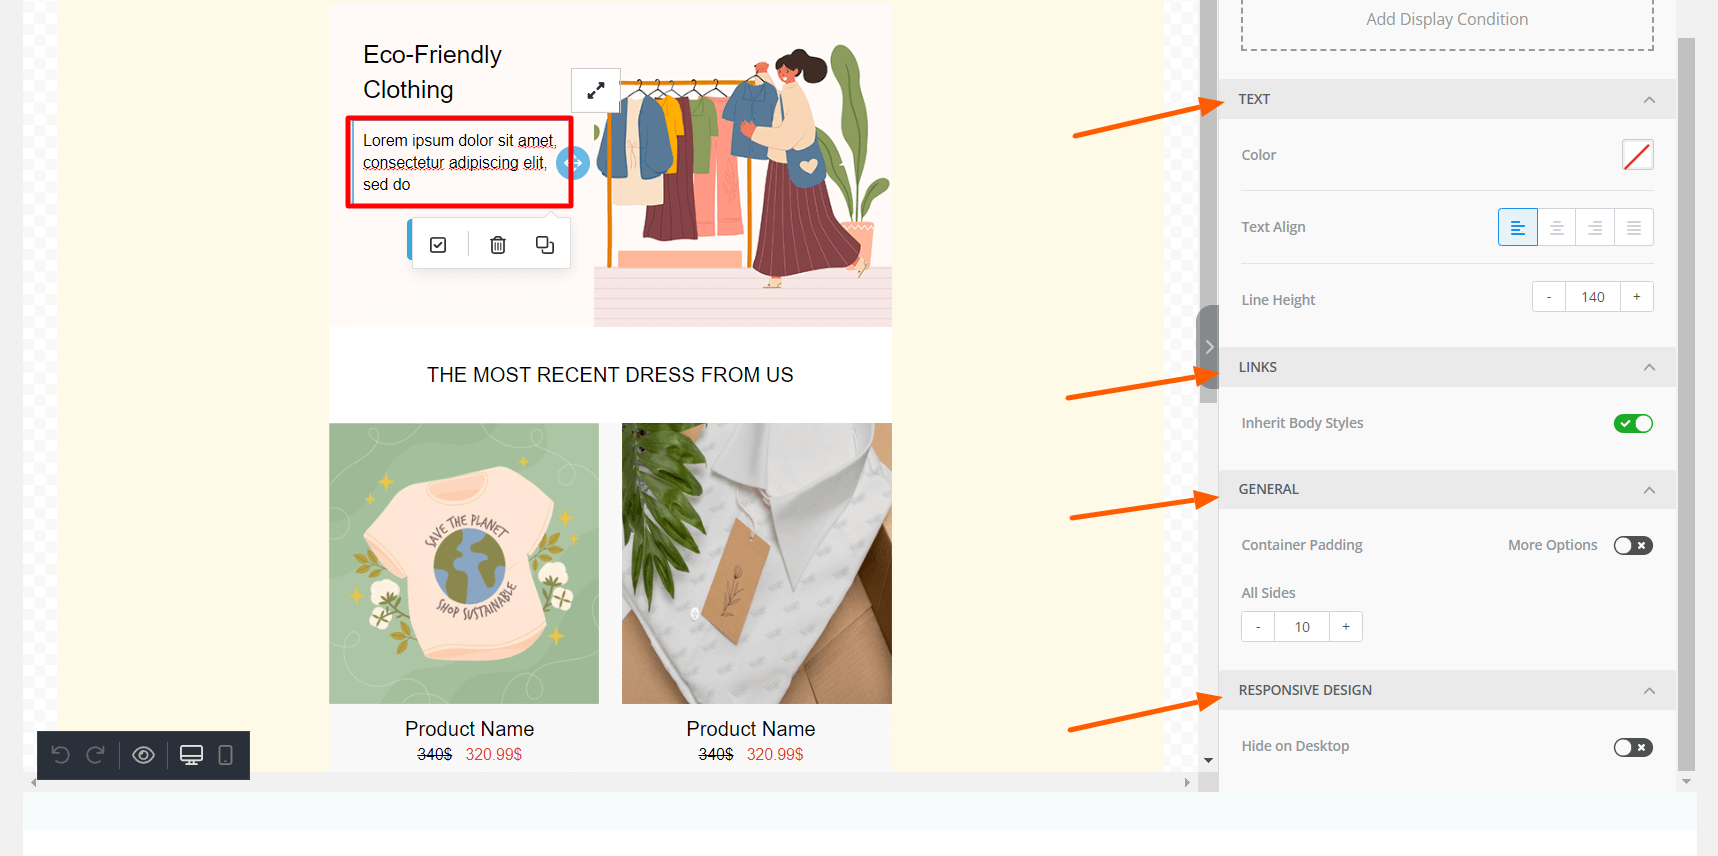
Text: Heading font options like font type, family, size, color, and other things are available here.
Links: If your heading have any link then you can customize the link options in this section
General: You can set the padding in the general section.
1.3 Text #
The text field is for adding text to your email body.
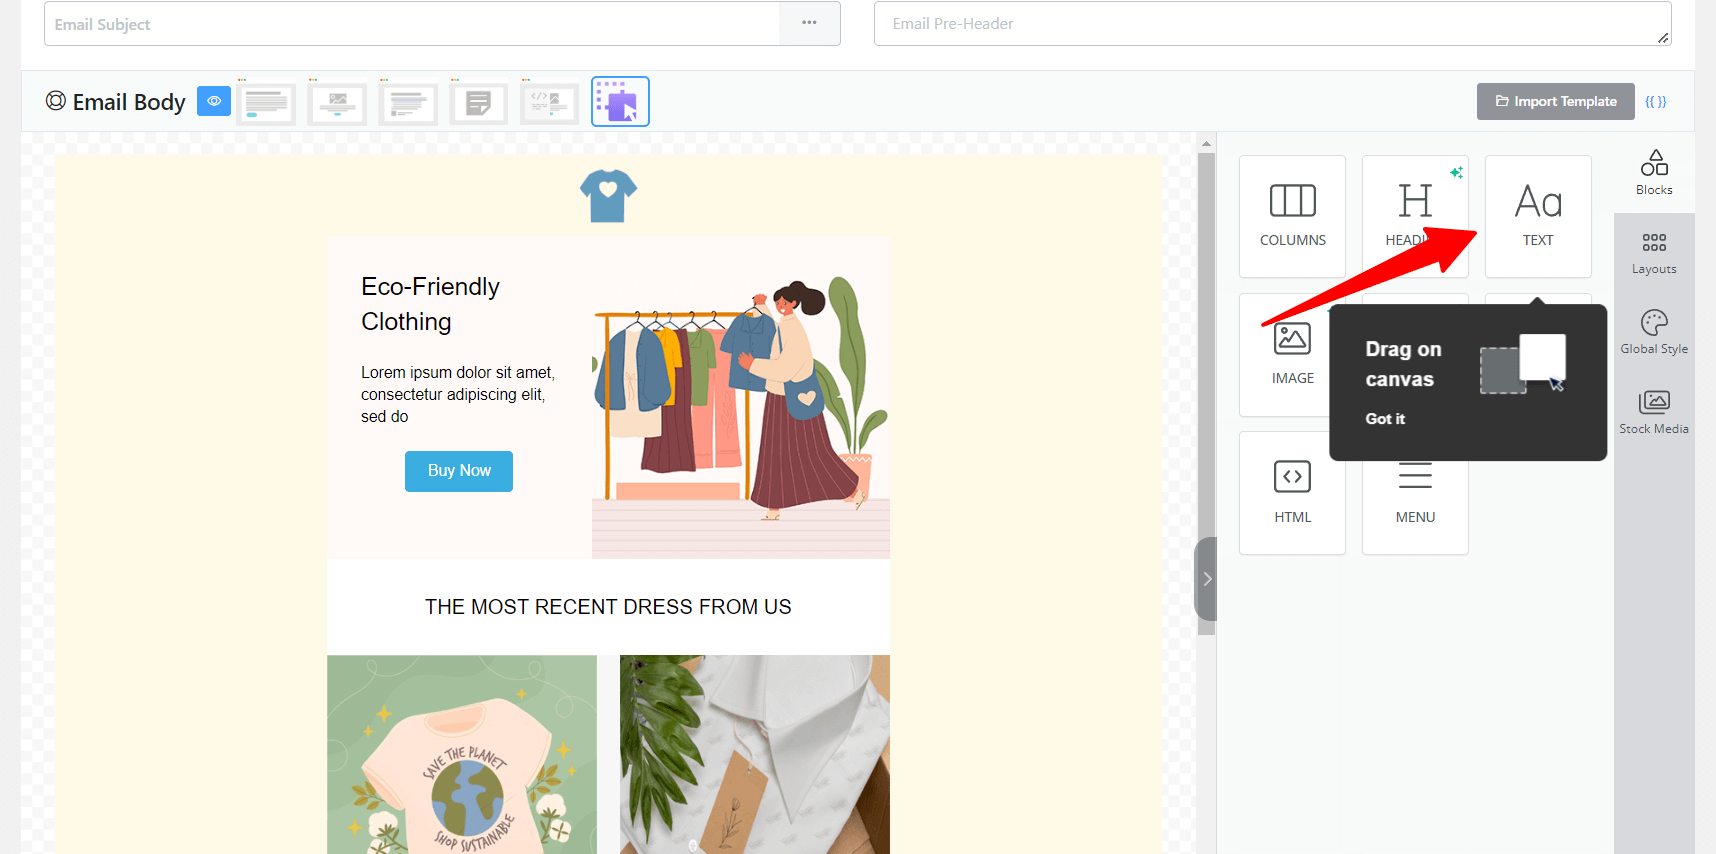
Personalize the text designs and you will find out a lot of options for your text. You can change text color, size, align and size from here.
1.4 Images #
If you need to use an image in your body just simply add the Image from the Block section. You can directly upload the image from your device.
You can also use the Smart image or Stock images from the more options.
Magic image: This option will give you the most different experience of an AI image generator. Hover over the Generate Image. Just type some detail about the image you want. The AI image generator will auto-create the image for you.
Image: Also you can upload images from your device. Select the upload image option and choose your file.
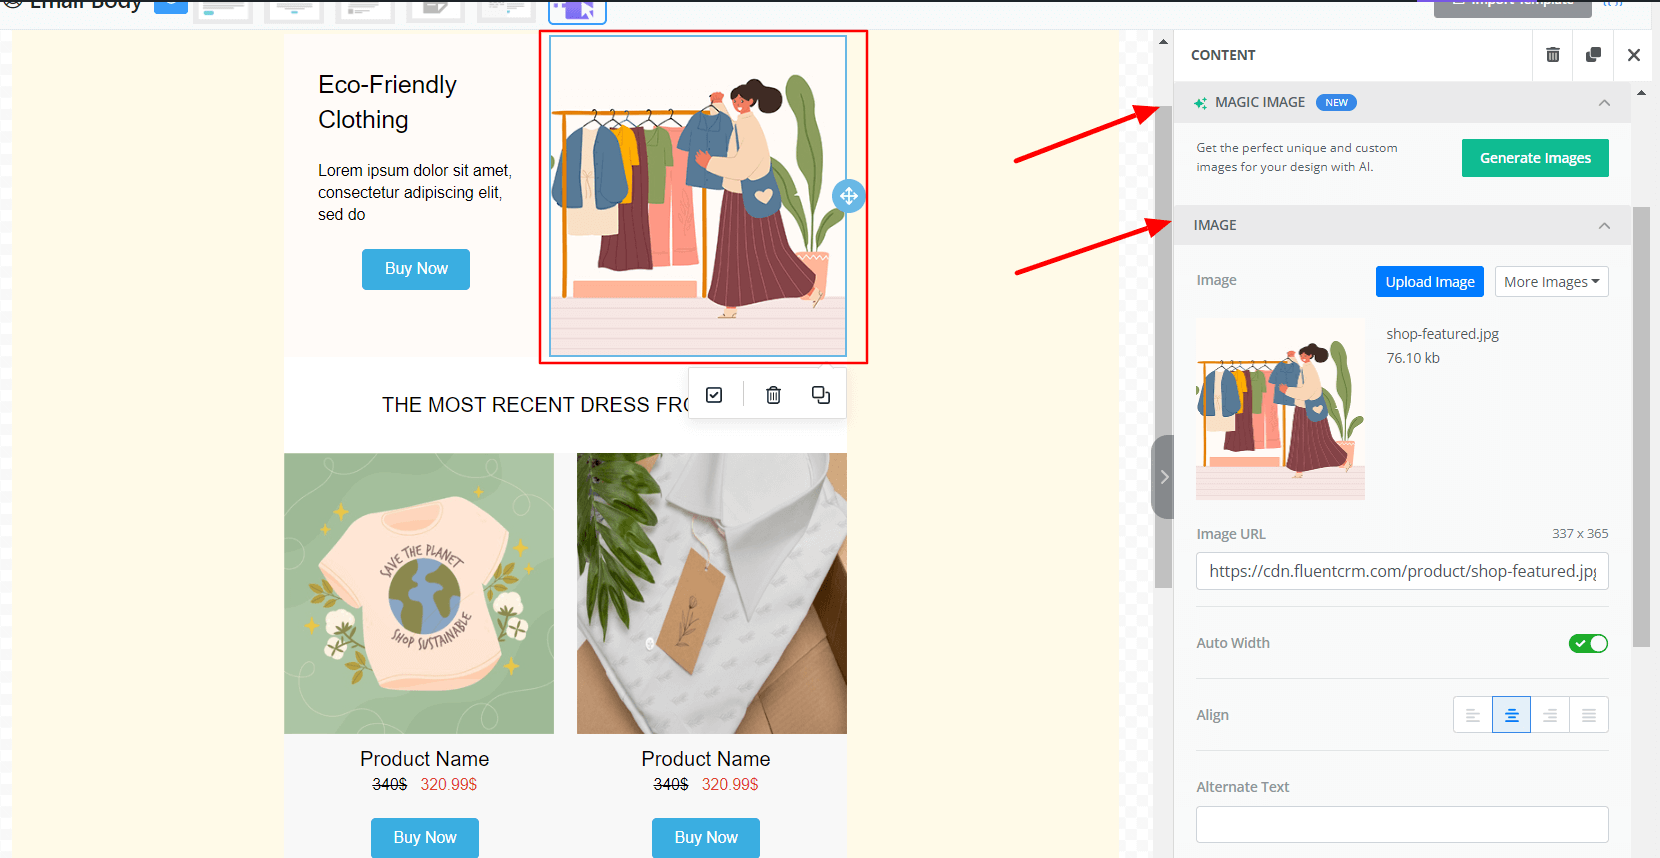
More image options will give you interesting images from Unsplash, pixels, and pixabay and all of them are free.
Also, you can set the image width to align manually.
Action: To set any action for your image first select the Action from the right dropdown menu. Now give the required info in the input field following your action.
General setting: This is for your container padding.
If you want to enable Hide on the desktop the image will be only shown on responsive devices.
1.5 Button #
If you need an action button on your visual email body select the button from the option and place it in your email.
Display Condition: Set the condition for your segmentation.
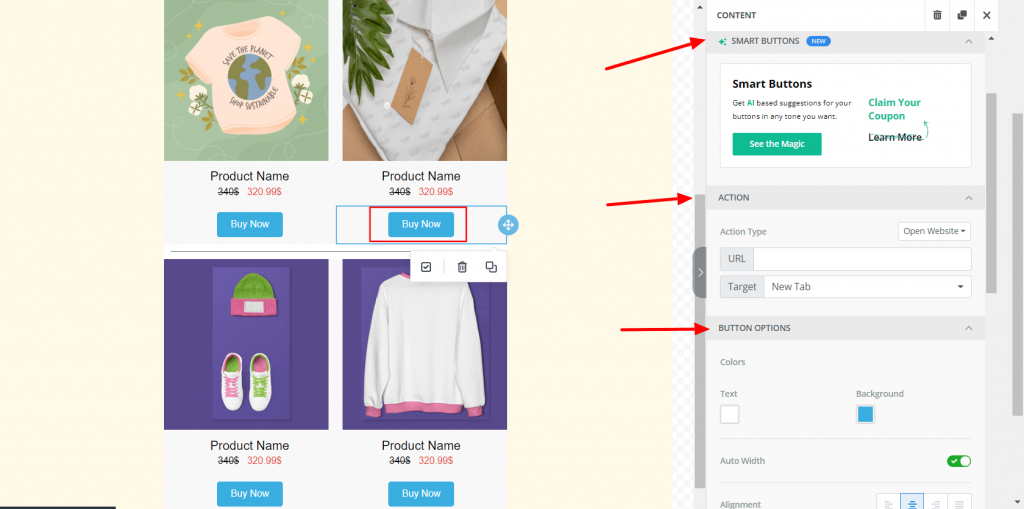
Smart Buttons: If you want a Smart suggestion for your button just type your text and the AI will give you some suggestions for your button.
Action: This option is for the action of your button. You can link any website URL, send emails, and call phone numbers with this button. Just set the action and customize the fields as required.

Button option: For the color and alignment of your button go to the button option.
Spacing: You can set the positioning of your button. Also, design the border of your button.
1.6 Divider #
The divider is made for a visible divider line in the section. So if you want a divider on your email body. Select the divider section and drop it into your visual email.
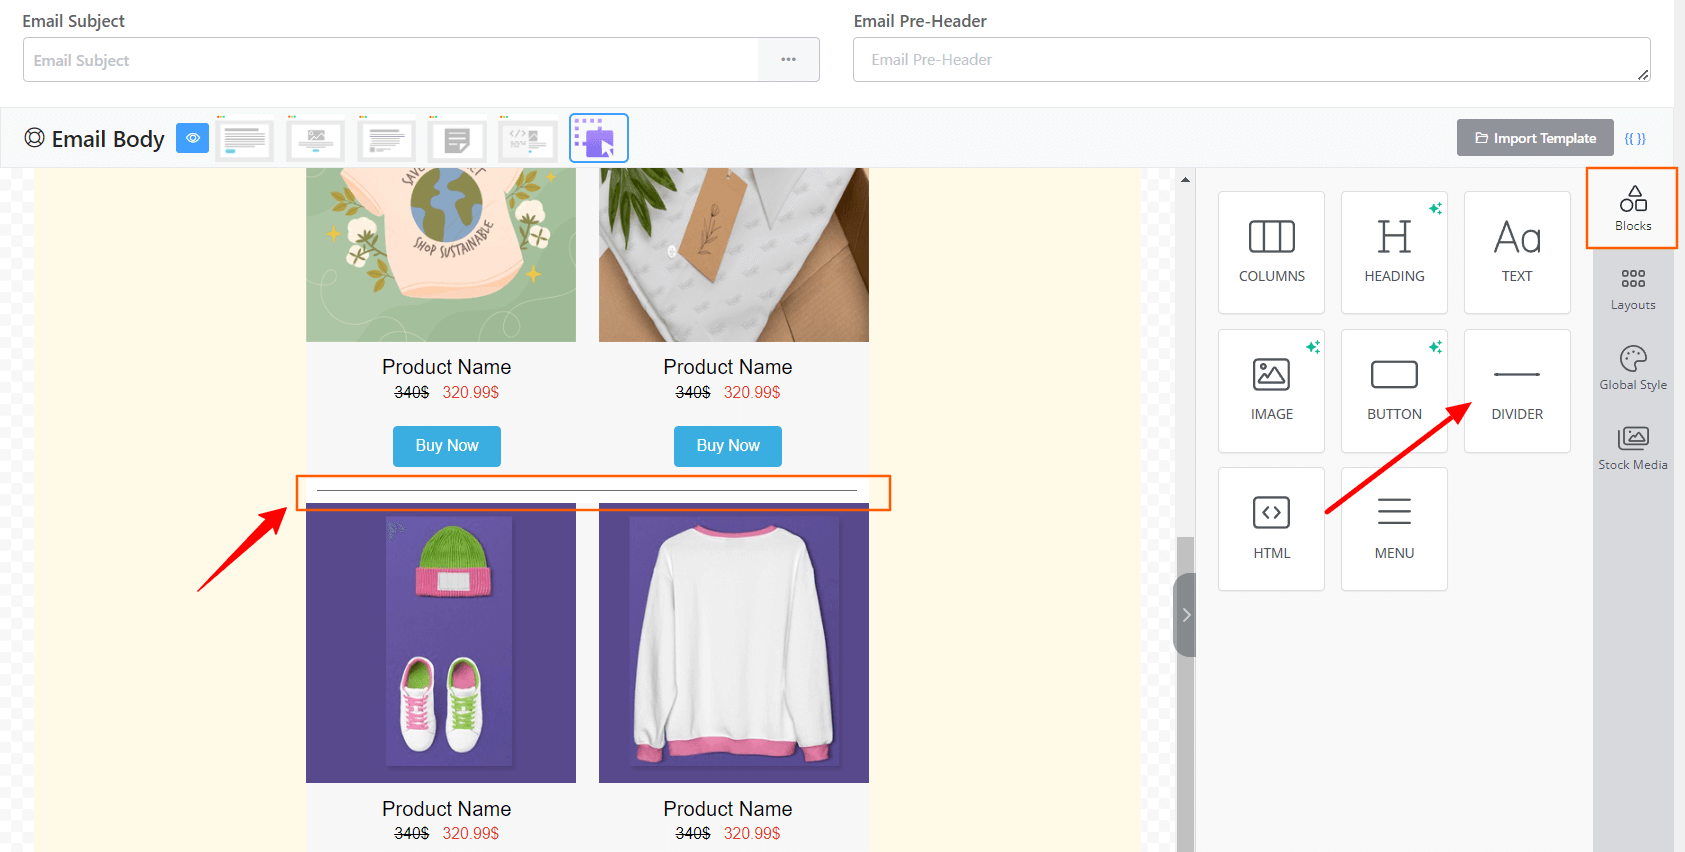
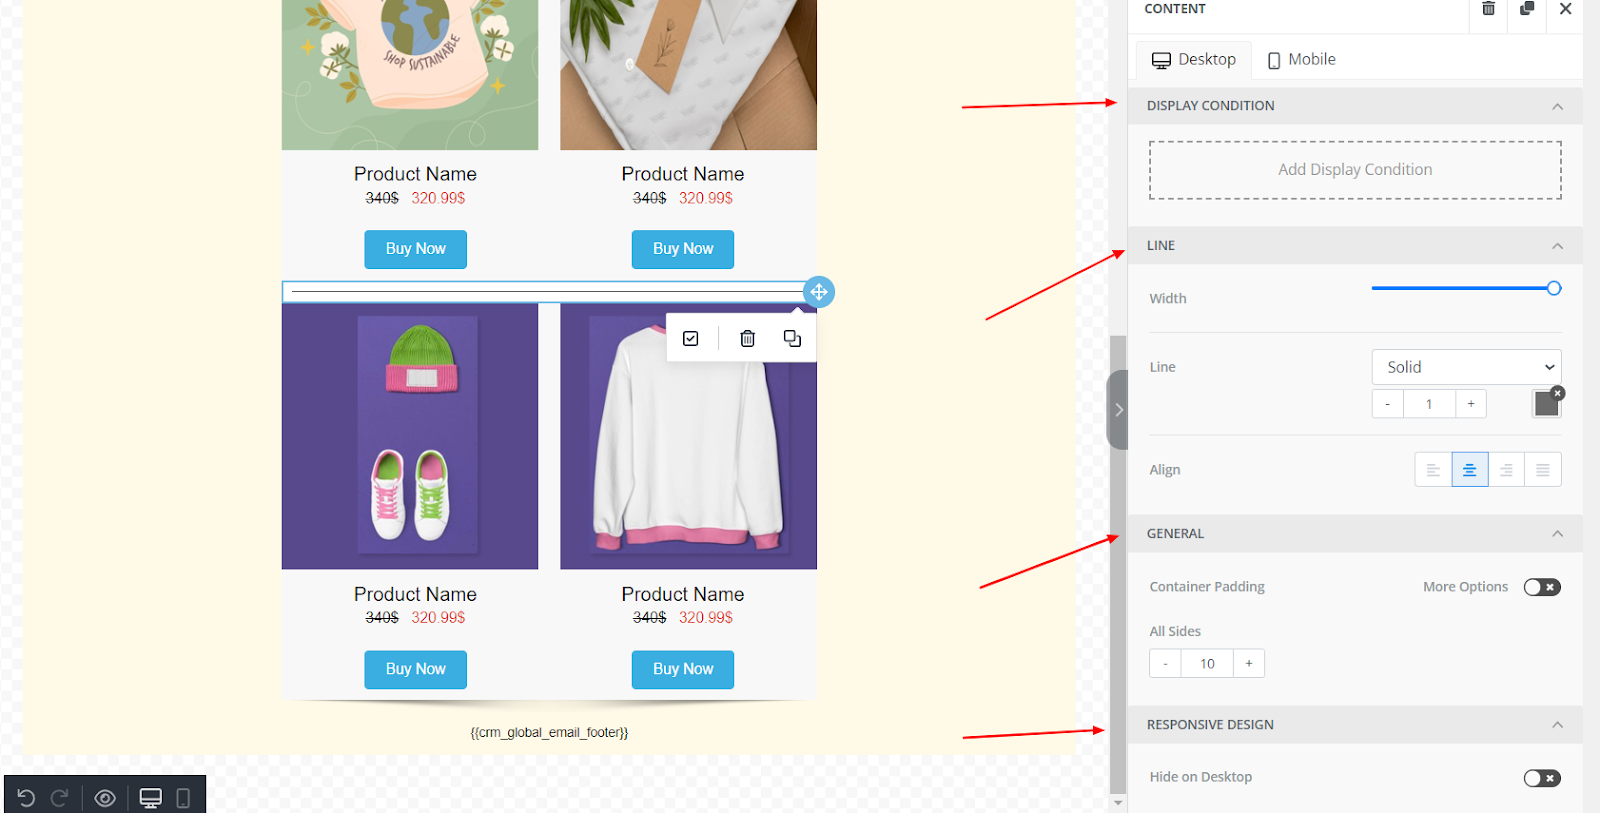
customize your divider from the options held on the right side.
1.7 HTML #
HTML will allow you to use codes in your email template so you can design your visual email with your custom HTML and it can be changed by the HTML blocks.
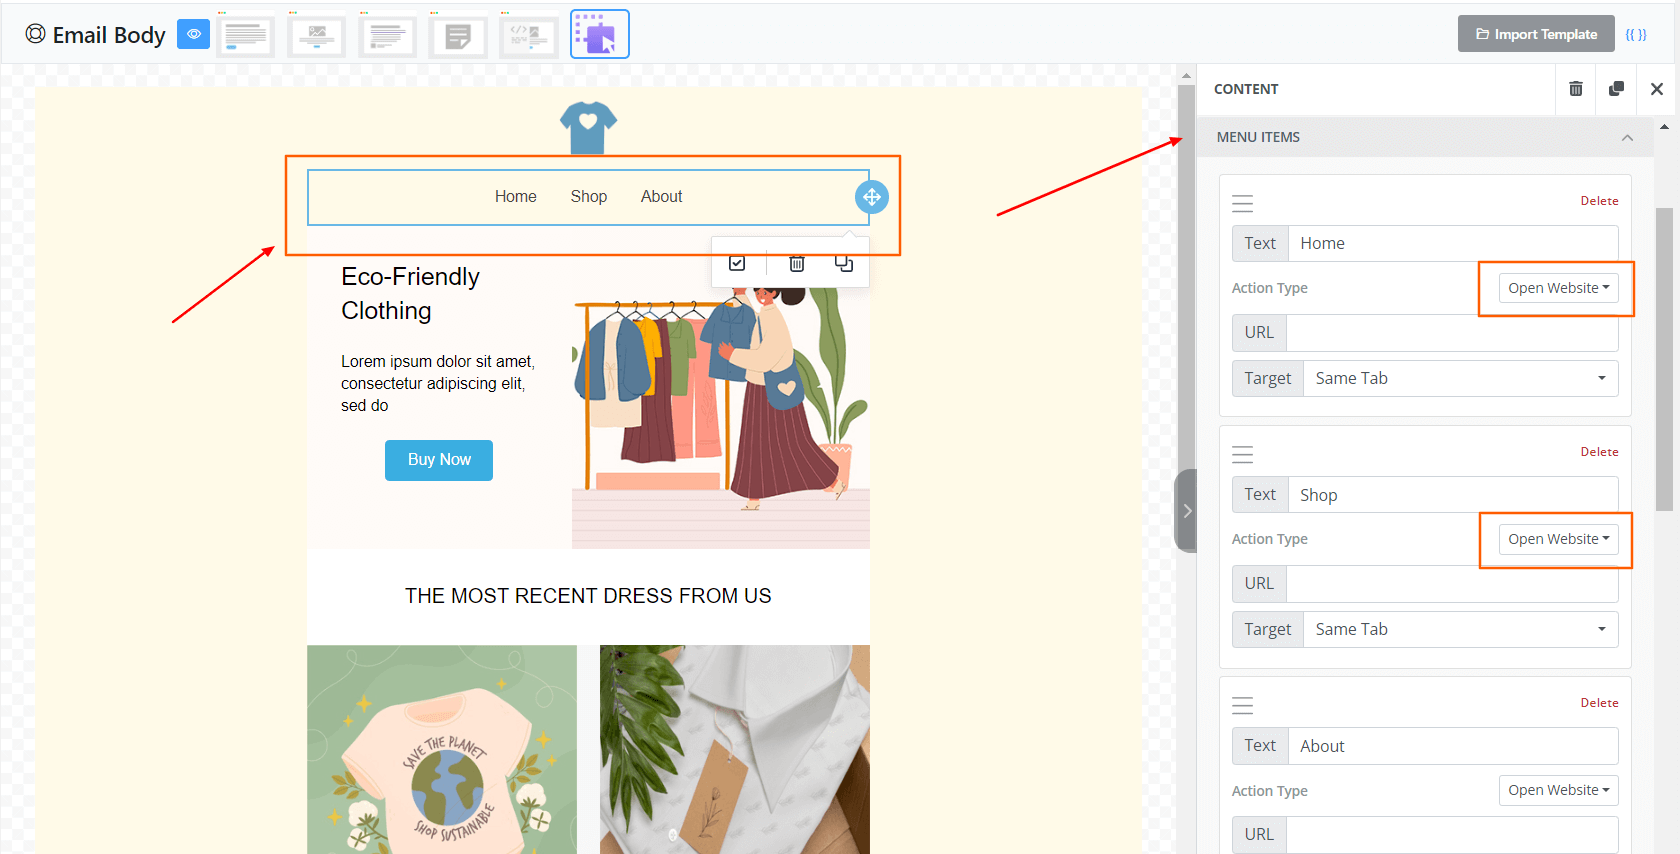
1.8 Menu #
If you need a menu bar for your visual email body then grab it from the options and drop it into your email body
Menu Item: Type the menu name and set the action from the drop down list and customize the input field, if you need more menu items then press Add new item.
Styles: Styles will give you the options to design your menu bar. You can change the font size, color, and link color and align them also.
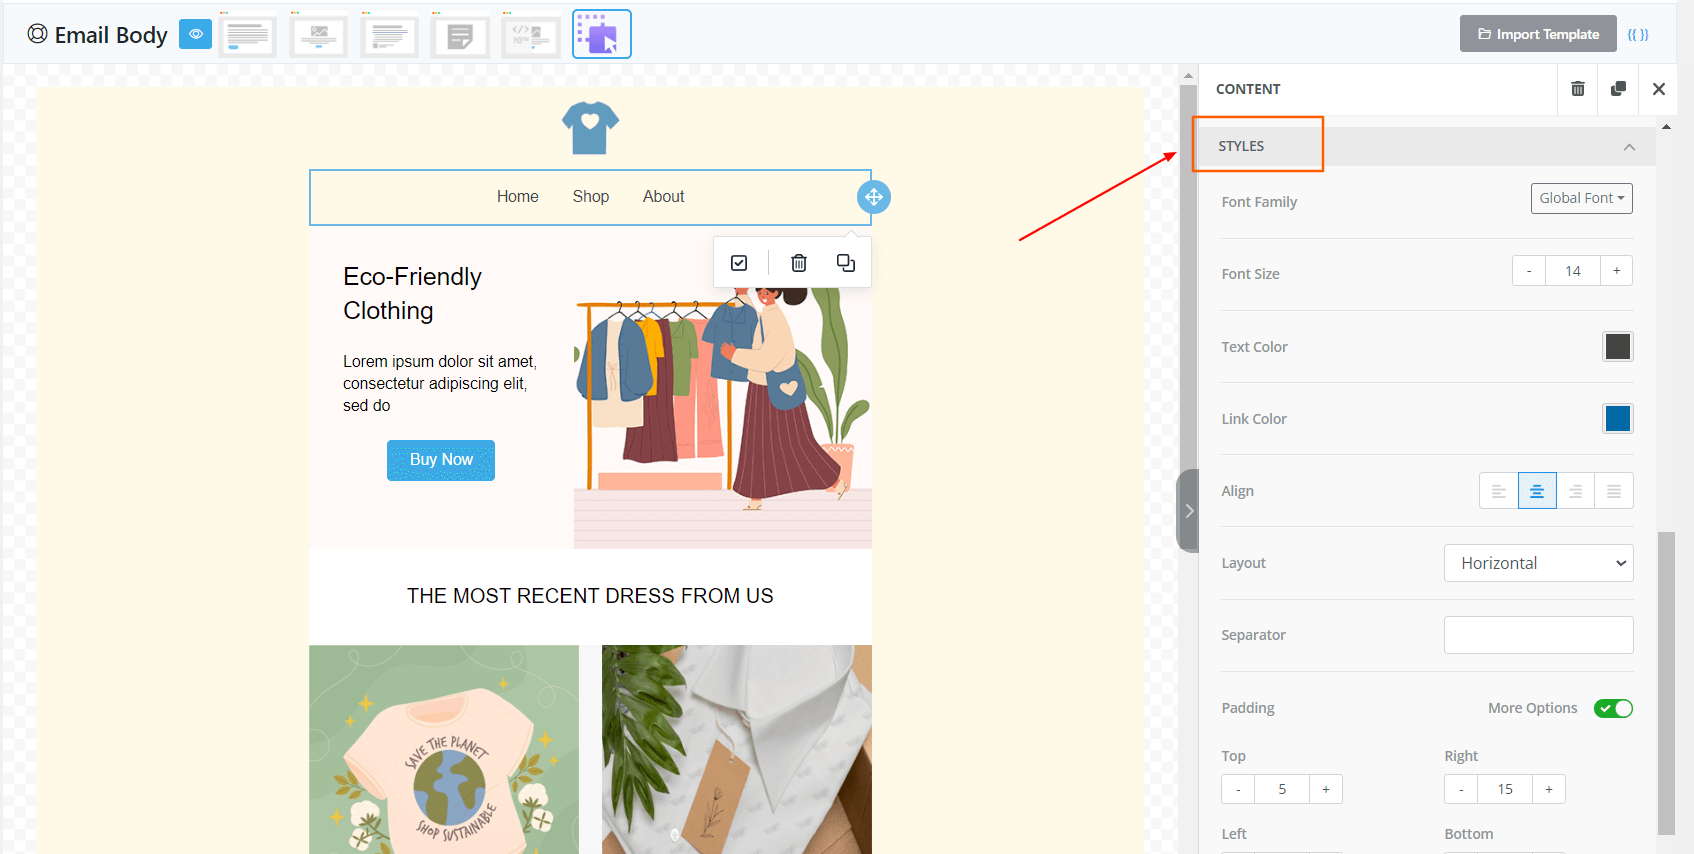
General is for container padding.
Layouts #
In Layouts, you will get two options: Blank and Pre-Made Contents.
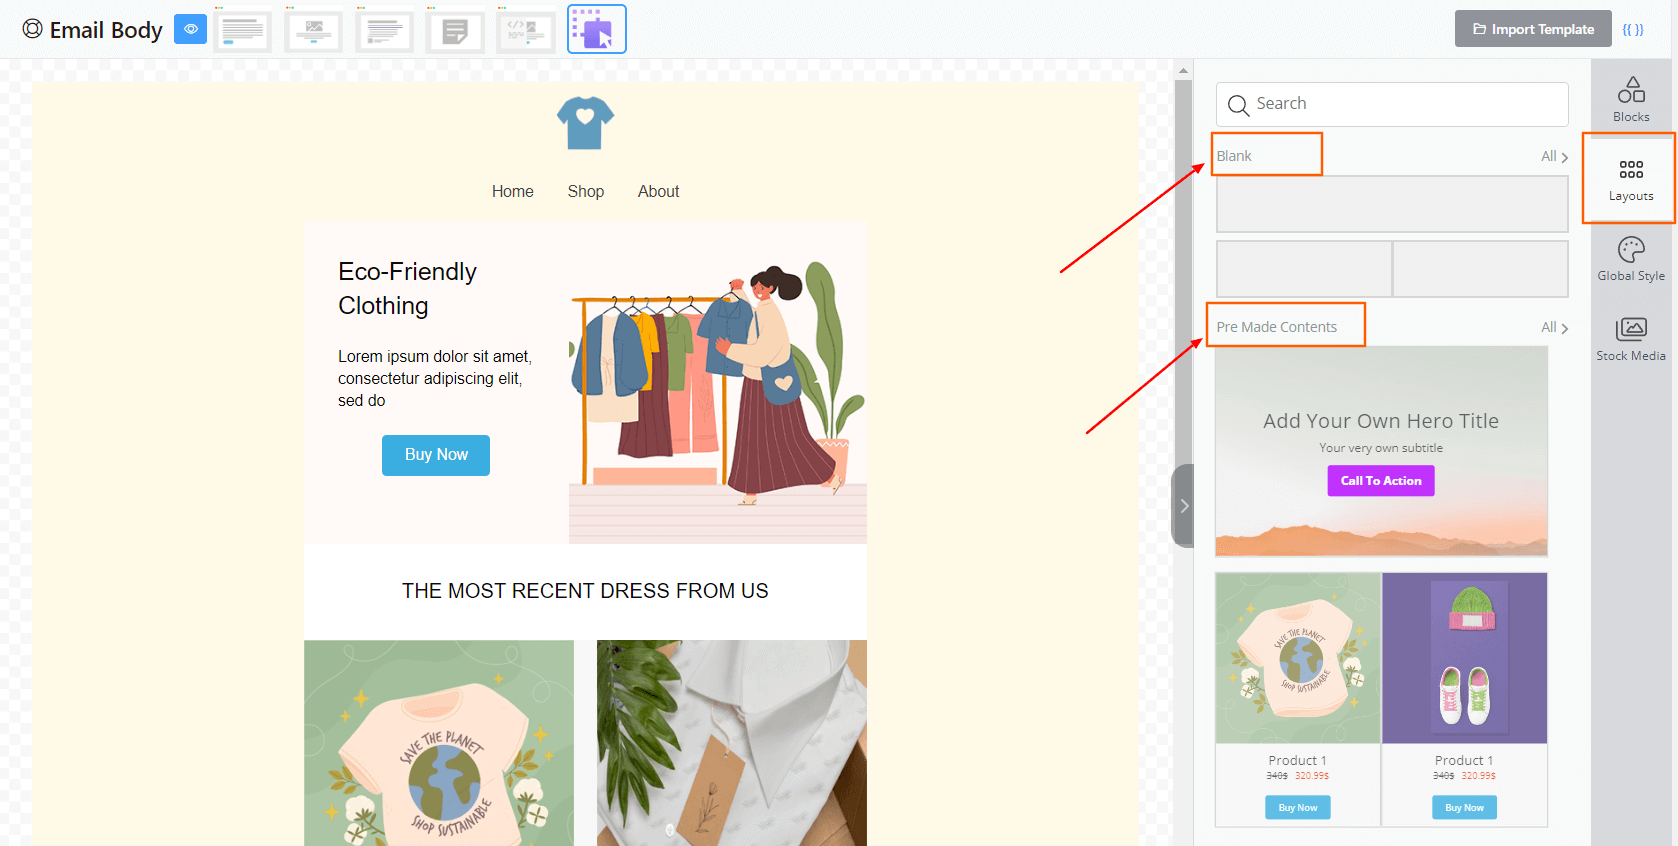
2.1 Blanks #
From Blanks, you can take a row per your customization needs then drag and drop it and take the column you want.
2.2 Premade Column #
Here you will have three default layouts for you just drag and use the template.
Column properties: Column properties are for the background color also you can adjust the padding and border
Row properties:
It’s for the background color or content background color. You can also set a background image for this section of yours.
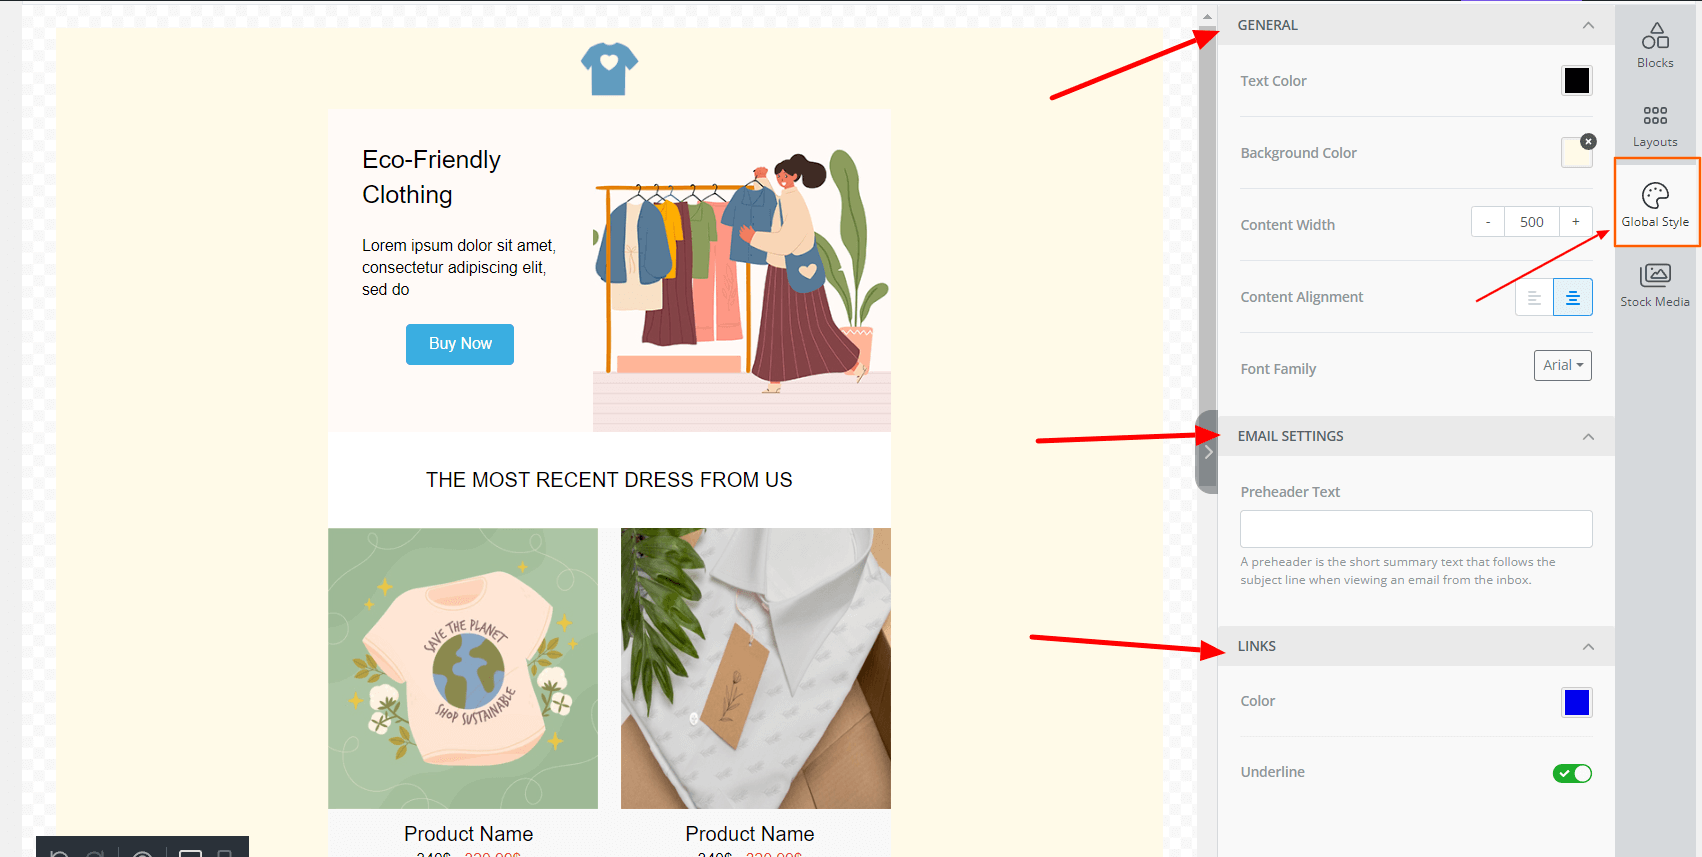
Global Style #
Here you can adjust the text color, background color, width, alignment, and font family. You can also set Email Preheader for this visual email.
Stock Media #
You can find a lot of great photos here. These photos are from unsplash, pexels and pixabay. It’s free to use. Just grab your chosen one from here.
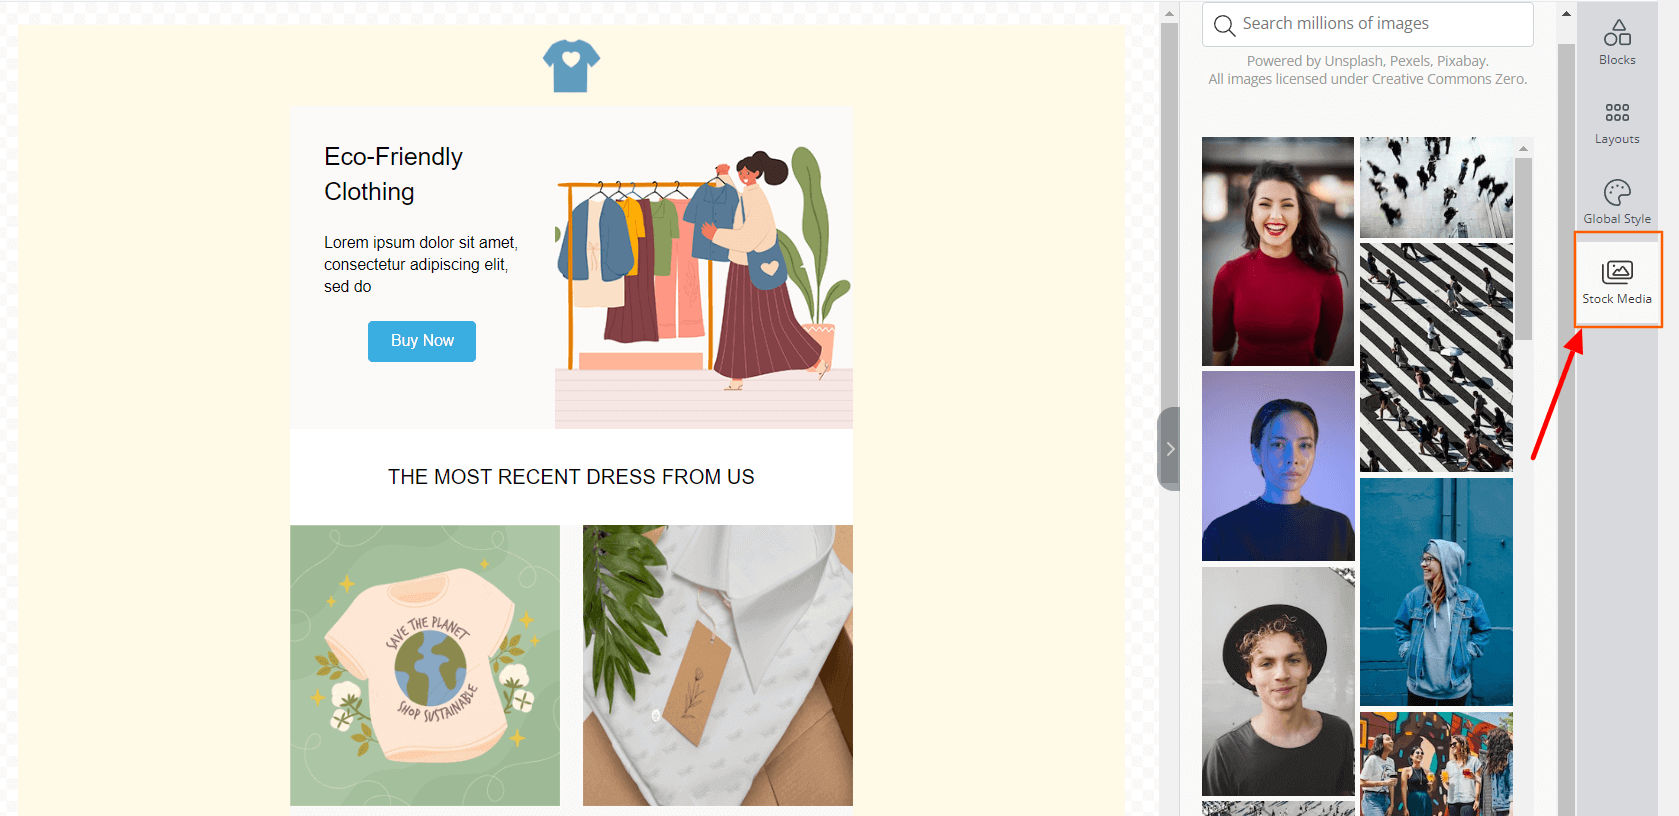
Image-related necessary options are available on the right side just customize them and save them as you want.


Hi,
how can I use posts from wordpress to be shown in the newsletter using the fluentcrm visual builder?
Hi Christian, you can import posts only with the block editor. We will be adding this feature in the next few updates.
How can we change the background image of the Pre Made Contents “Add your own Hero Title”? I cannot find any option. Only the mountain drawing remain !?!? thanks
Same question !! Never be able to find out !? This sky and mountains template drawing remains and is useless if you cannot change it! Must be a way 🙏 Someone can help? Thanks
Hi Caterina and Sylvain, You can change the background by Selecting the Primary (Column) block and clicking the (Upload Image) button. You may need to scroll a bit to find the button.
Why does the font type I use in visual builder not render when I send an email, forcing the email to use Arial font, not the one I chose, which I don’t want?
Hi Suhail, You’ll need to set the font from global style.