
You can pre-fill FluentCRM contact data into Fluent Forms fields with a few simple steps. This feature enhances user experience by saving time and providing a seamless, personalized touch as their information is automatically populated.
This guide will walk you through the steps to automatically populate form fields with FluentCRM contact data.
Only logged-in users will see the pre-filled form fields with FluentCRM data when submitting the form.
Enable the FluentCRM Module #
Before using this feature, make sure FluentCRM and Fluent Forms are installed and activated on your website. Follow these steps to enable the FluentCRM integration:
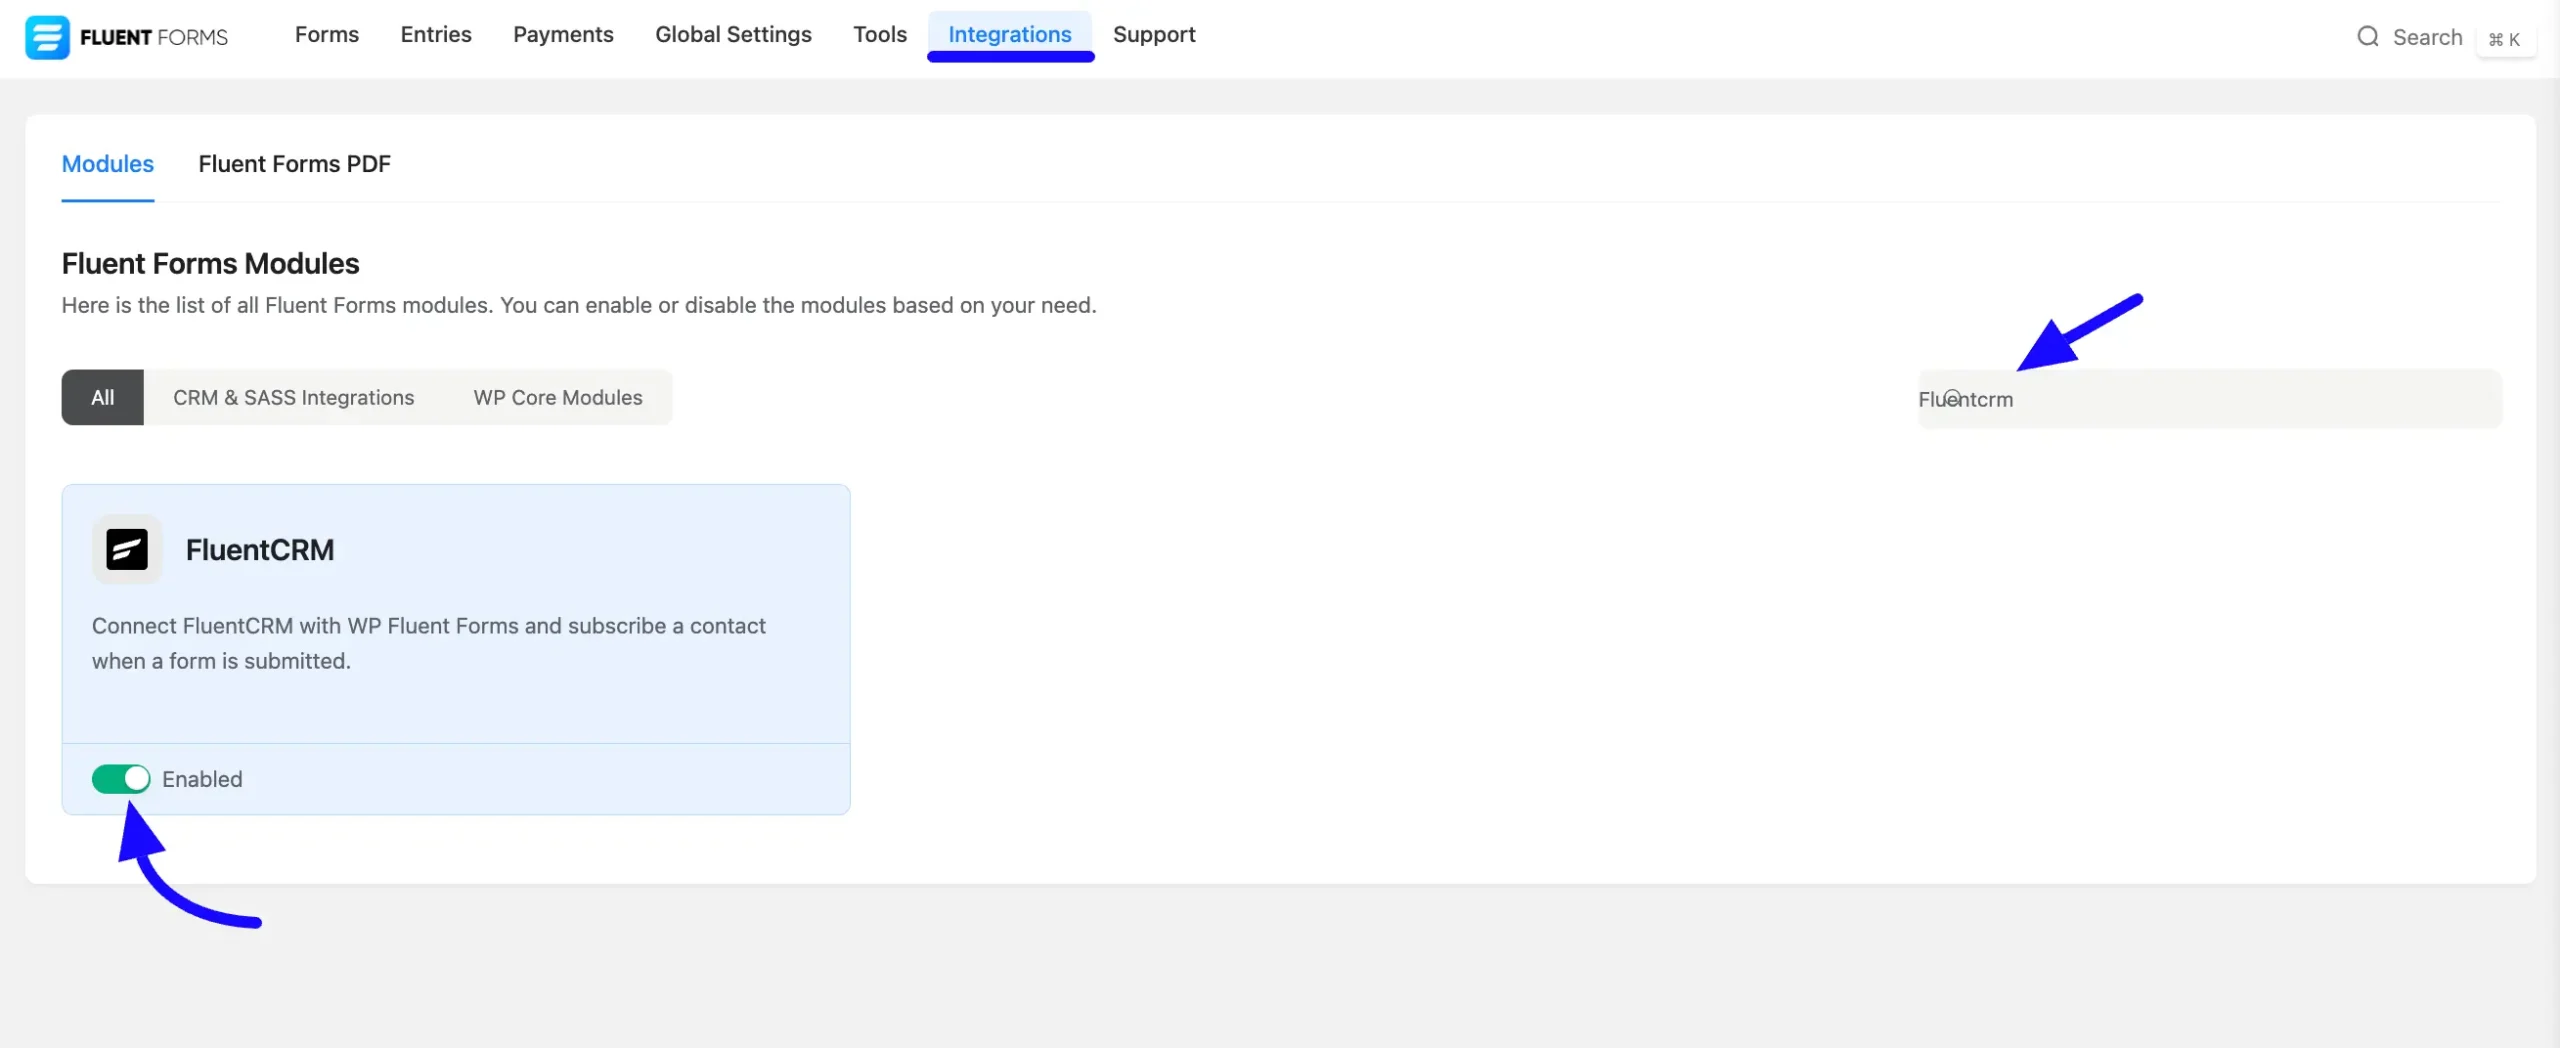
First, go to Integrations from the Fluent Forms Navbar, search for FluentCRM through the search bar, and get the FluentCRM integration module.
Now, turn on the Toggle to enable the FluentCRM module.
Using FluentCRM Smartcode #
To auto-fill form fields with FluentCRM data, follow these steps-
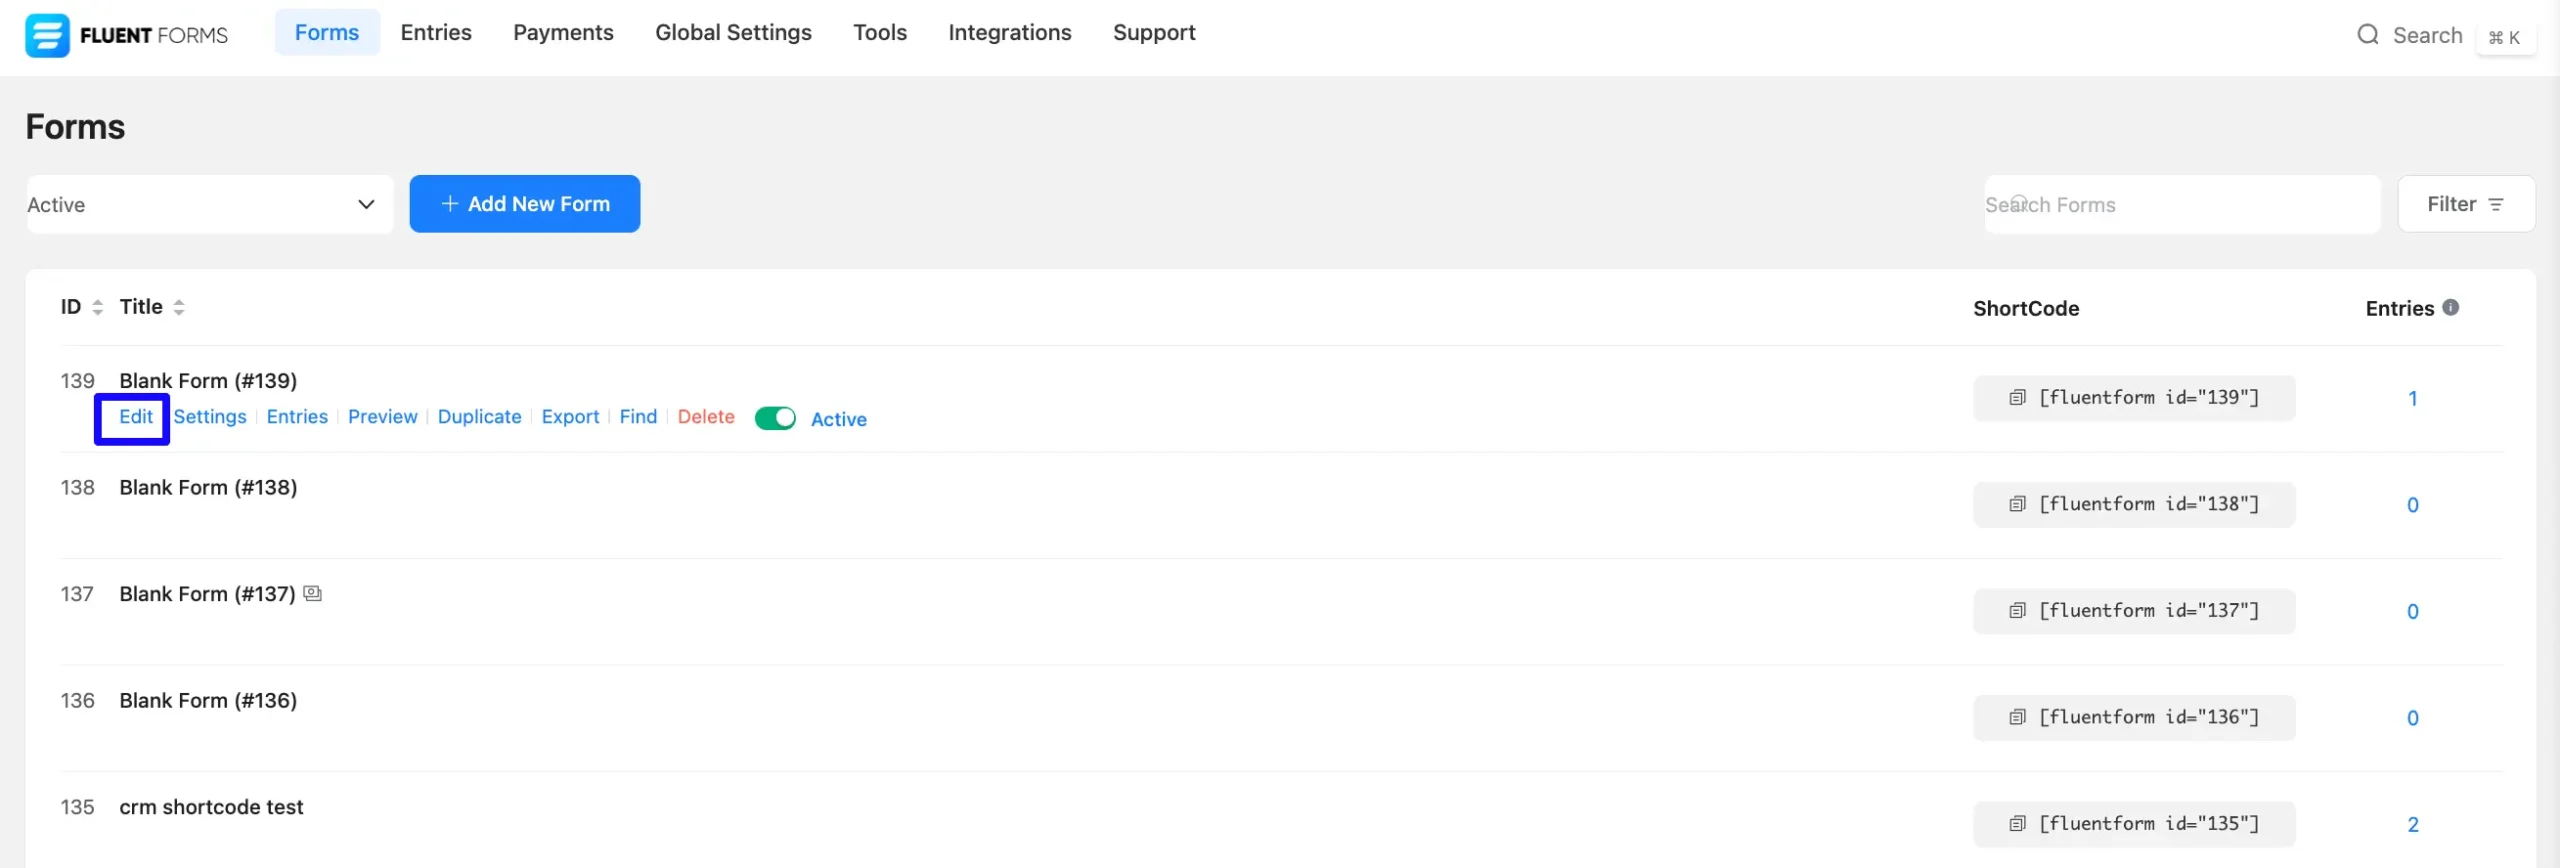
First, go to the Forms section from the Fluent Forms Navbar, choose a desired Form, and click the Edit icon to open the Editor page of that form.
If you do not have any existing forms, read Create a Form from Scratch or Create a Form using Templates documentation to create a new one.
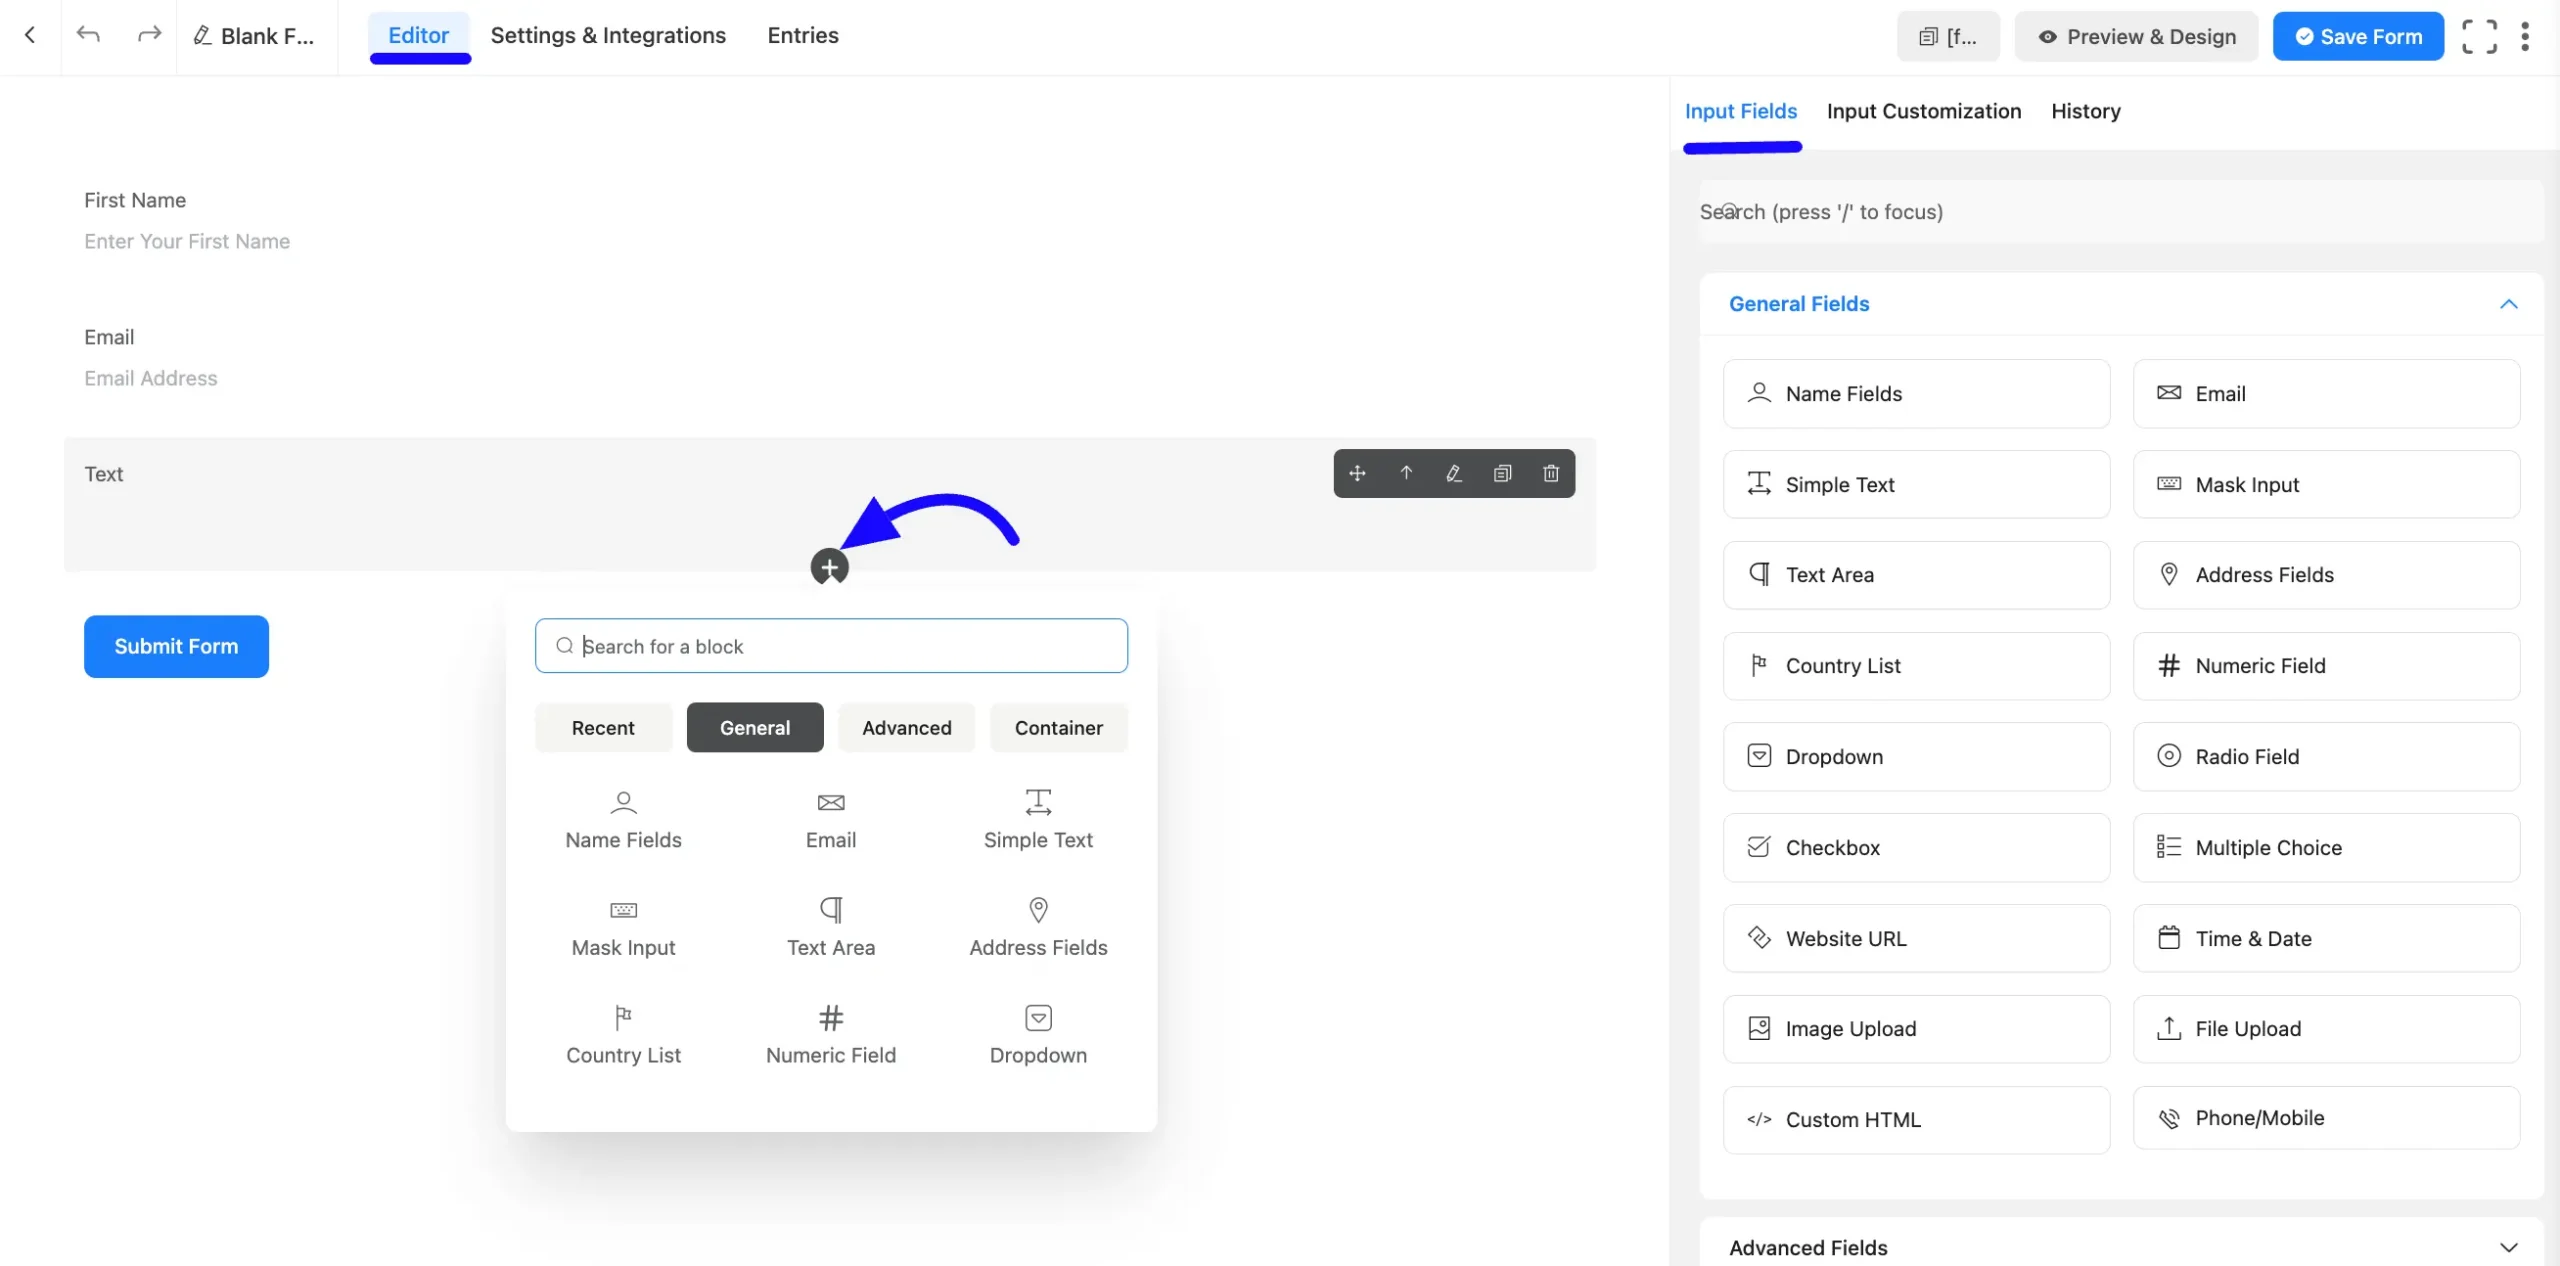
Once you are on the Editor page, click the Plus Icon in your form editor and choose the desired Field by clicking on it or Dragging & Dropping it into your editor.
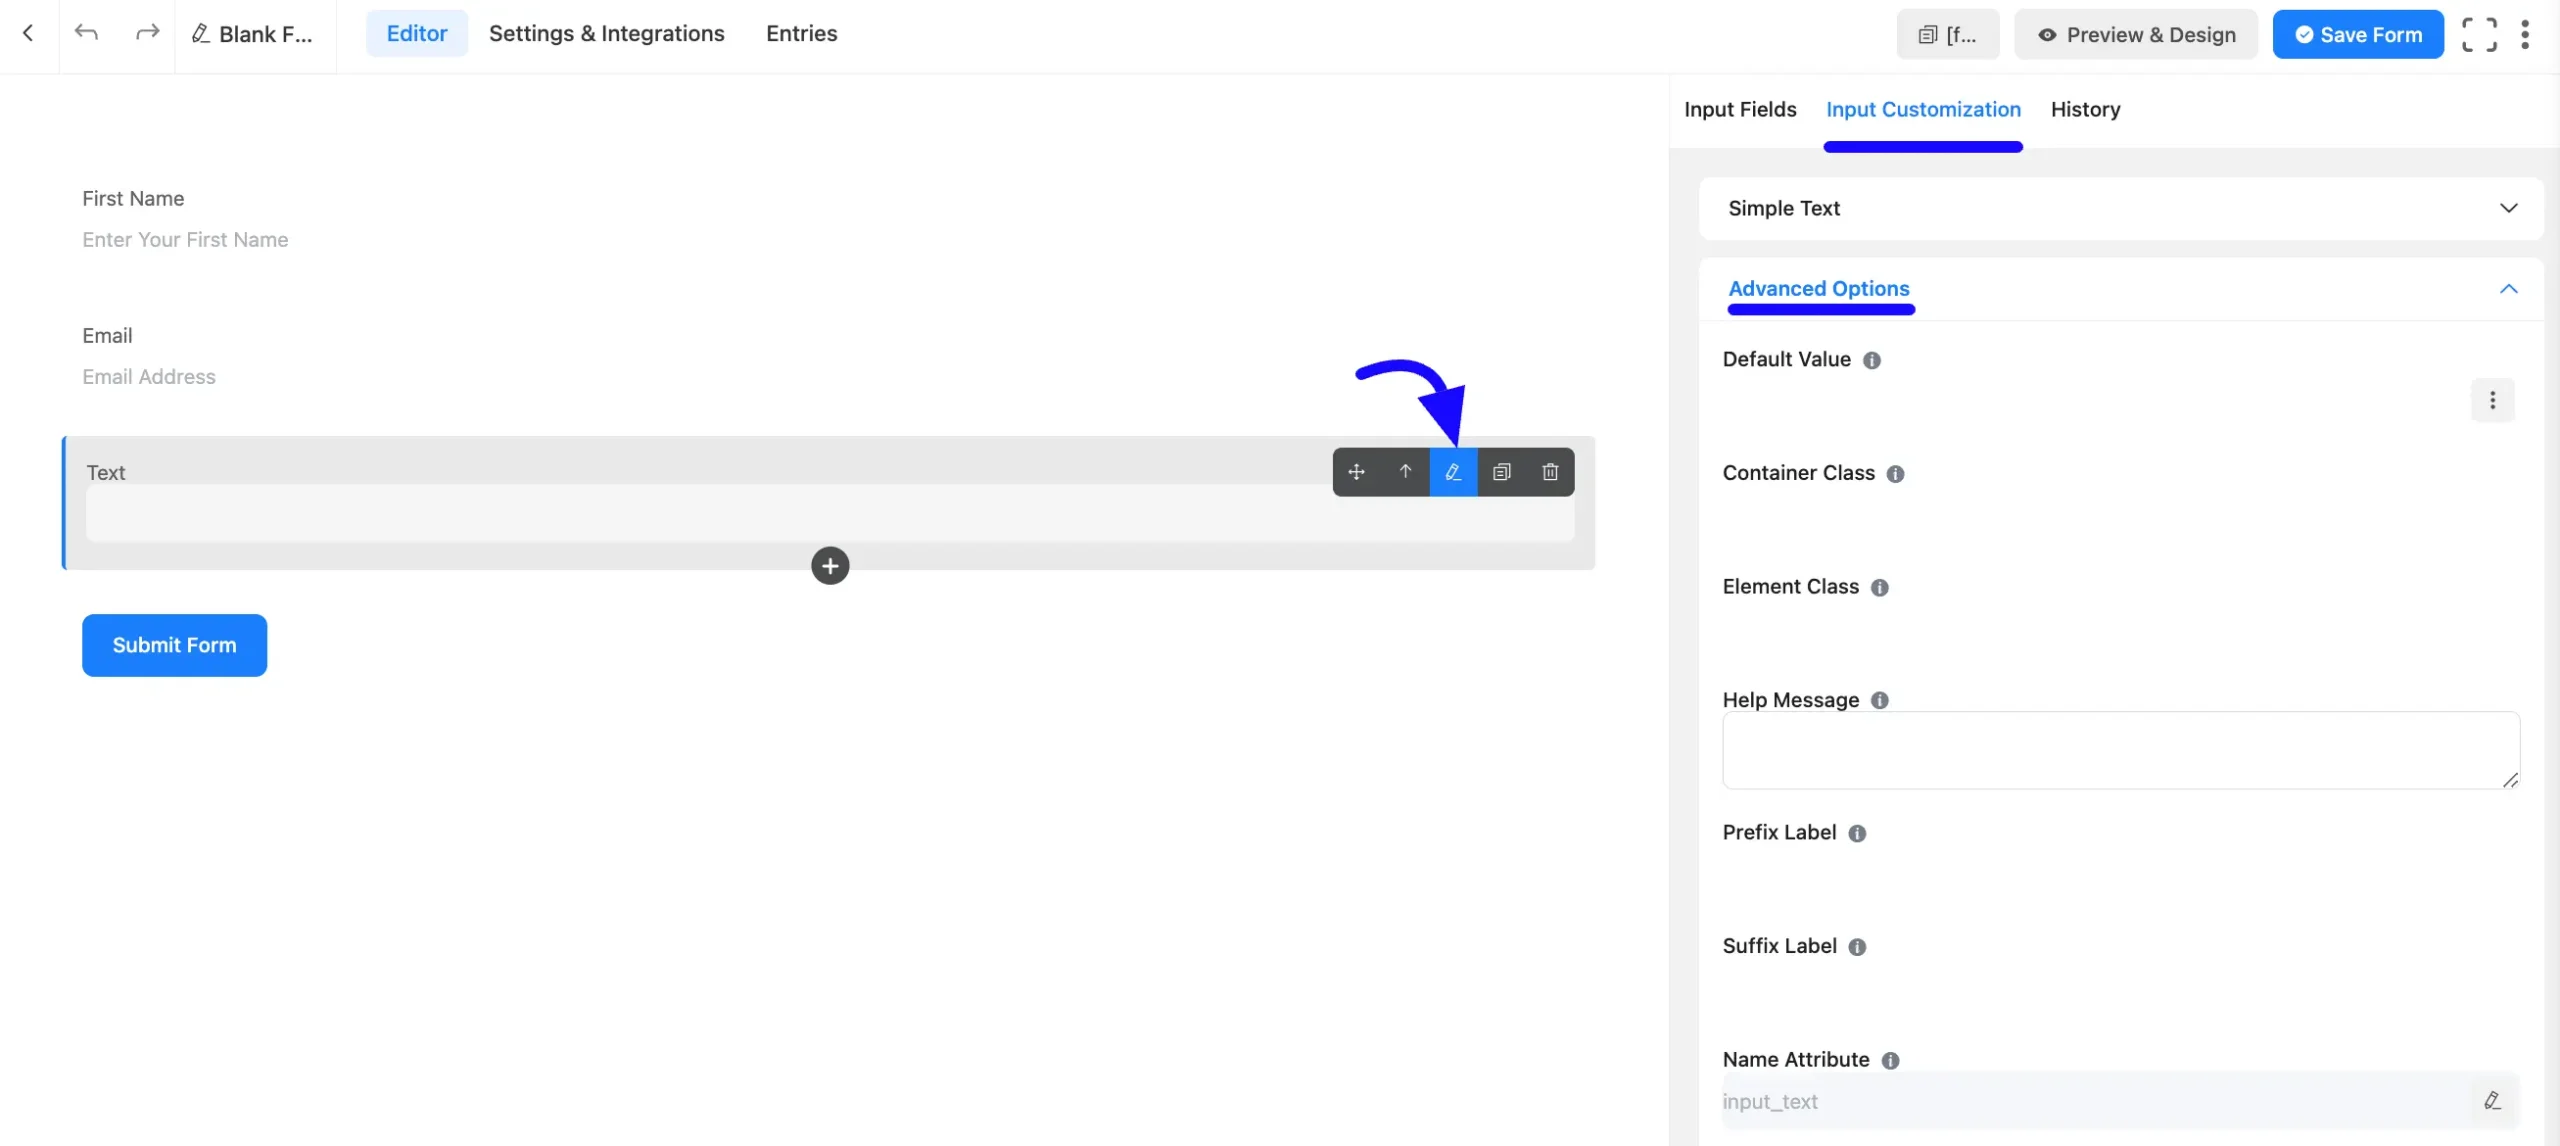
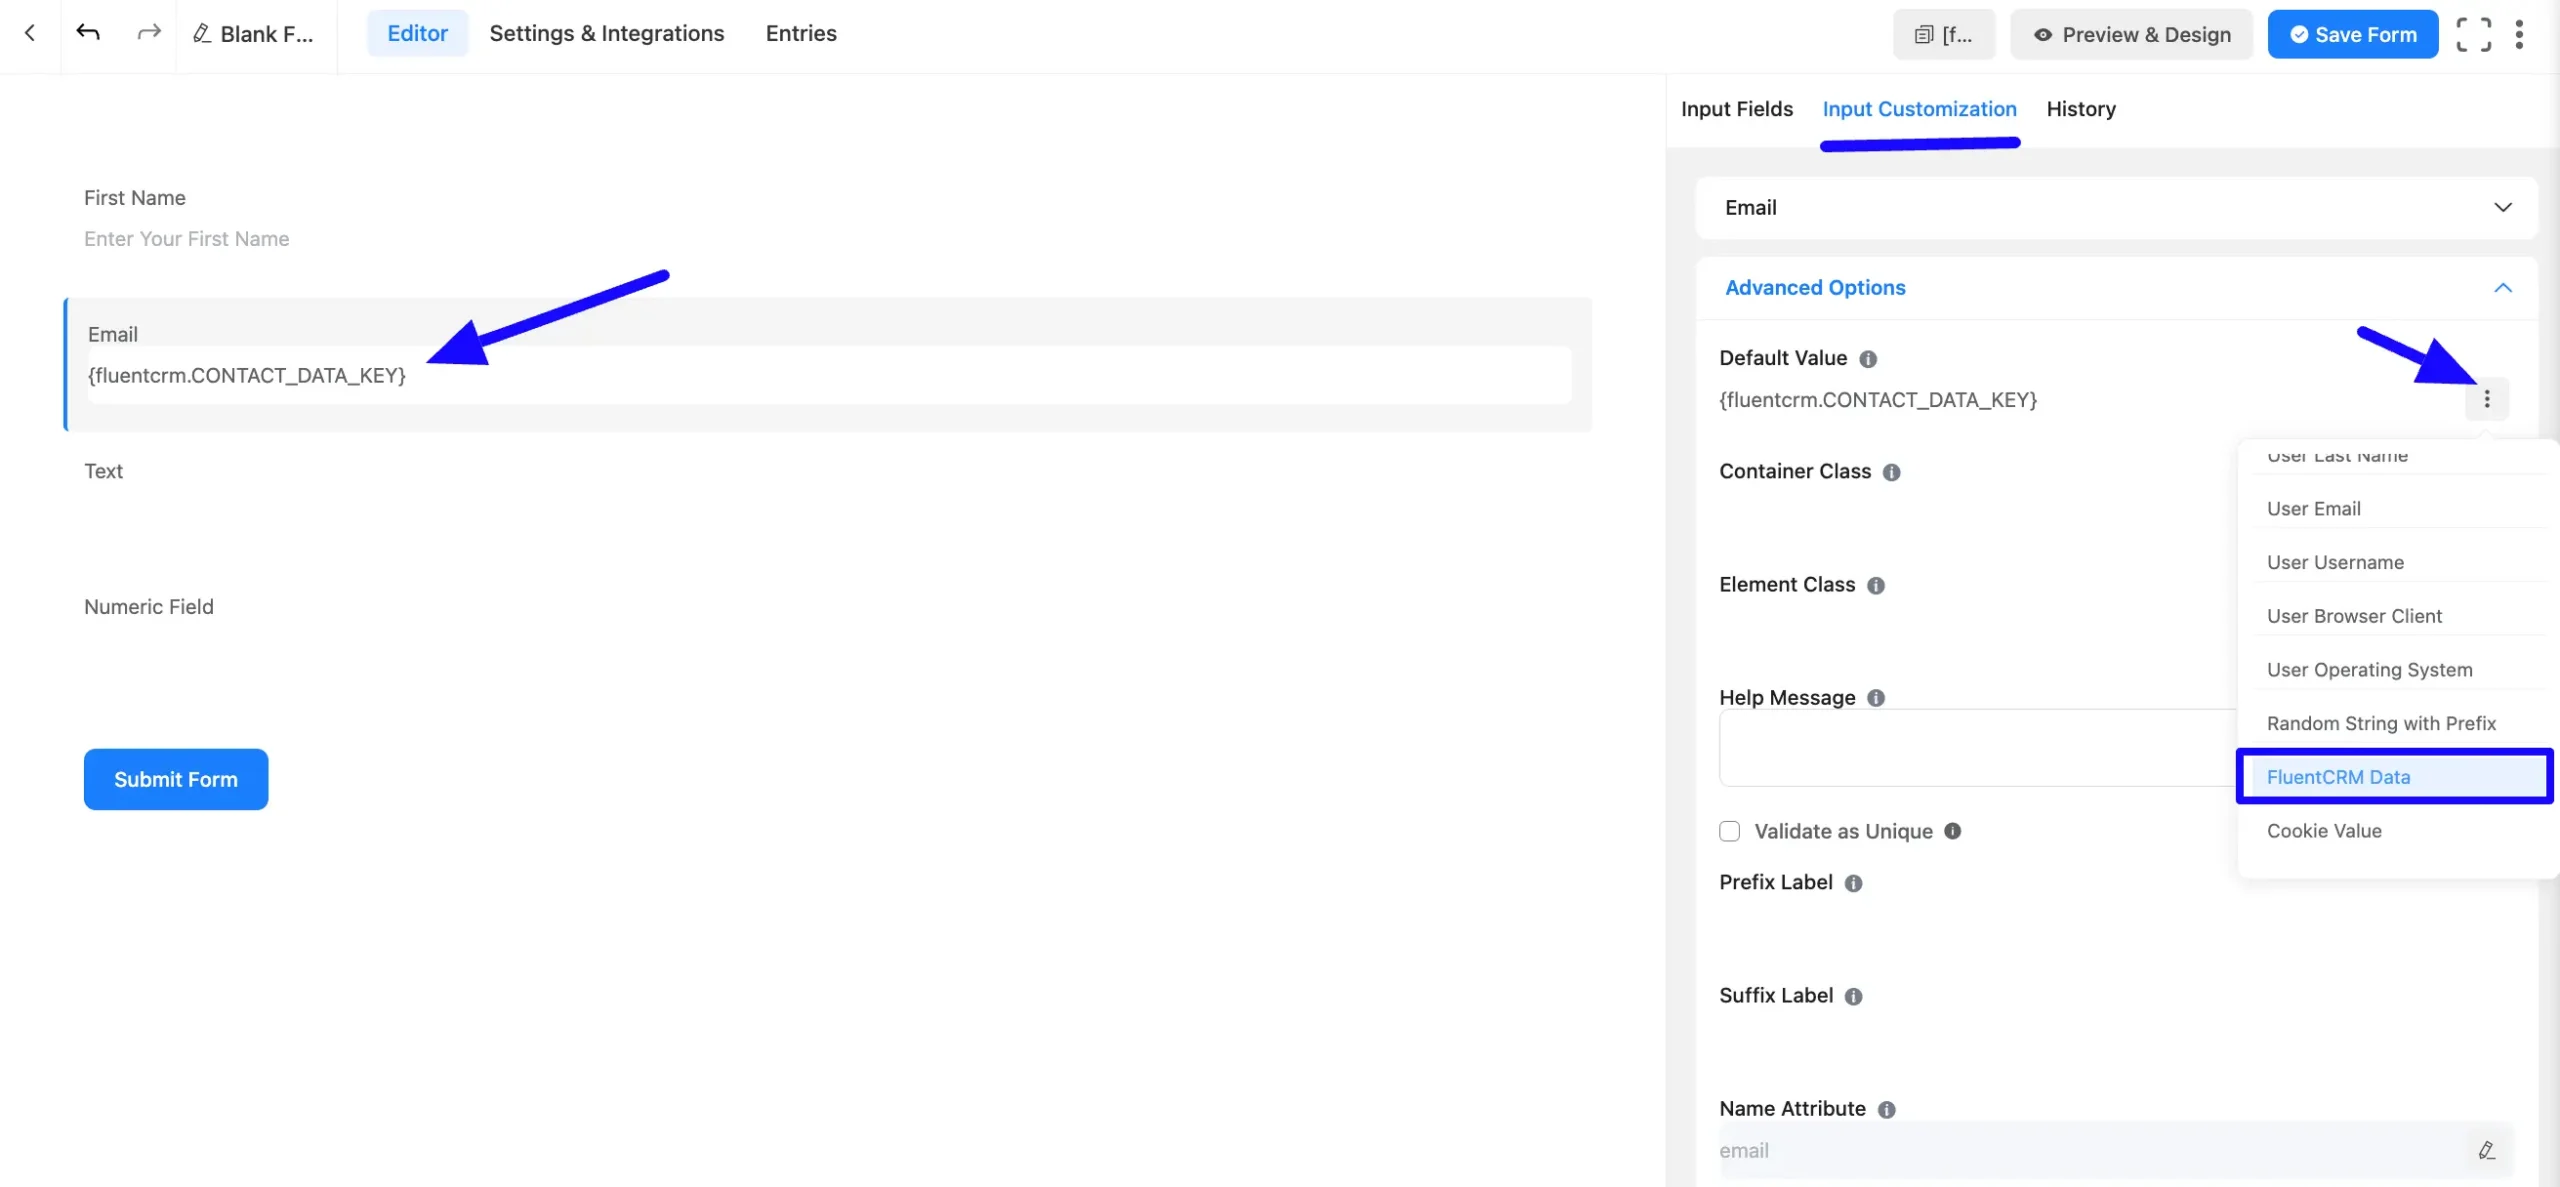
Now, hover over the newly added field and click the Pencil Icon. Navigate to the Input Customization tab on the right sidebar. Scroll to Advanced Options and find the Default Value field. In some Input Fields you will find this Default Value option as Dynamic Default.
In the Default Value field, add FluentCRM shortcodes to automatically fetch and populate data from FluentCRM contact information into the form fields.
Click the Three-dot Icon, then scroll down to find FluentCRM Data. Then click on the smartcode, and it will automatically appear in your field.
Insert FluentCRM Data into Fields #
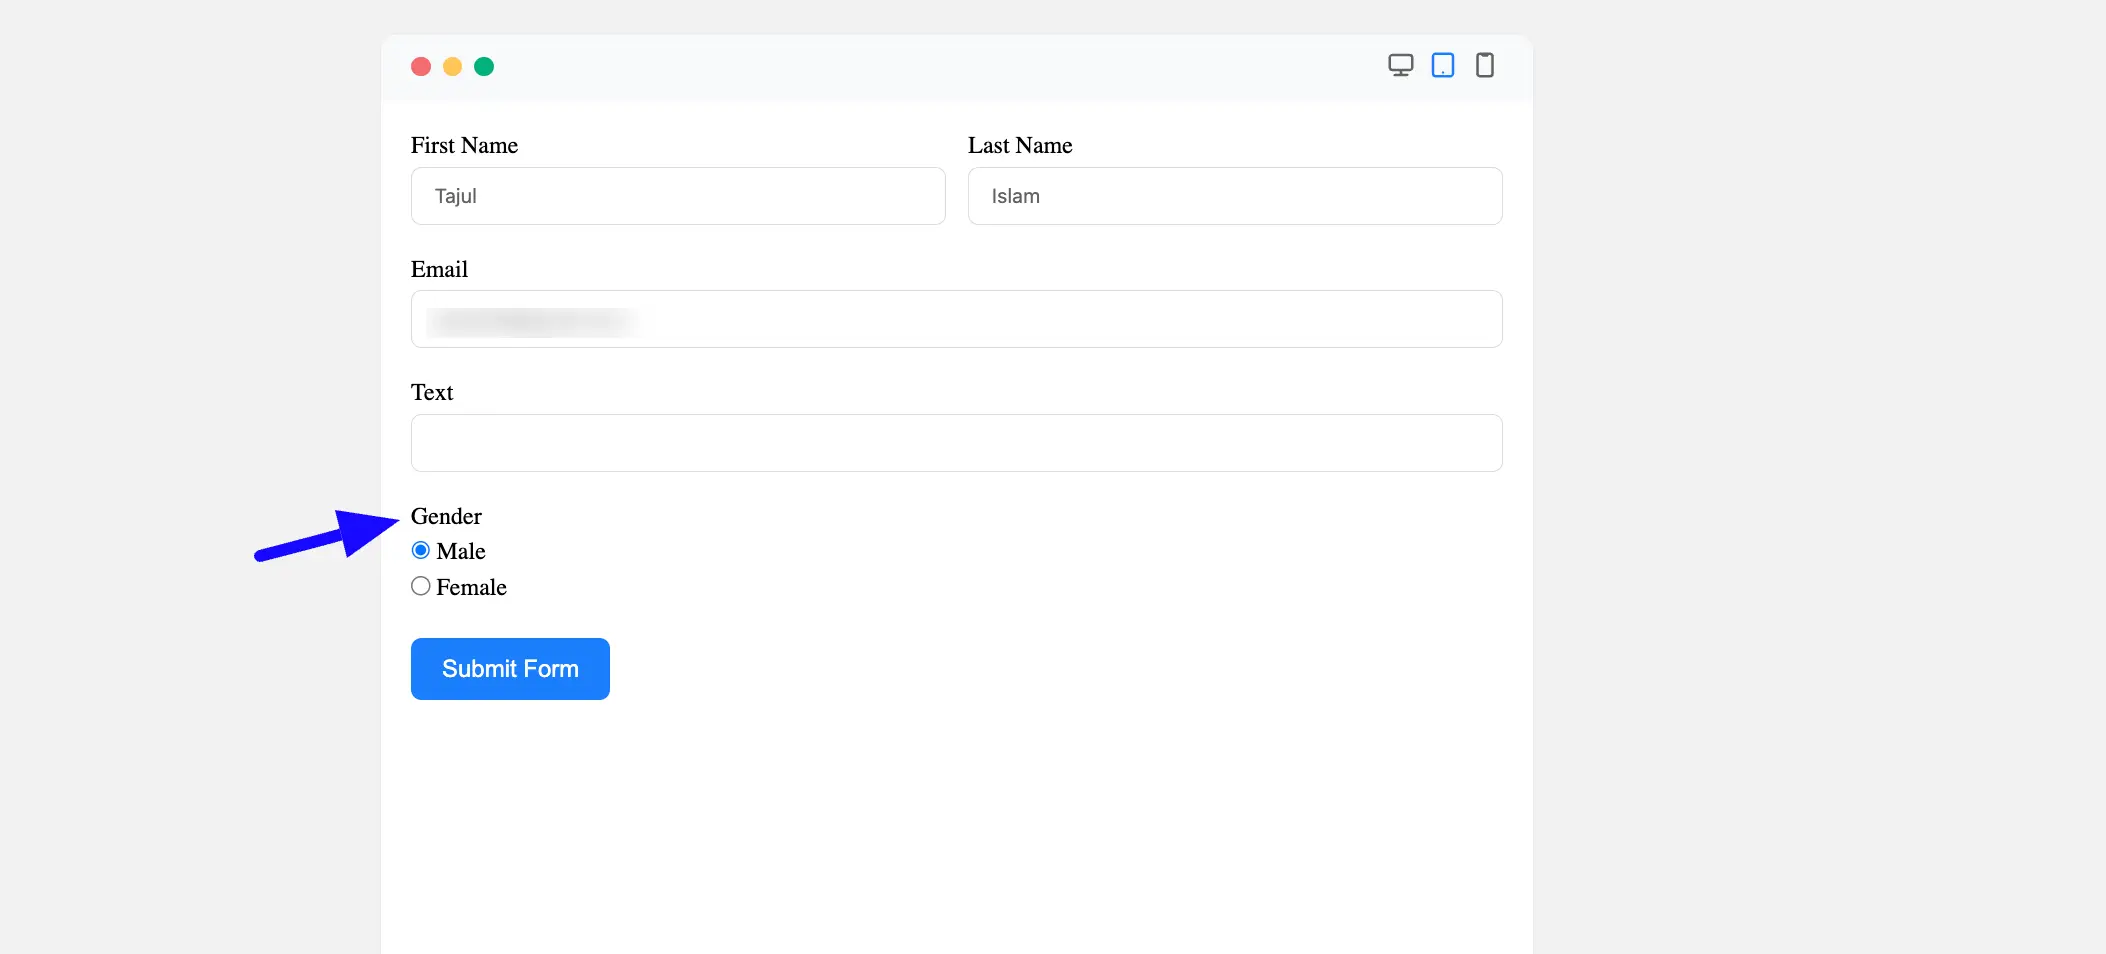
To get pre-filled data from FluentCRM, you need to use the smartcode with a small modification. Fluent Forms will automatically prefill with the FluentCRM Contact data available on your website. But remember, you will only get the pre-filled data if you are logged in and your FluentCRM contact profile contains the data.
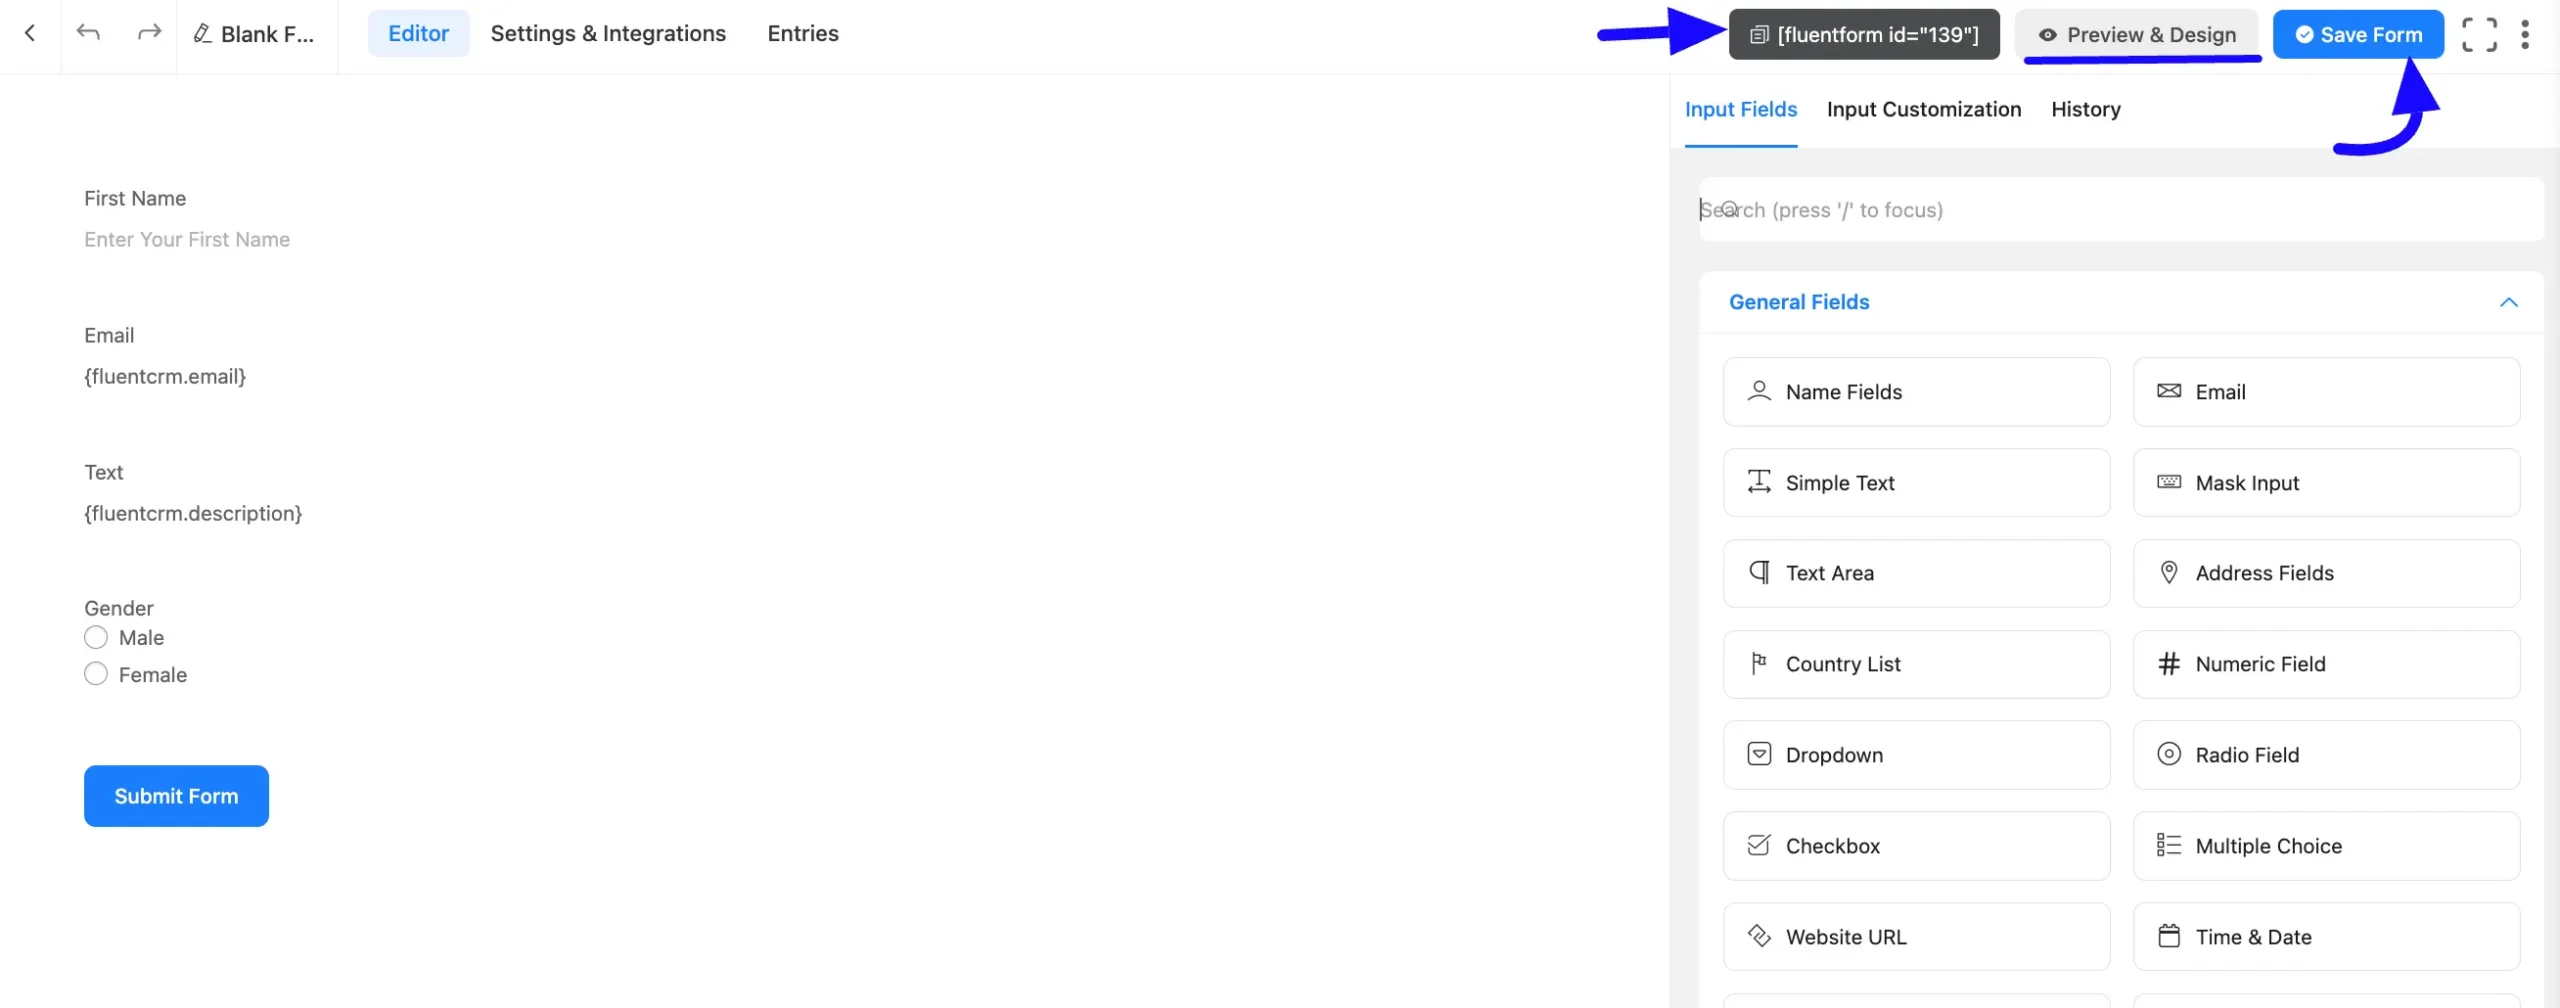
For example, if you want to fetch the email from your FluentCRM Contact’s profile into the Fluent Forms Email field, first, add the smartcode {fluentcrm.data} in the field. Now, modify the smartcode by adding the field name like this: {fluentcrm.email}.
Once done, the email field will be pre-filled with data from FluentCRM. You can check out more FluentCRM smartcodes in this article.
If you want to pre-fill Custom Fields data from FluentCRM, first add the desired field to your form. Then, use the shortcode {fluentcrm.data} and modify it with the specific Custom Field slug. To learn more about Custom Field slug, check out this documentation.

Embed the Form on a Page or Post #
Once your form is ready, click the Save Form button to save your changes. Click Preview & Design to check how the form looks.
After that, copy the Shortcode from the top-right corner. Paste it into the page or post where you want the form to appear.
Check the Pre-filled FluentCRM Data #
After embedding the form, test it to make sure the fields are auto-filled correctly. Go to FluentCRM Contacts in your dashboard. Find the contact with the stored data. Now, you can match the field data with the form.
If you have any further questions, concerns, or suggestions, please do not hesitate to contact our support team.


