Migrating your FluentCRM data is a complex task that requires careful handling to ensure every contact, email, and automation is transferred correctly. This guide will walk you through the process, starting with the safest and most recommended method.
Migrating Data with FluentCRM’s Built-in Tools #
FluentCRM provides a built-in export and import function that allows you to migrate specific types of data, such as your contacts, email campaigns, and automations, from one website to another. Below is a detailed walkthrough for migrating each type of data.
Contacts and Companies #
This section covers the migration of your individual contacts and company profiles.
Contacts #
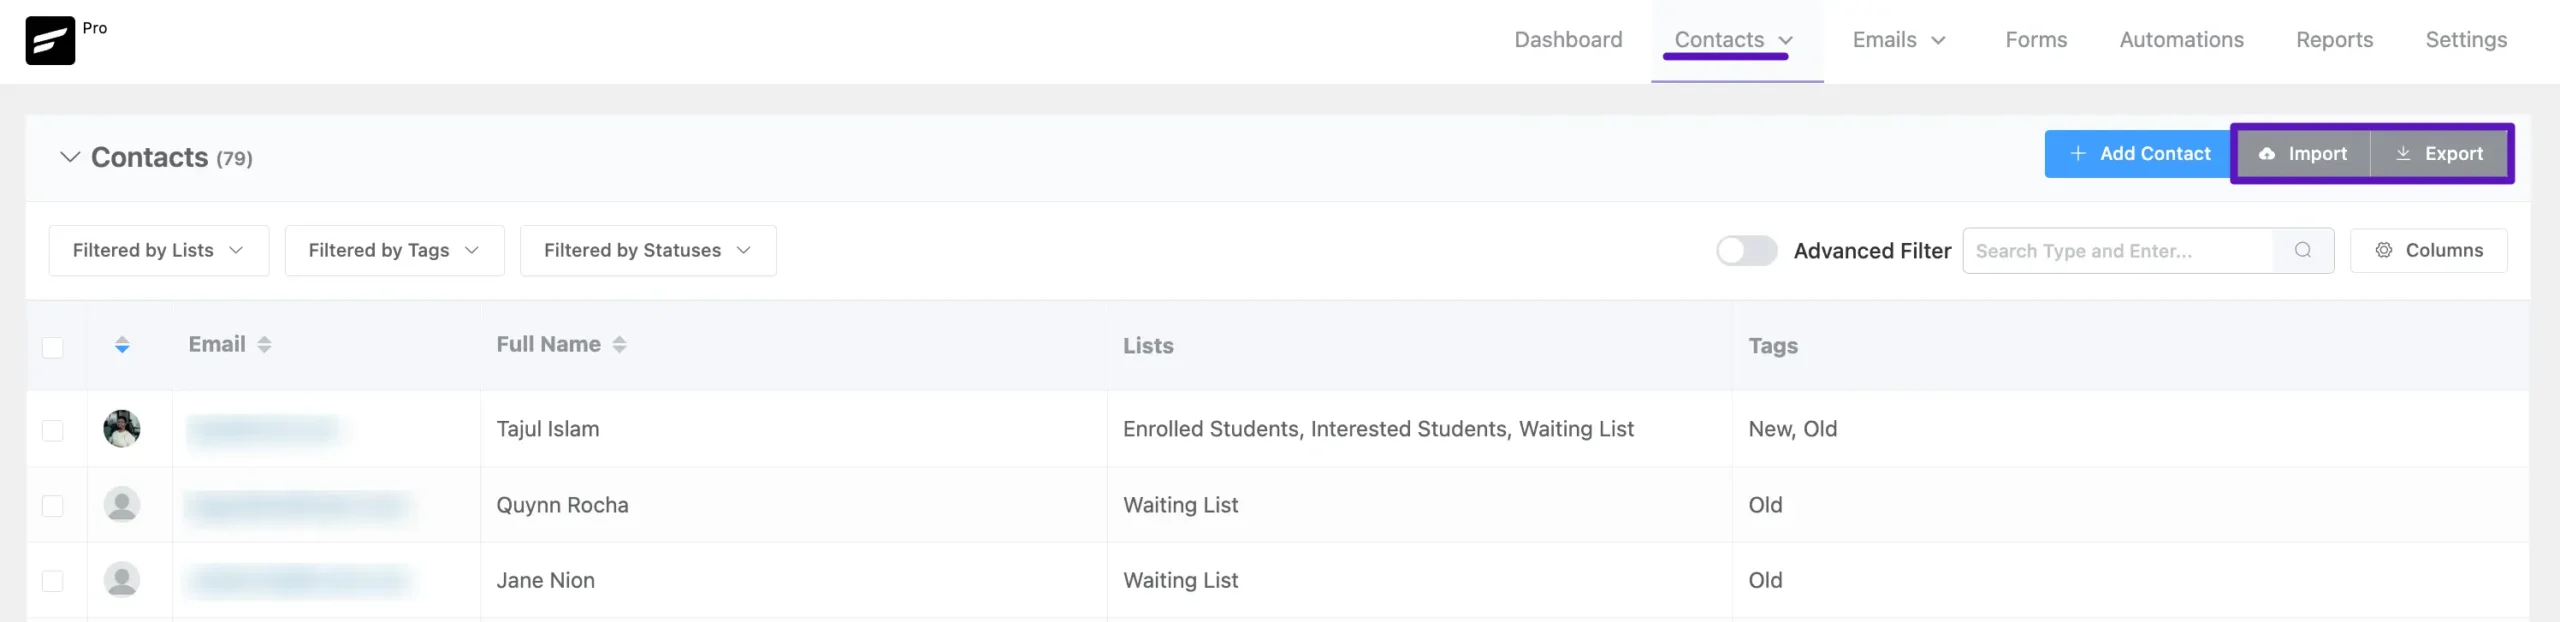
Exporting Contacts: To begin, navigate to the main Contacts section from your FluentCRM dashboard. First, you must select the specific contacts you want to export from the list. After making your selection, click the Export button. A pop-up window will appear, allowing you to choose what related information you want to export along with the contacts. Once confirmed, all your selected contacts will be downloaded in a single CSV file.
Importing Contacts: To import, go to the same Contacts section and click the Import button. You will then be prompted to provide the CSV file with your contact data or select a specific platform from which you wish to import your contacts.
Companies #
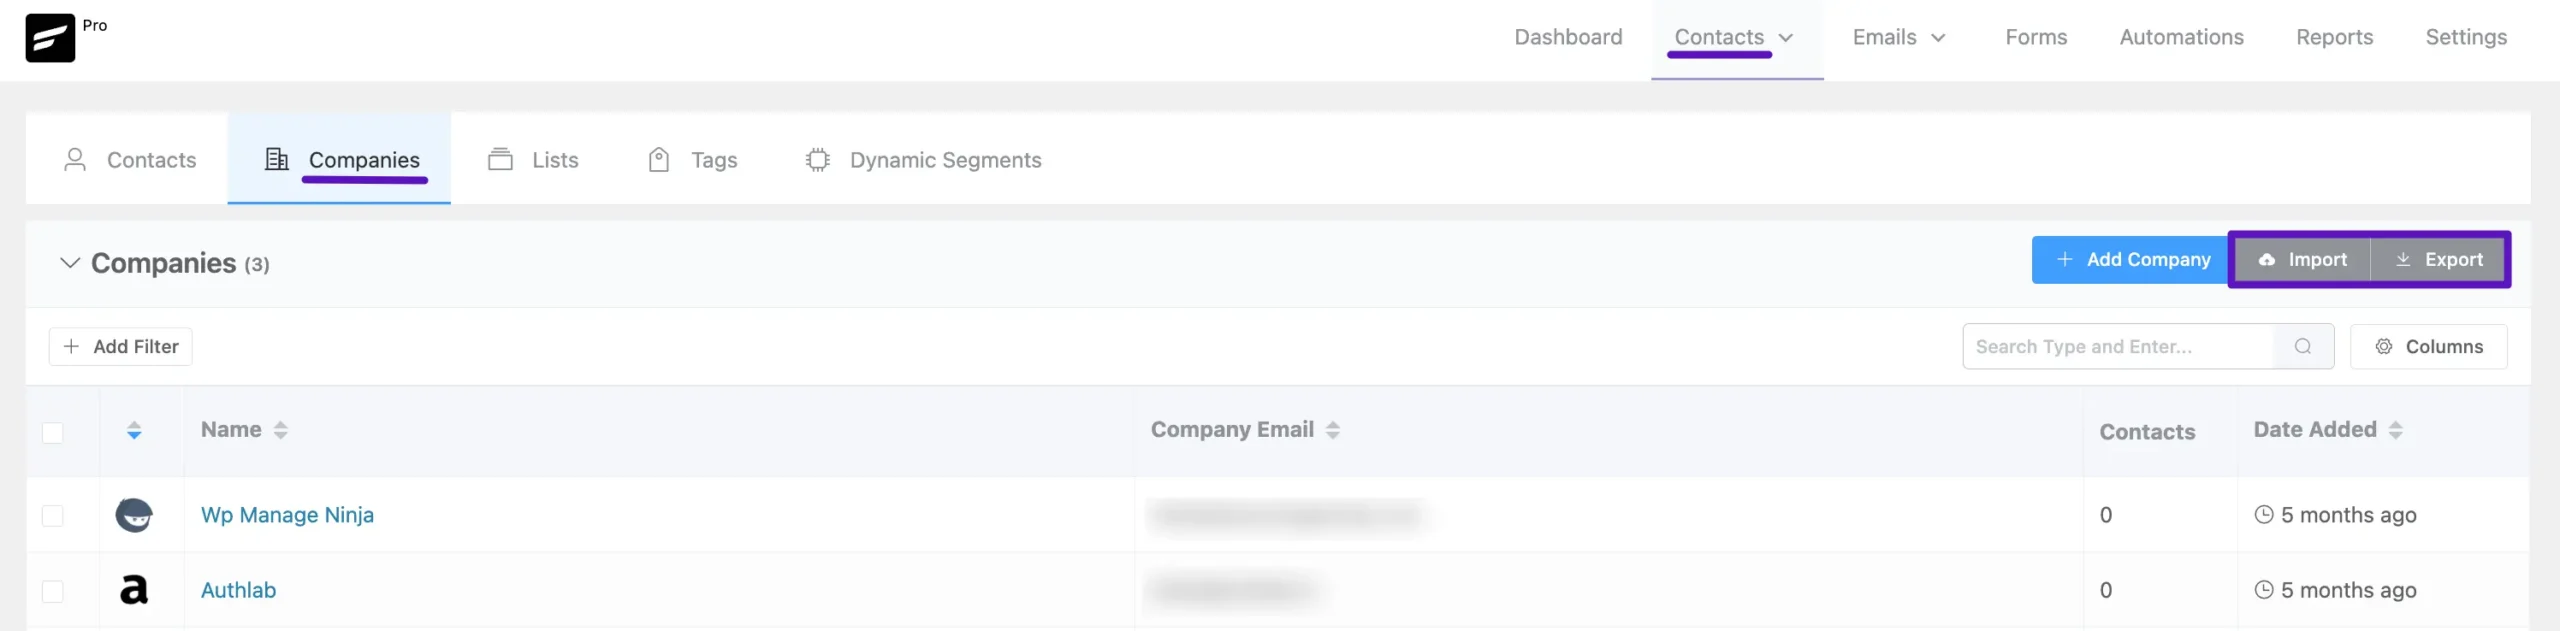
Exporting Companies: Navigate to Contacts > Companies from the dashboard. In the top right, click the Export button to download a CSV file containing all of your current company details.
Importing Companies: To import Compaines informtion, go to Contacts > Companies and click the Import button. A popup will appear prompting you to upload your CSV file. This popup also contains a Map Field button, which allows you to match the columns from your CSV file to the corresponding company fields in FluentCRM.
Dynamic Segments #
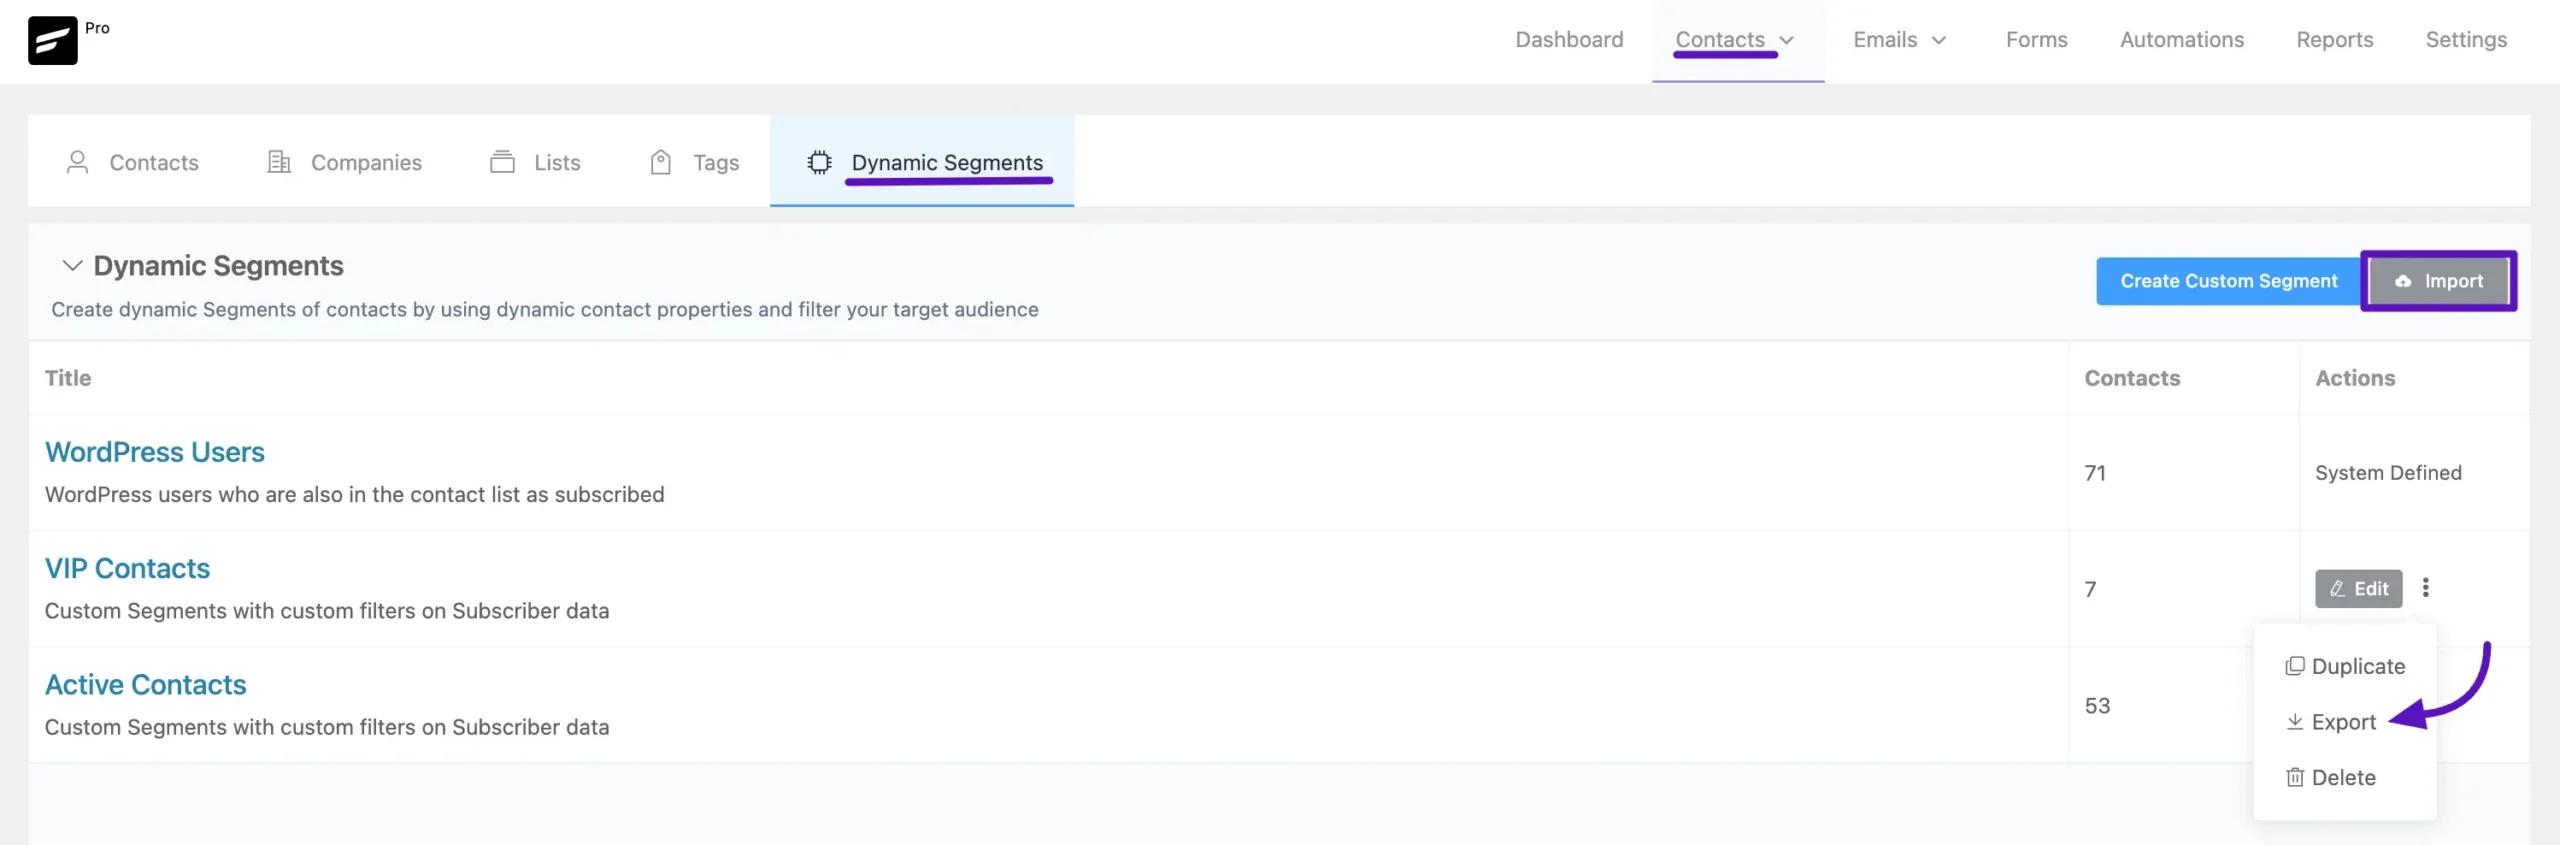
Exporting Dynamic Segments: Navigate to Contacts > Dynamic Segments. You must export the contacts from each segment individually. To do this, click the three-dot button next to the specific segment, and then select the Export button from the menu. This action will download the segment’s contacts as a JSON file.
Importing Dynamic Segment Contacts: On your new site, go to the Dynamic Segments page and click the Import button to upload the JSON file.
Emails and Campaigns #
This section explains how to migrate your various email assets. Note that most of these must be transferred individually and will be exported as JSON files.
Email Campaigns #
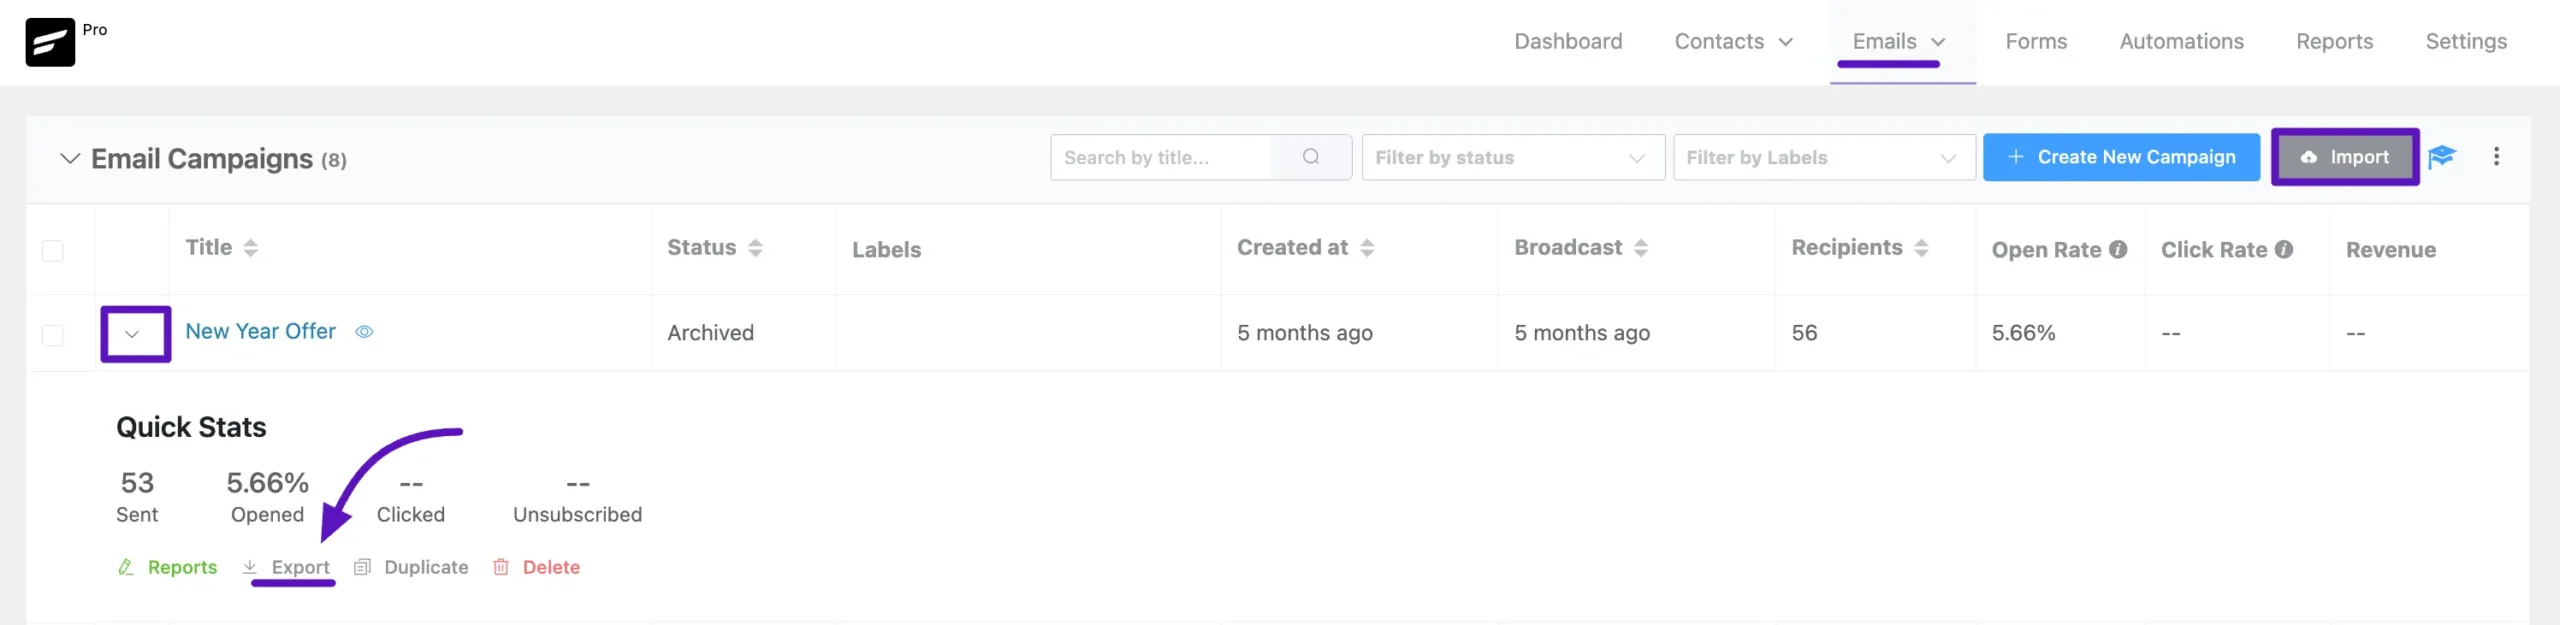
Exporting a Campaign: Email campaigns must be exported one by one. Go to Emails > Email Campaigns, hover over the specific campaign you want to migrate, and click the arrow icon. This action will reveal the Export button to download that individual email campaign as a JSON file.
Importing a Campaign: On the new site, go to the same Email Campaigns page, click the main Import button, and then select the JSON file you just downloaded.
Email Sequences #
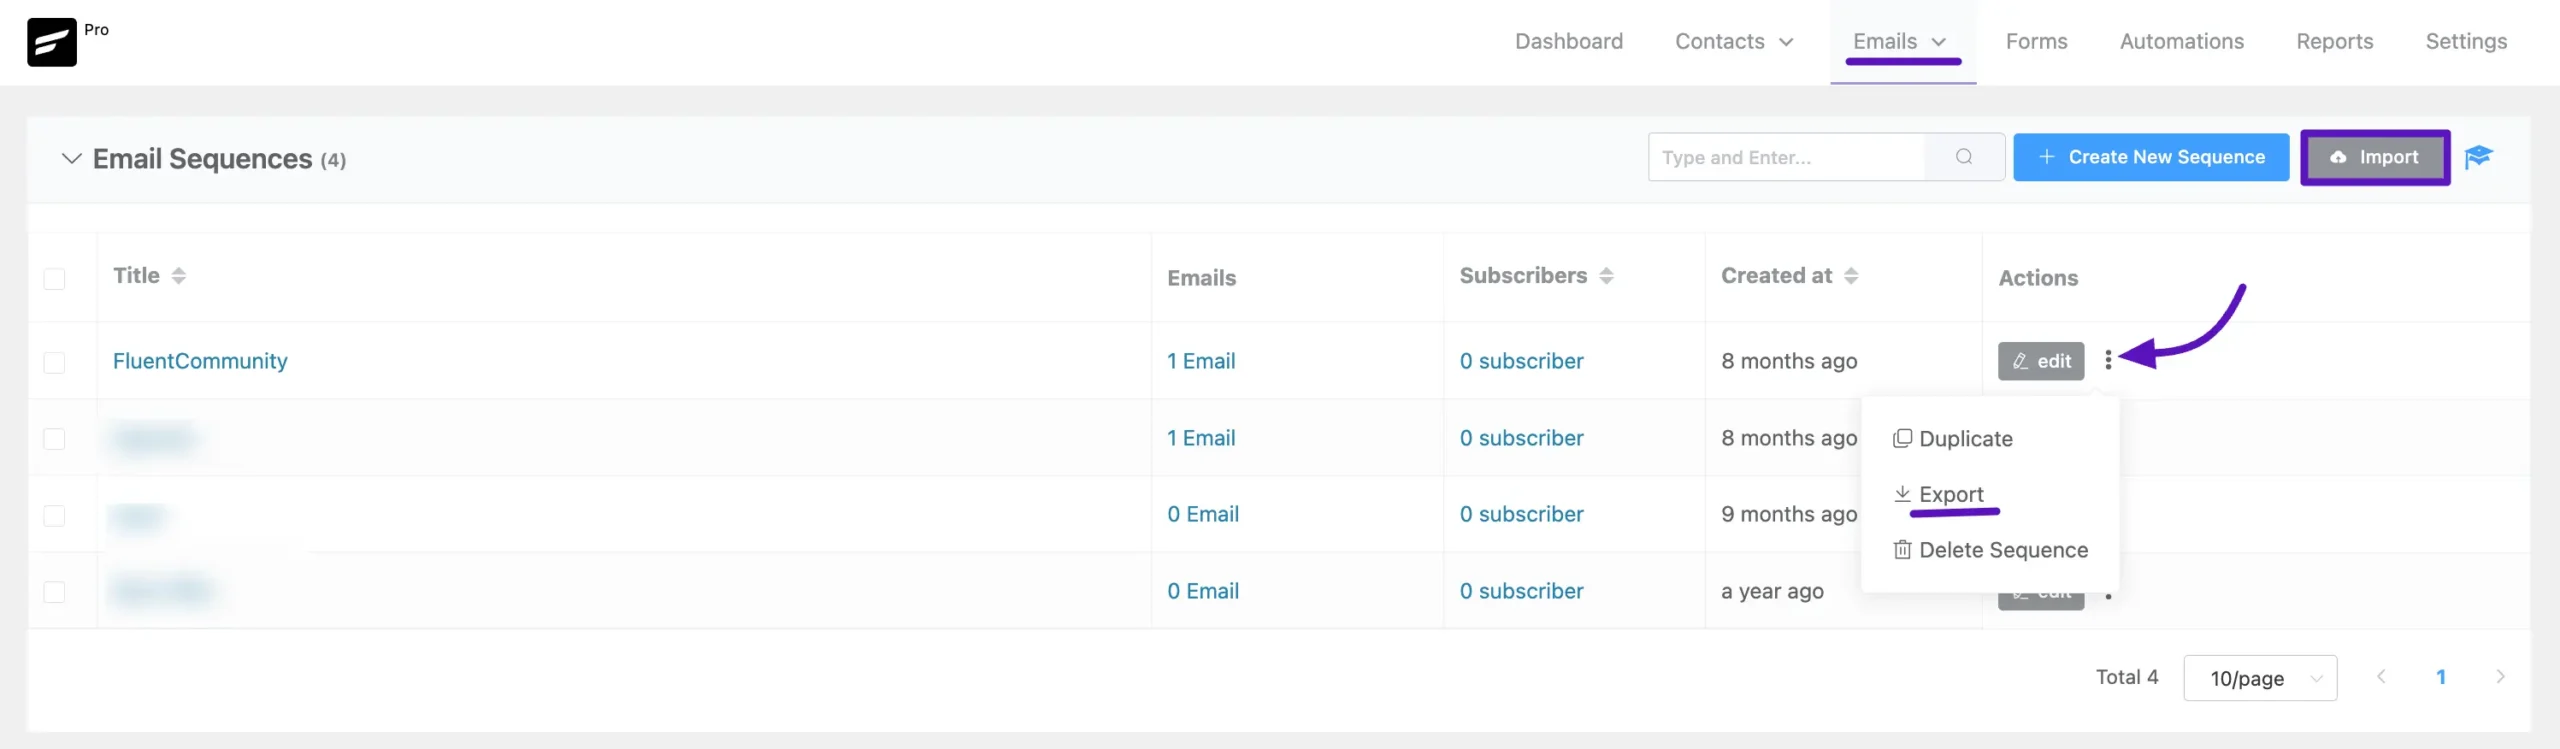
Exporting a Sequence: You must export each email sequence individually. Navigate to Emails > Email Sequences. Click the three-dot button alongside the sequence you wish to migrate, and you will see the Export option, which will save the sequence as a JSON file.
Importing a Sequence: On the new site, go to the Email Sequences page and click the Import button located in the top-right section to upload your exported sequence files.
Recurring Email Campaigns #
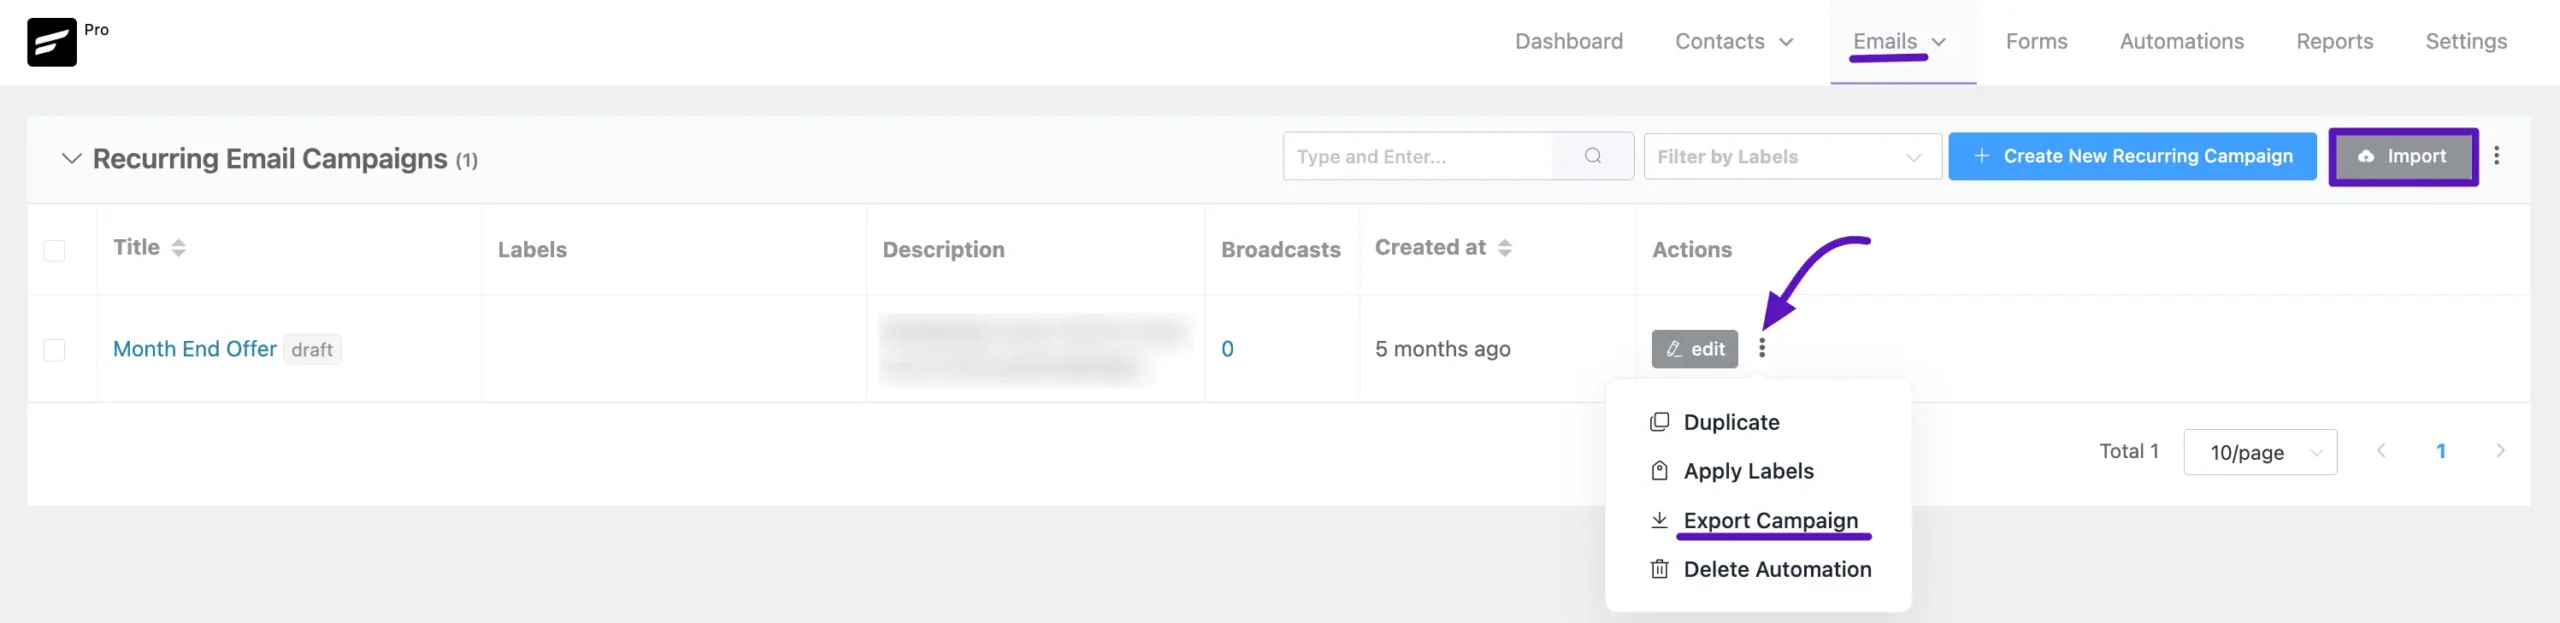
Exporting a Recurring Campaign: These campaigns must also be exported individually. Go to Emails > Recurring Email Campaigns. Click the three-dot button next to the campaign you want to export and select the Export Campaign option from the menu to save it as a JSON file.
Importing a Recurring Campaign: On the new site, use the main Import button on the Recurring Email Campaigns page to upload the file you exported.
Email Templates #
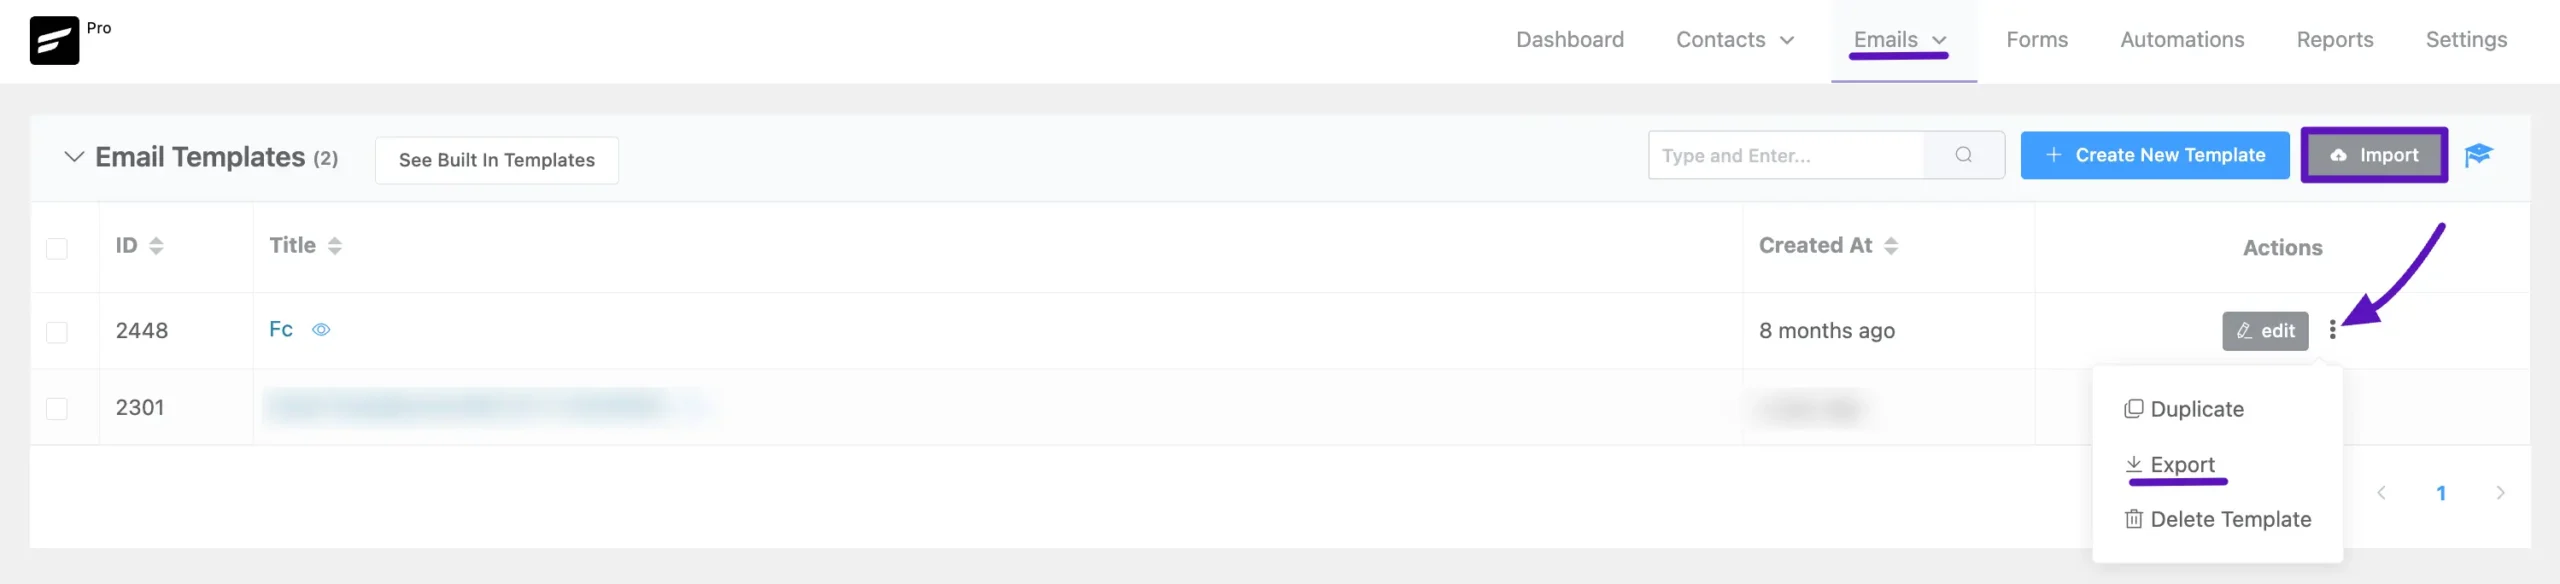
Exporting a Template: Go to the Emails > Email Templates page. Click the three-dot button next to the template you want to export; this will reveal the Export button, which will download the template as a JSON file.
Importing a Template: On the new site, click the Import button on the Email Templates page to upload the template file you exported.
Automation Funnels #
Your marketing automations can also be migrated one at a time.
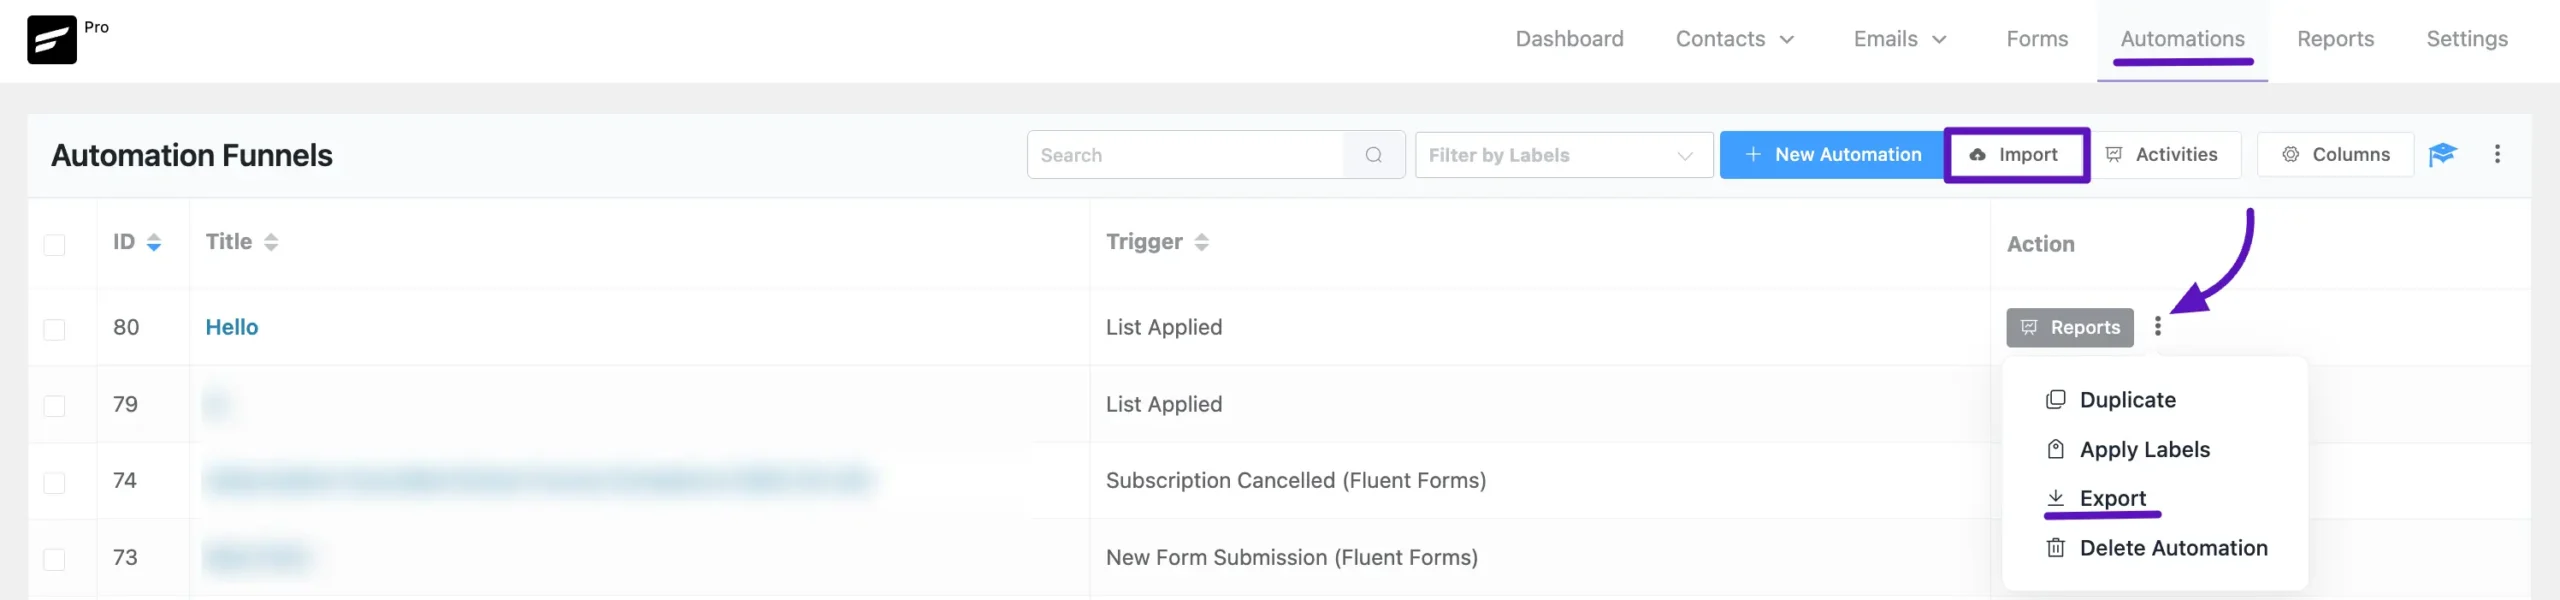
Exporting an Automation: Go to the Automations page from the main FluentCRM navbar. You have to export each automation individually by clicking the three-dot button next to the specific automation and selecting Export from the menu. This will save the automation as a JSON file to your computer.
Importing an Automation: On your new site, go to the Automation Funnels page, click the main Import button, and then choose the exported automation JSON file you wish to upload.
Full Site Migration (For Advanced Users Only) #
The reliable way to move your FluentCRM setup is to migrate your entire WordPress installation. This method copies everything: plugins, themes, users, content, and all FluentCRM data, ensuring nothing is left behind.
Why is This the Best Method? #
A full migration prevents common data-related issues because FluentCRM’s data is deeply integrated with your WordPress site:
- Database Integrity: It stores data across many different database tables.
- User Relationships: It links CRM contacts directly to your WordPress users (user_id), preserving purchase history, membership levels, and more.
- Automation States: It keeps track of where each contact is in an automation funnel or email sequence.
Attempting to move only the FluentCRM data can result in broken user connections, failed automations, and corrupted contact information.
Recommended Migration Tools #
Use any of these trusted plugins to perform a full site migration. They handle the entire process for you.
- All-in-One WP Migration
- WP Migrate Lite / Pro
- UpdraftPlus (with the Migrator add-on)
- Duplicator
- BlogVault or ManageWP Staging
Important Note: For a seamless and risk-free transfer, we strongly recommend performing a full WordPress site migration. Do not attempt to merge data with an existing site, as this can cause conflicts. This ensures perfect data integrity and is the only method that guarantees all your settings and user connections are preserved.
Post-Migration Checklist: Final Steps #
After any migration, complete these steps on your new site to ensure FluentCRM runs correctly:
- Reconfigure Email Settings: Go to FluentCRM → Settings → Email Settings and reconnect your email sending service (e.g., Amazon SES, SendGrid). Send a test email to confirm it’s working.
- Activate Your License: Deactivate your FluentCRM Pro license on the old site, then activate it on the new site to continue receiving updates.
- Test Your Automations: Check your key automation funnels. Test the triggers (e.g., user registration, product purchase) to ensure they are firing correctly.
- Check Scheduled Actions: Go to FluentCRM → Settings → Tools to verify that background tasks and email queues are running as expected.


