When an email bounces, it means it wasn’t delivered to the recipient due to issues like an invalid email address or technical problems. Managing bounces helps maintain a clean email list, improving deliverability and engagement.
From FluentCRM you can enable Bounce Handling for the Brevo Mailer system to identify bounced contacts efficiently. This guide will walk you through the process of enabling this feature.
FluentCRM Settings Configuring #
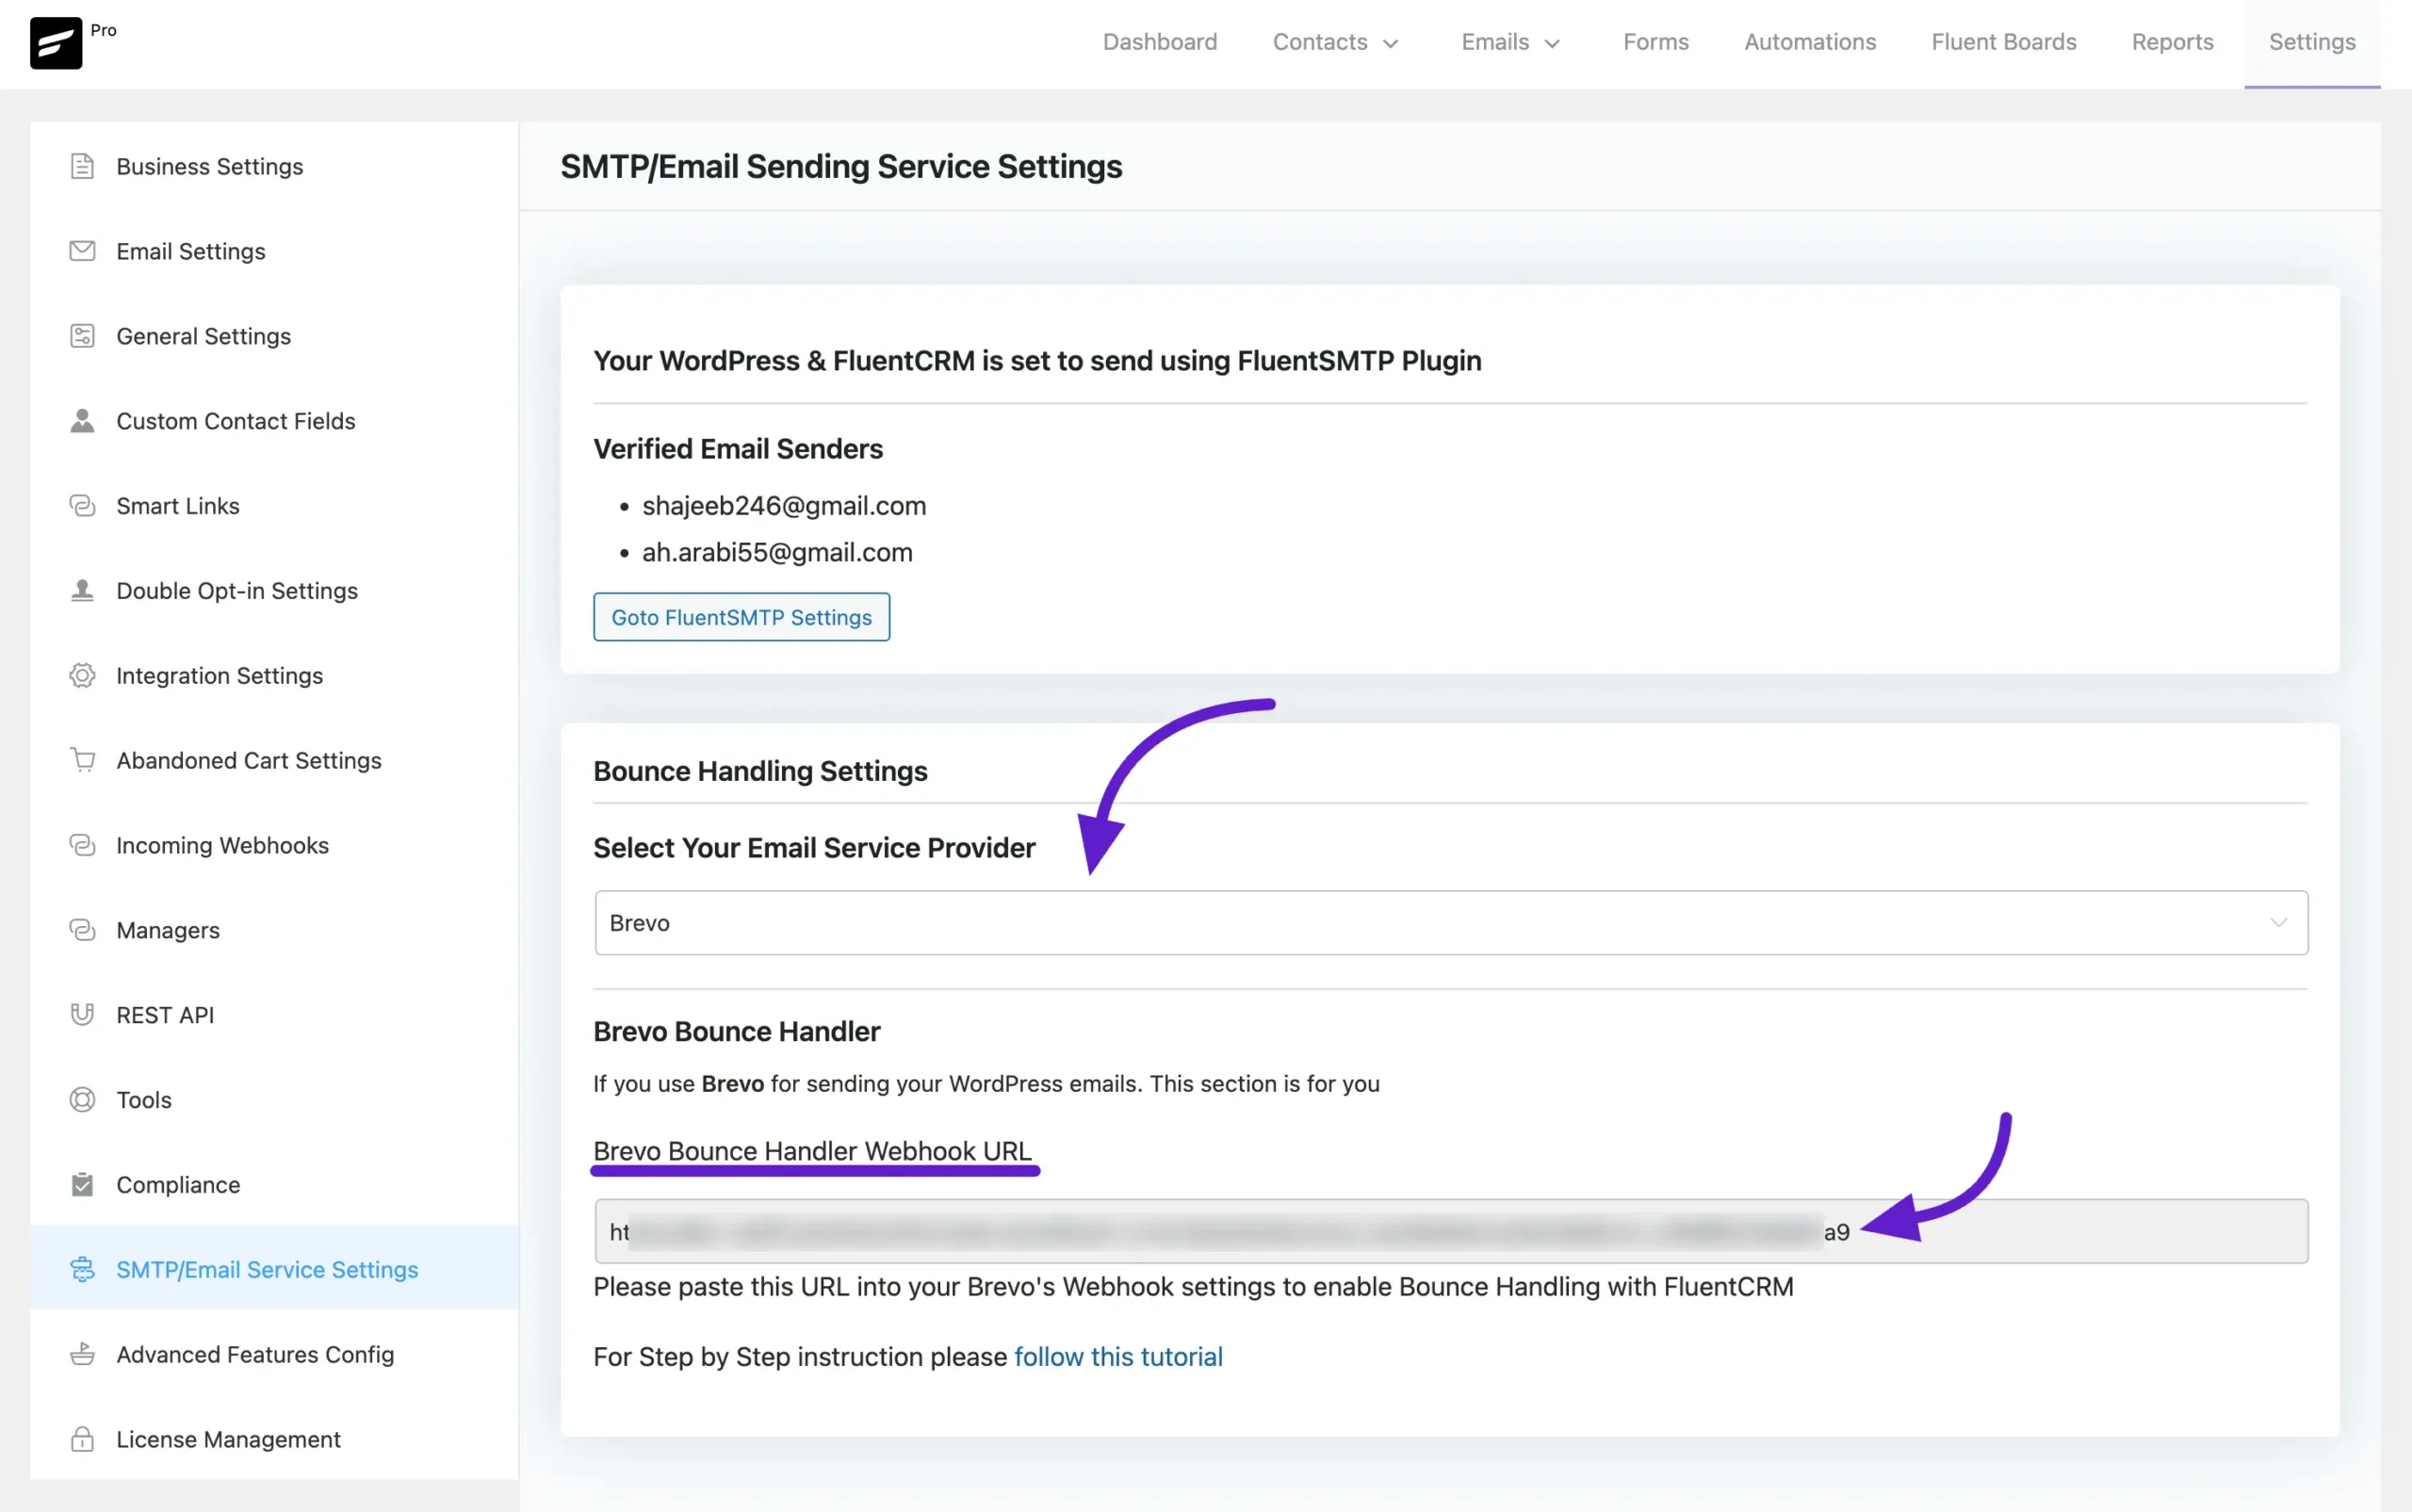
First, go to your FluentCRM and then click on Settings from the navbar. Now select the SMTP/Email Service Settings from the left sidebar.
Here from Bounce Handling Settings select the Brevo as your Email Service Provider from the dropdown menu.
Now you will get the Brevo Bounce Handler Webhook URL copy this Webhook URL in your clipboard for later use.
Configuring Brevo #
You can configure the Bounce Handling webhook in Brevo in two ways. Below, we’ll show you both methods.
Method 1: From the Contacts/Campaigns Section #
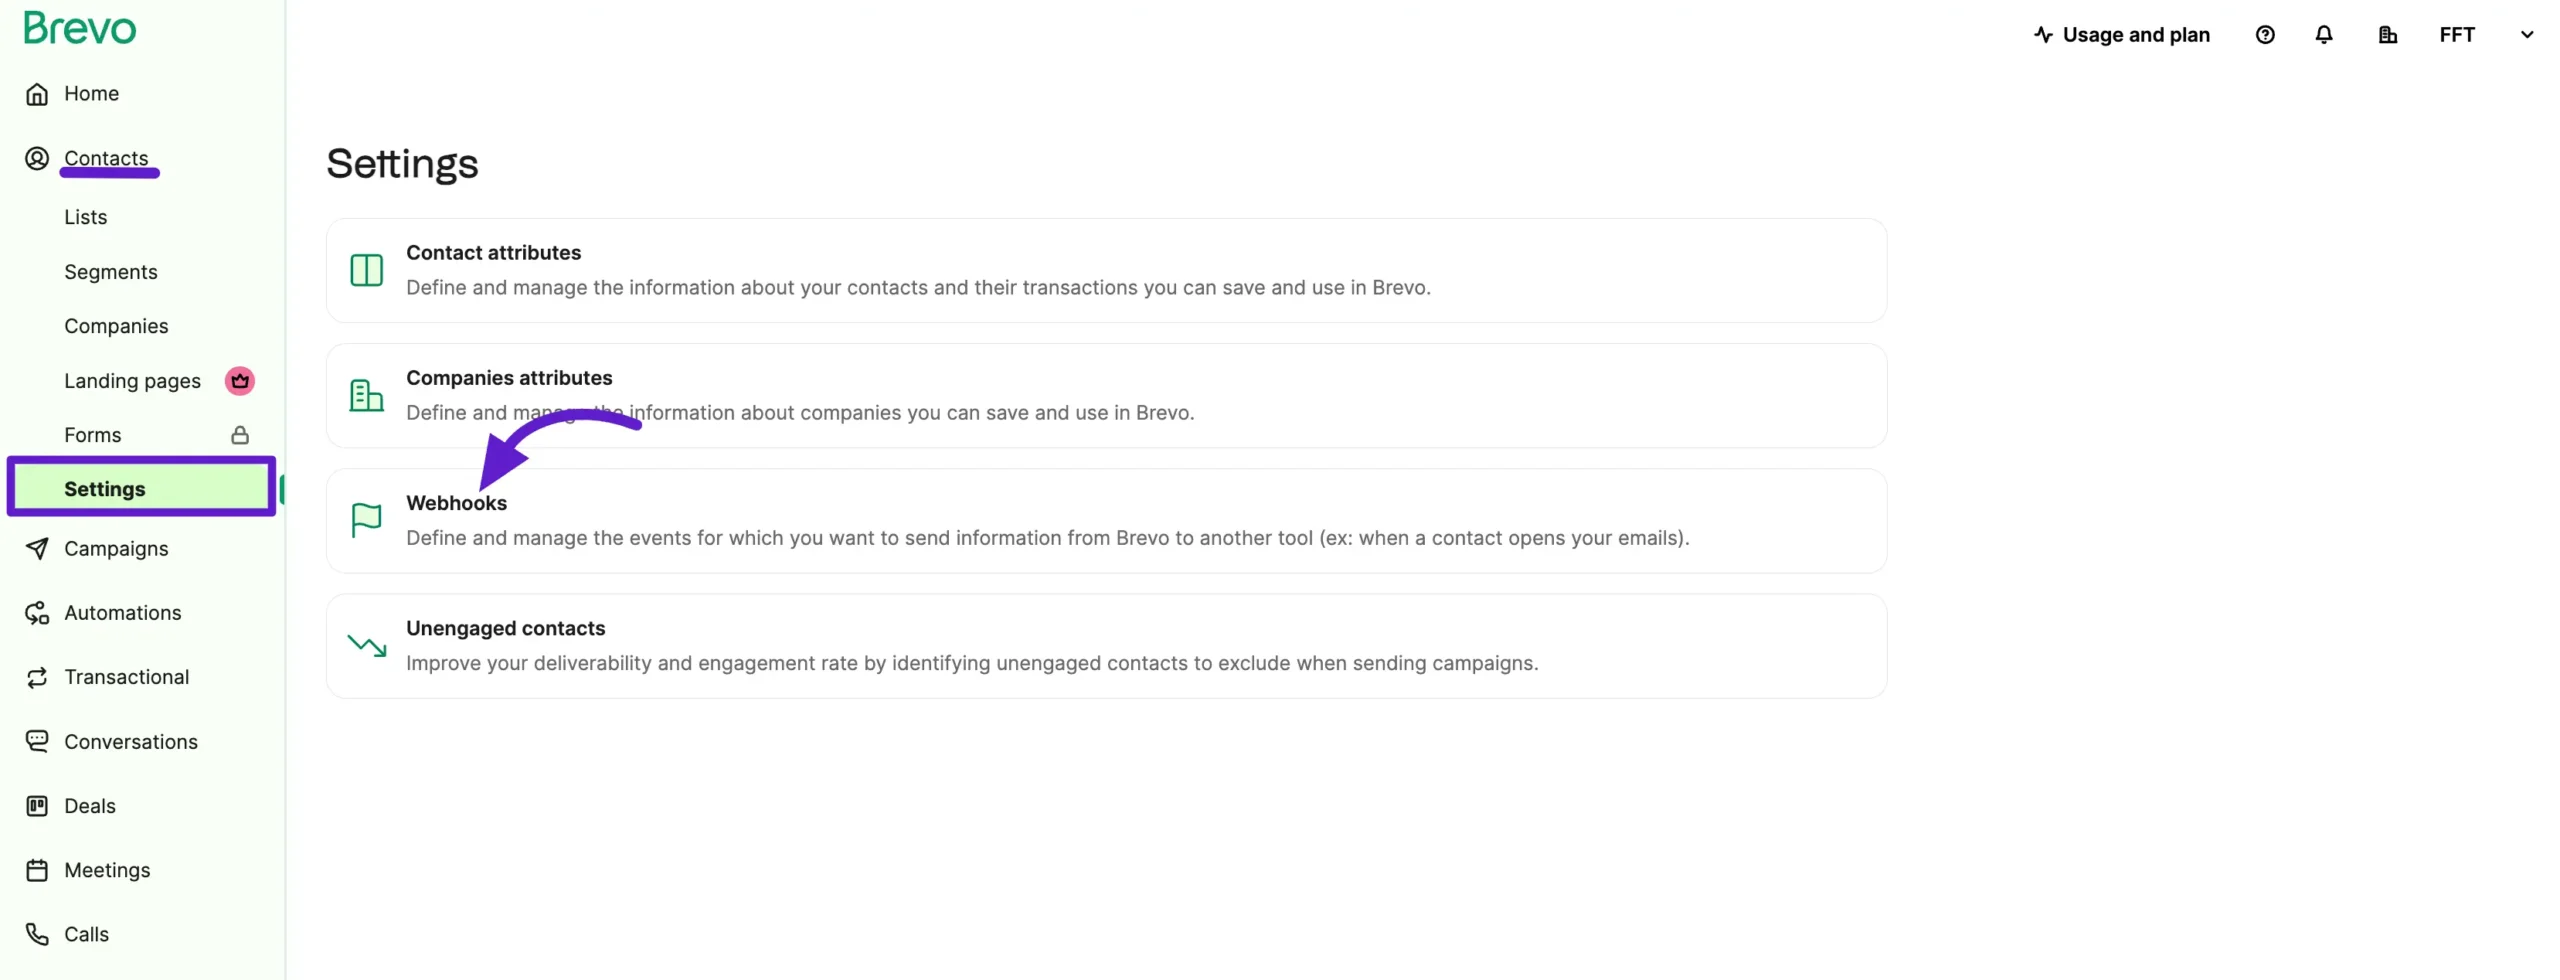
Log in to your Brevo account and navigate to the Contacts/Campaigns section. Then, click on Settings from the left sidebar and select Webhook.
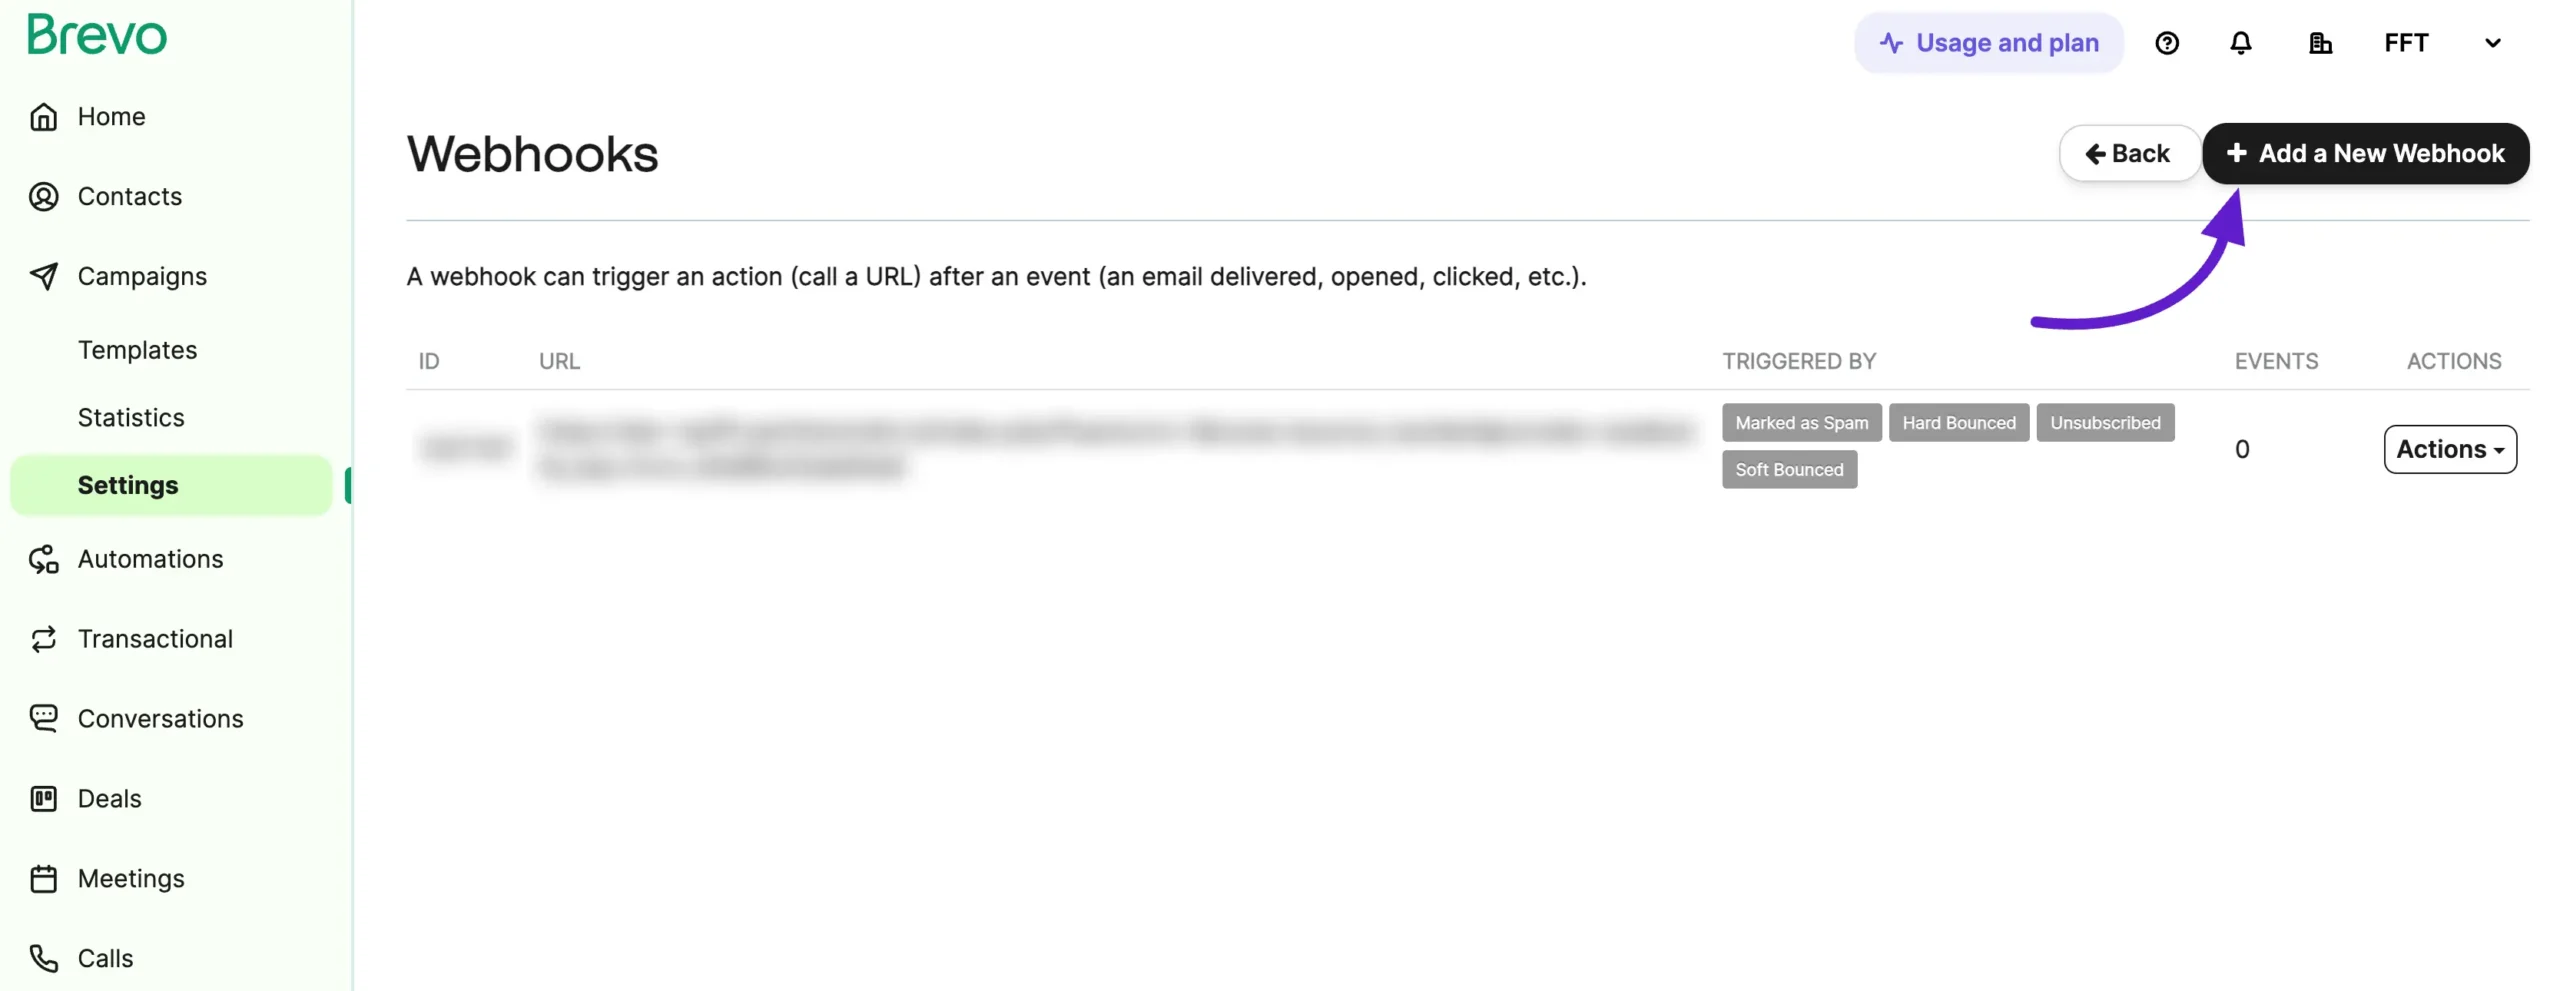
You will be redirected to the Webhook page. Click on the Add a New Webhook button.
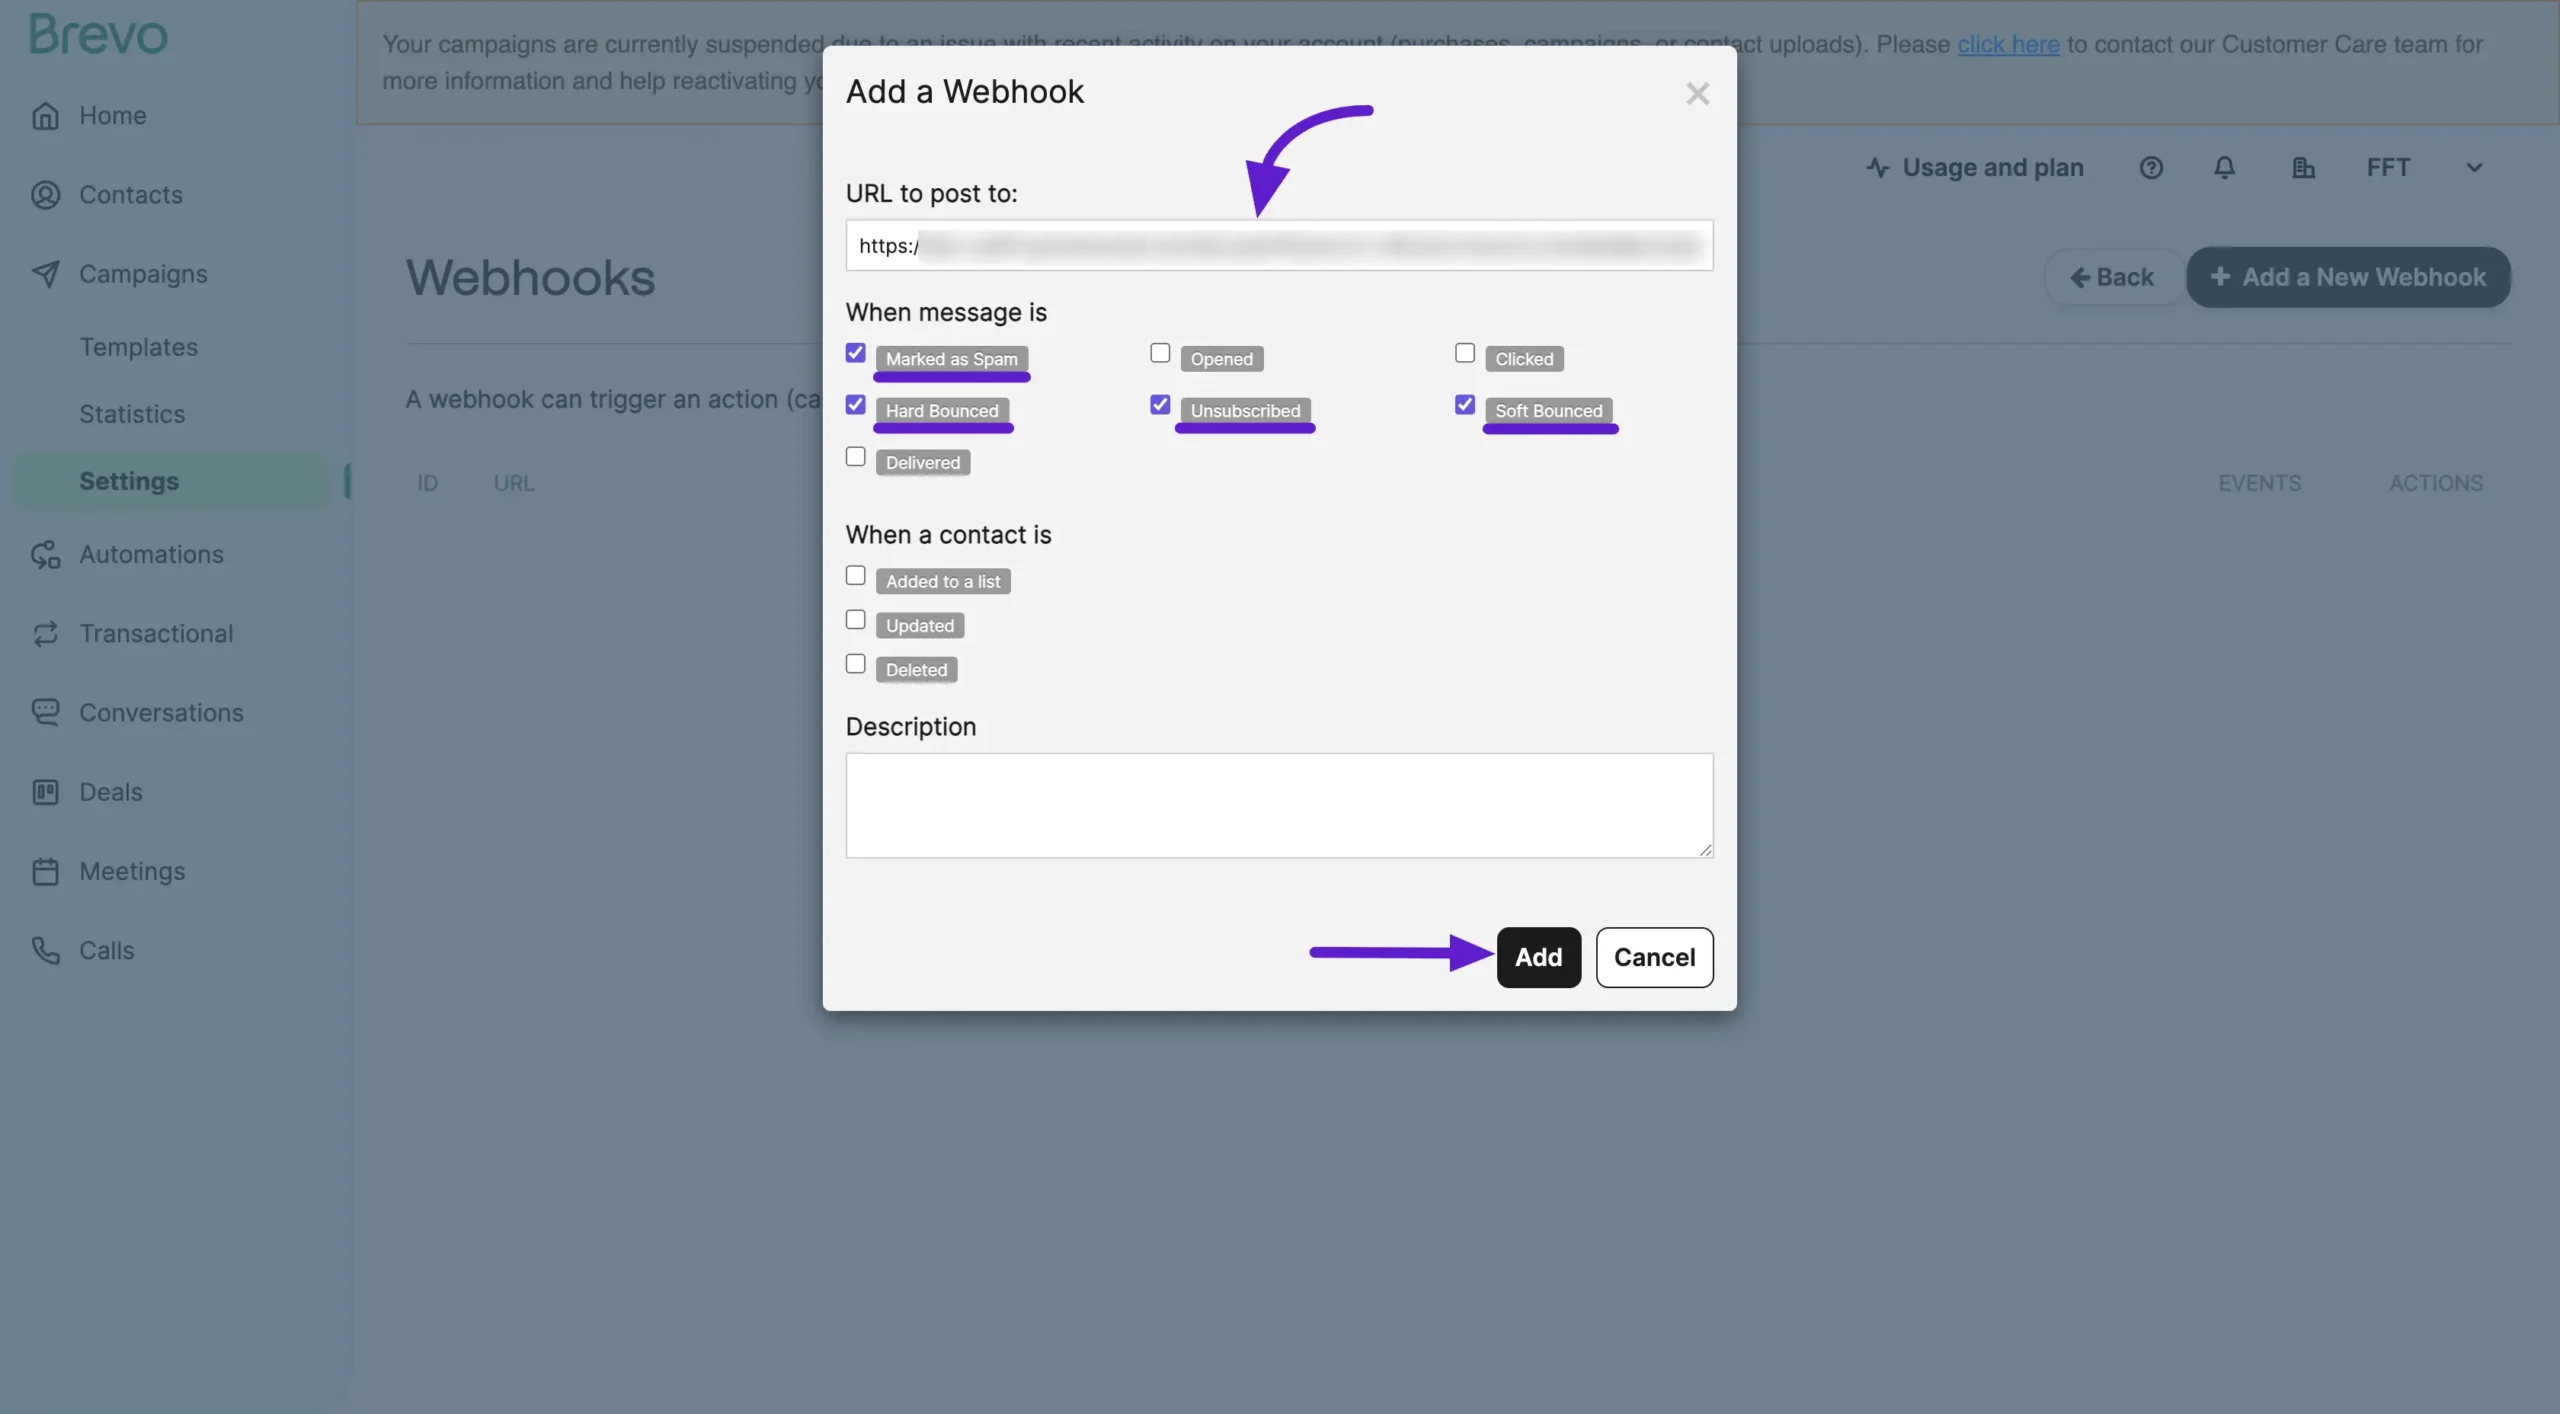
Paste the Webhook URL you copied earlier from the FluentCRM Bounce Handling Settings.
Next, check the following checkboxes:
- Marked as Spam
- Hard Bounced
- Unsubscribed
- Soft Bounced
Click on the Add button to save your webhook.
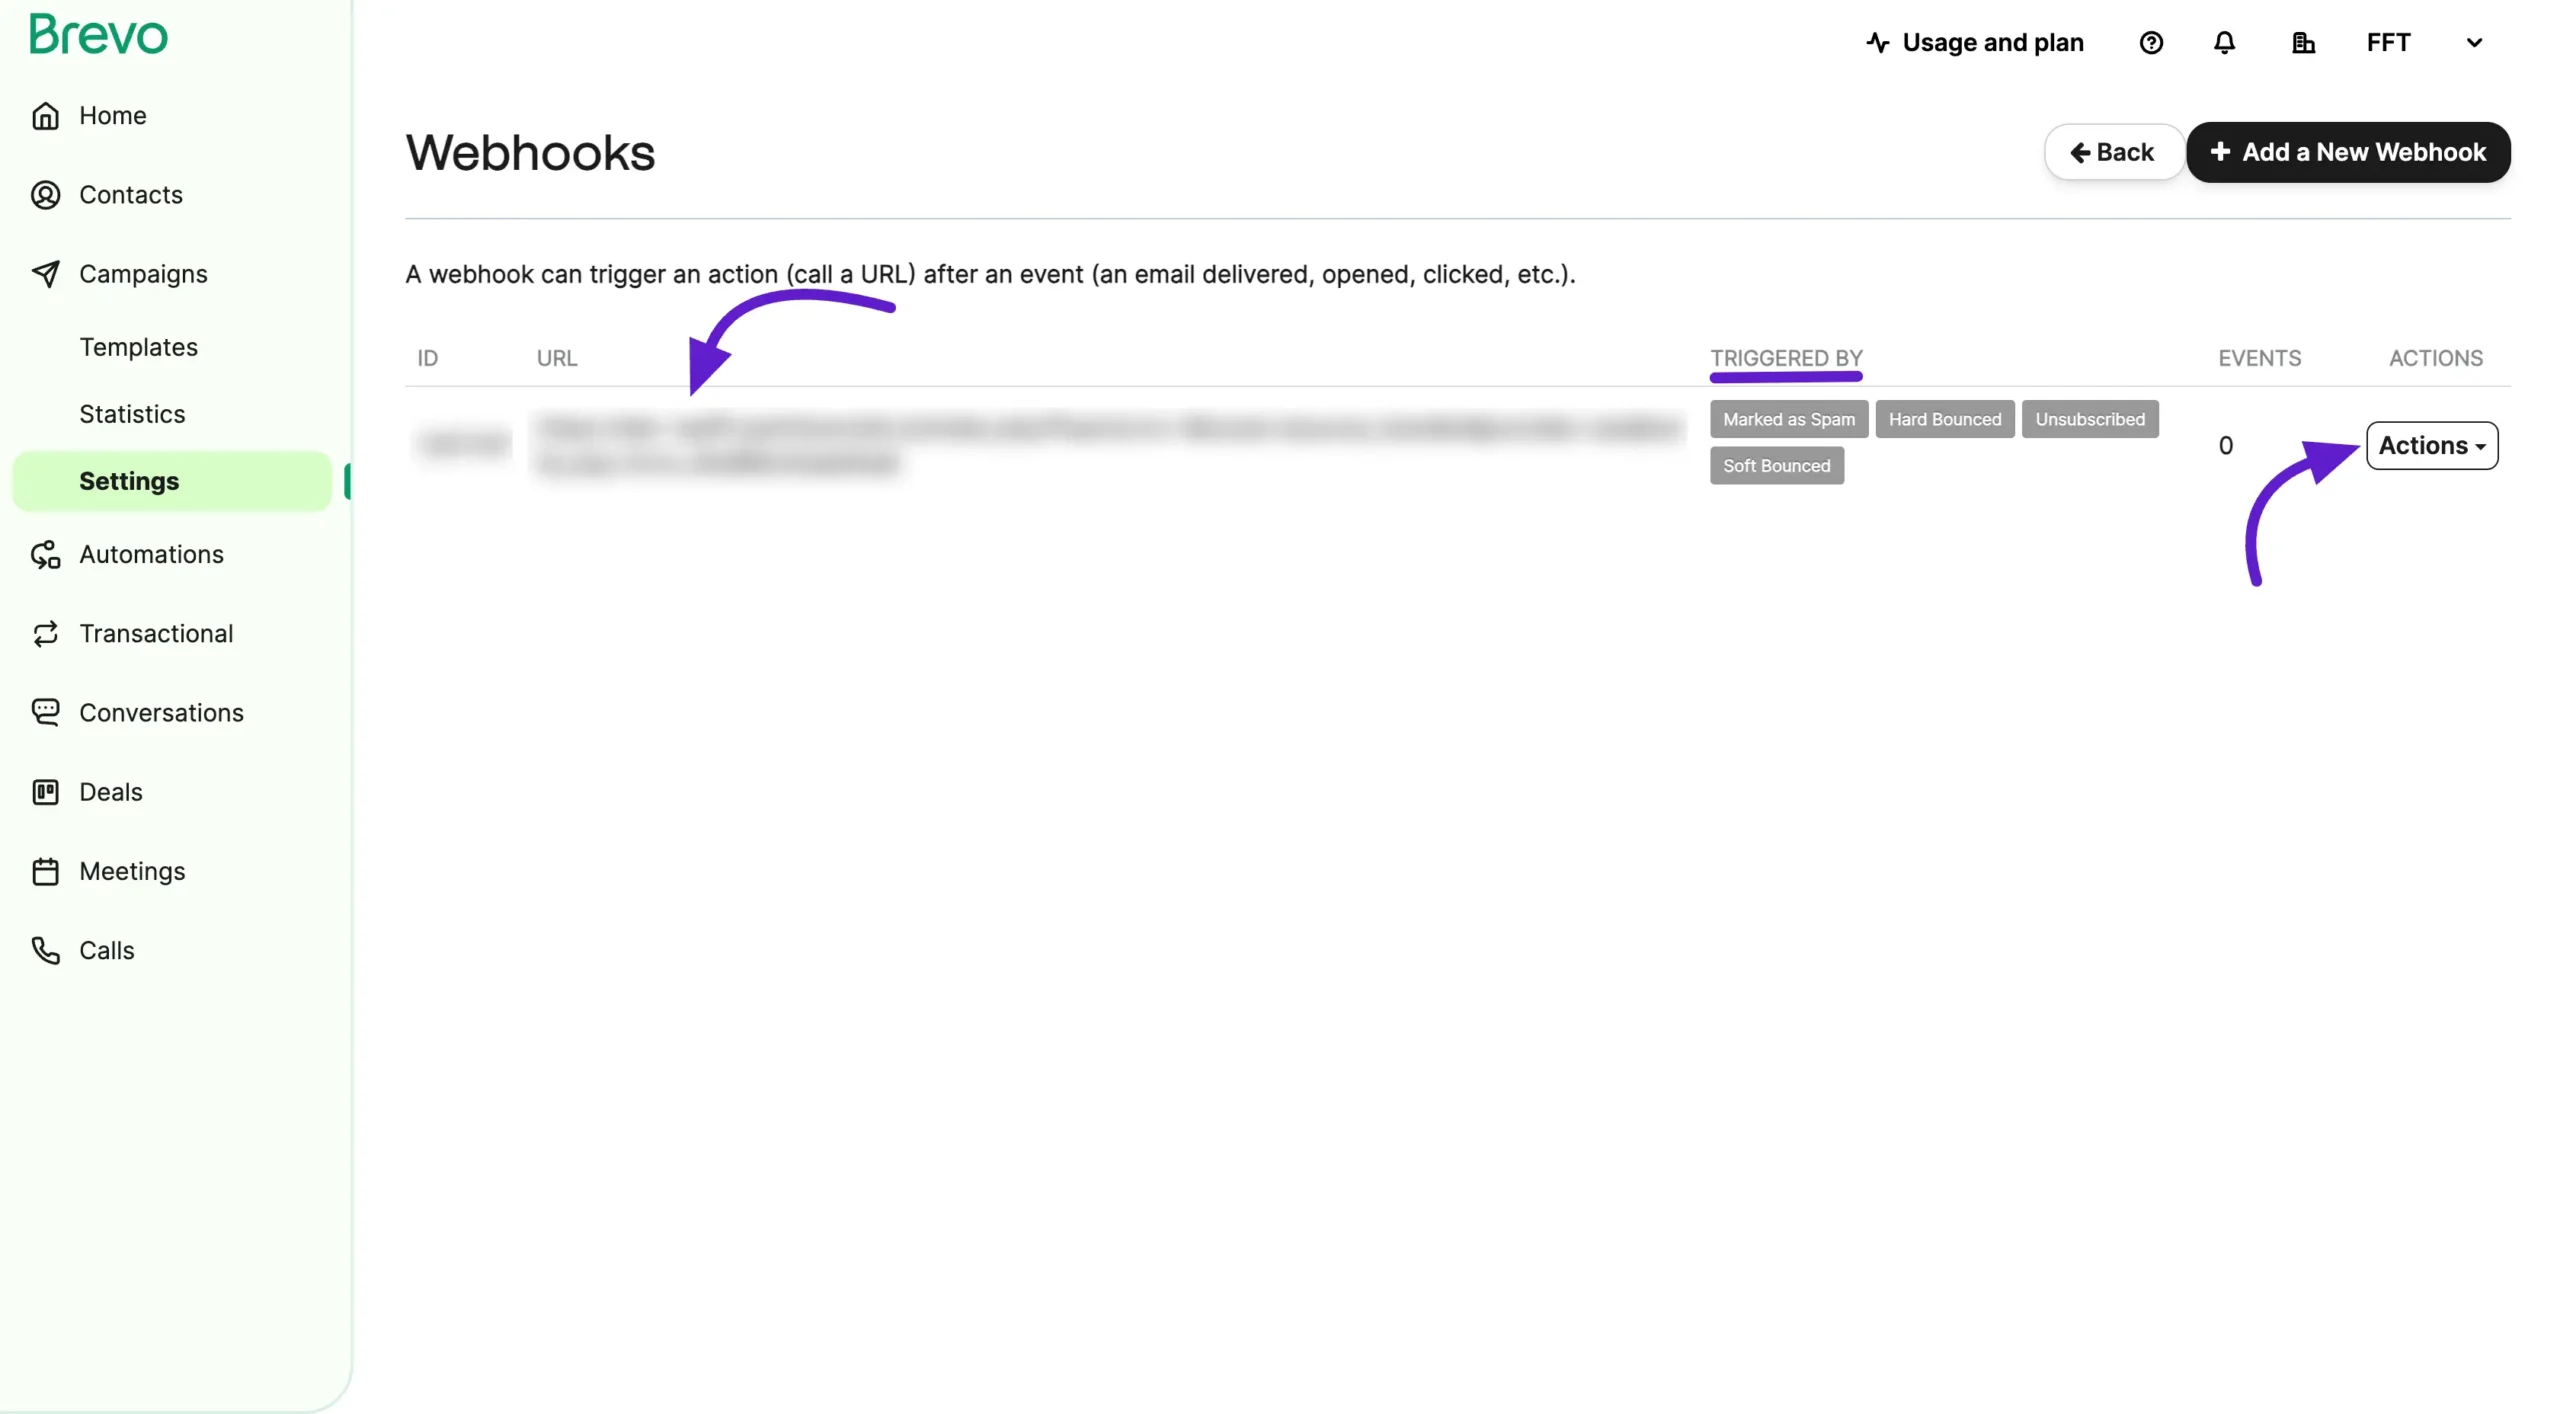
You will now see the webhook you created along with the triggers you applied. You can edit or modify it anytime by clicking the Action button.
Method 2: From the Transactional Section #
You can also set this webhook from the Transactional section, where you’ll find additional trigger options for your webhook.
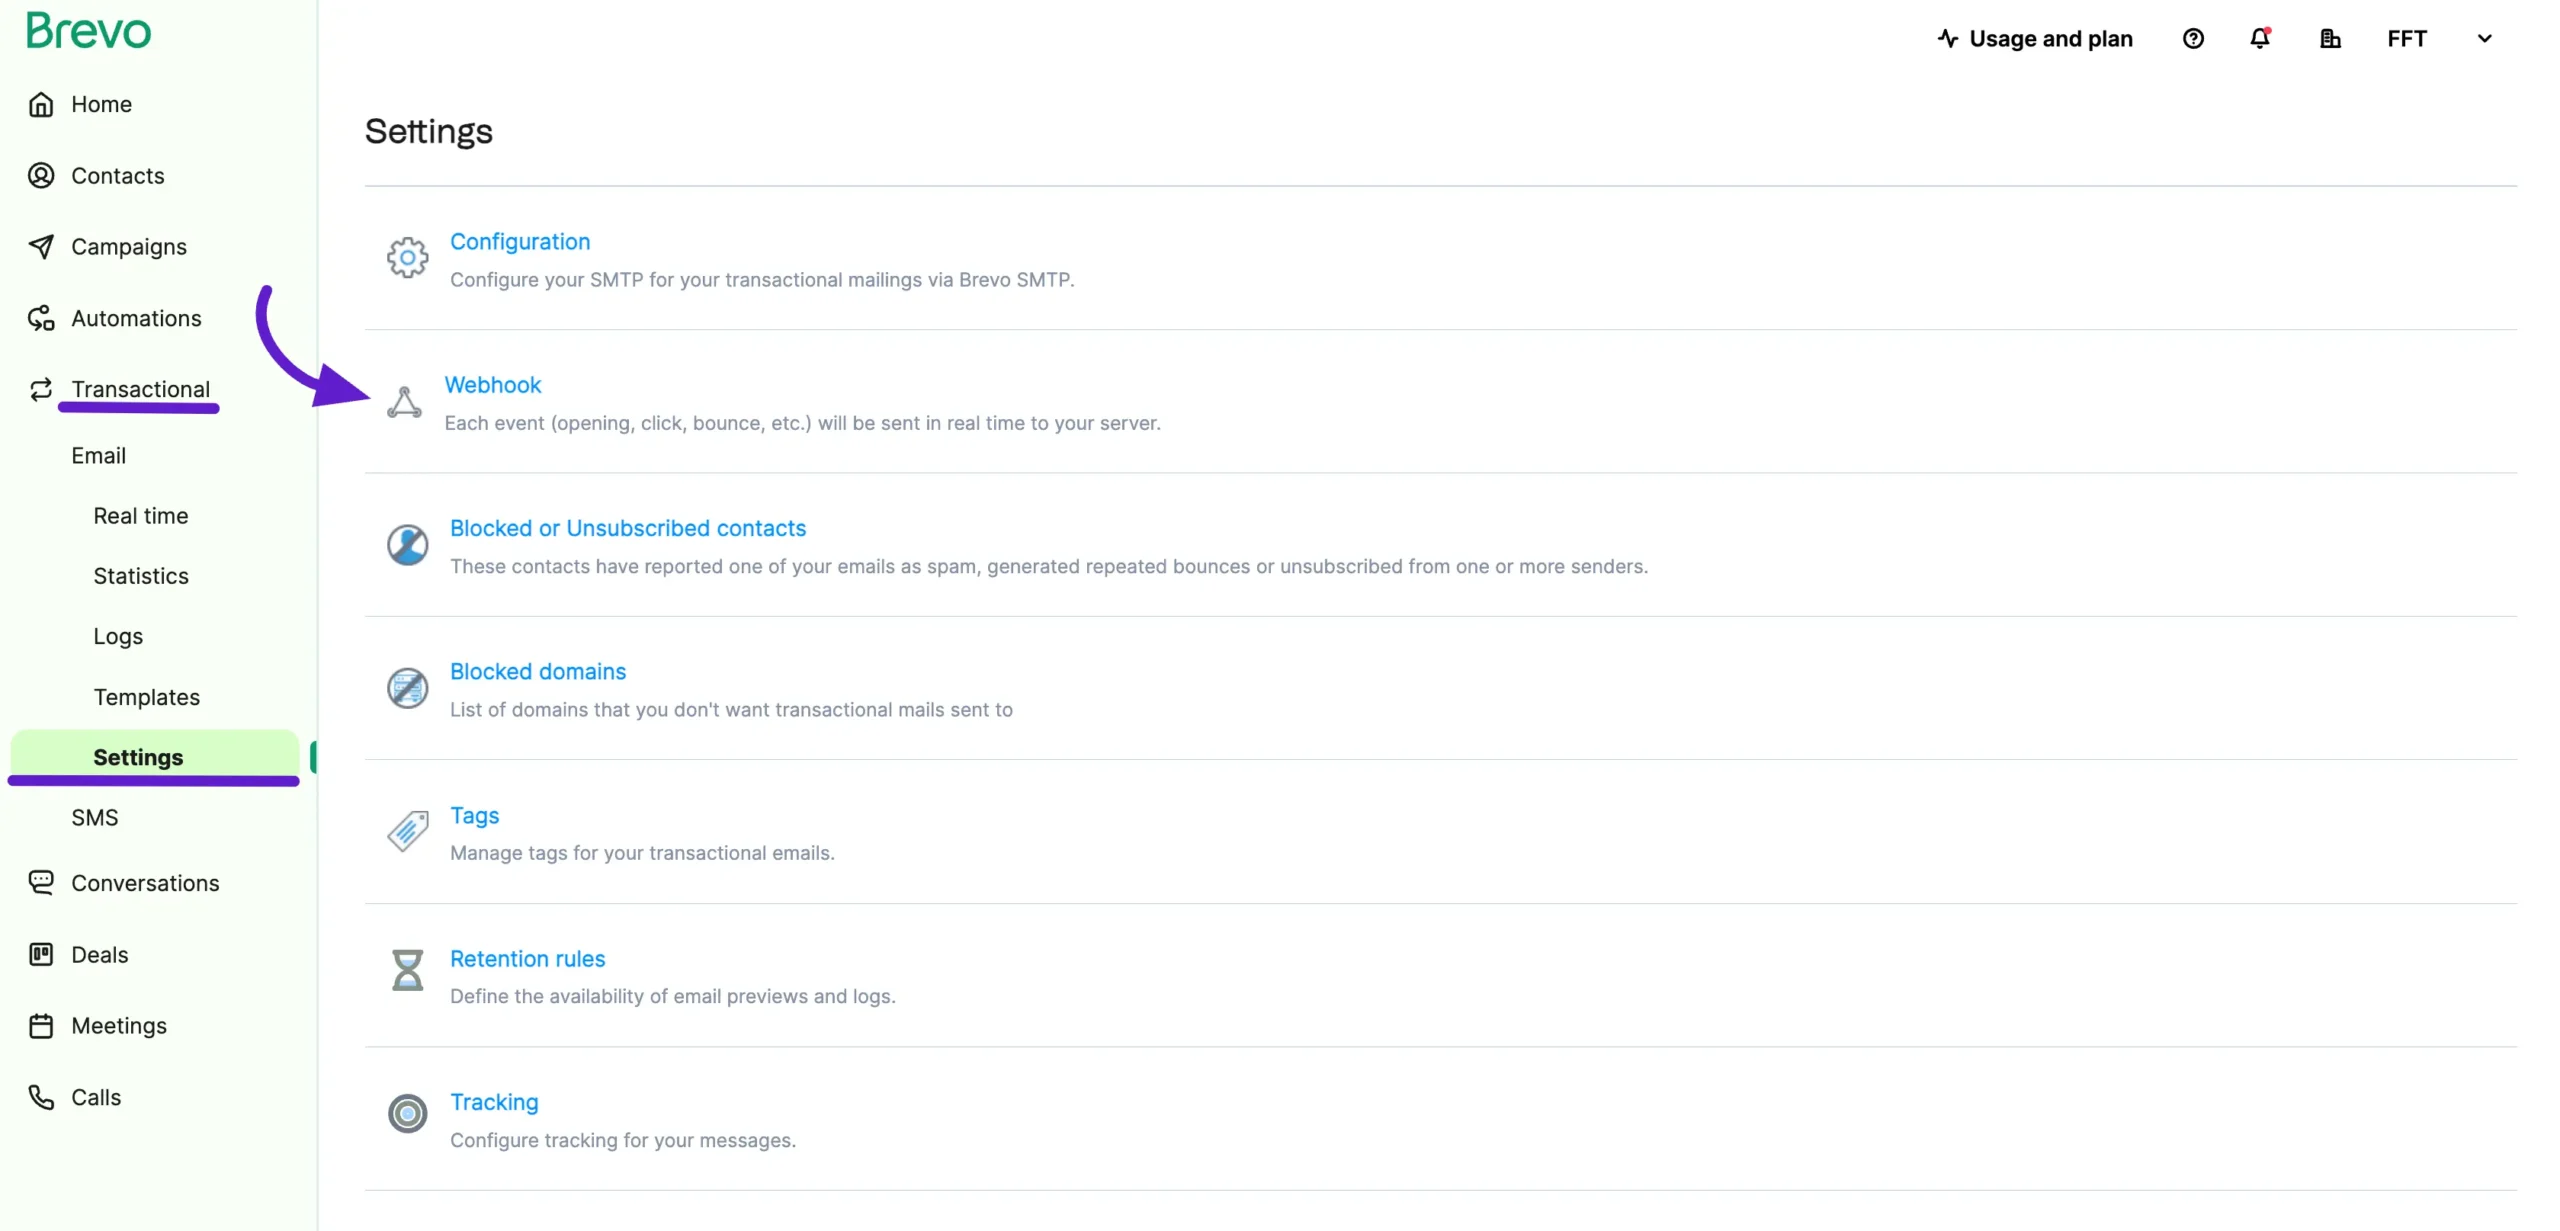
To do this, go to your Brevo account, click on Transactional from the left sidebar, and select Settings. Then, click on the Webhook option.
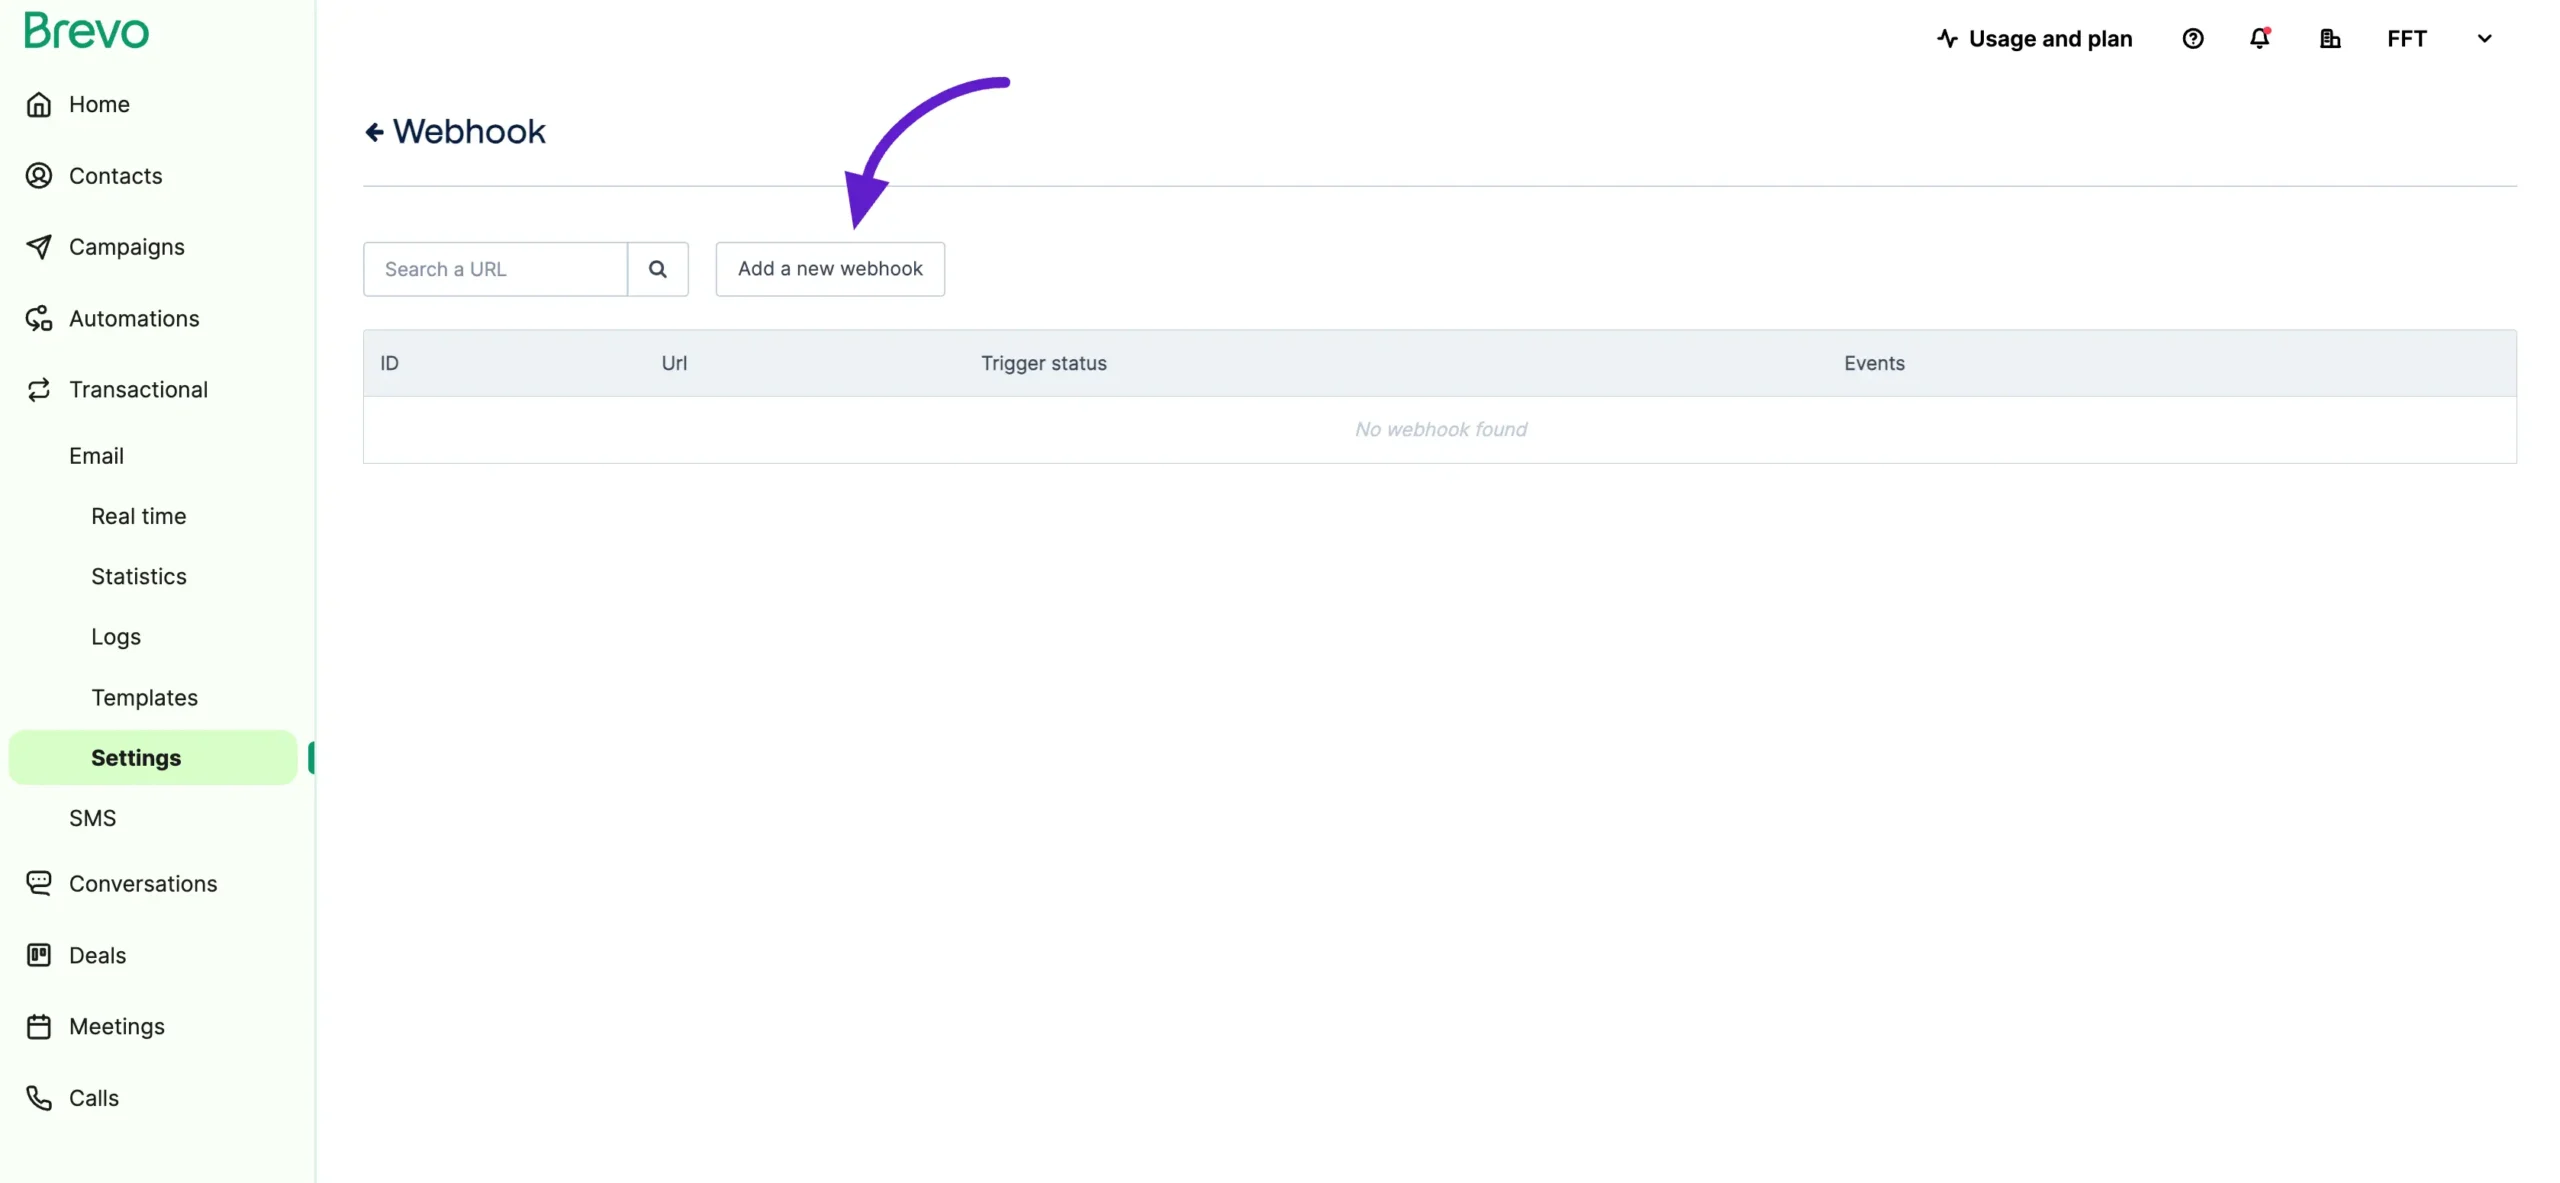
You will be redirected to the Webhook creation page. From there, click on the Add a New Webhook button.
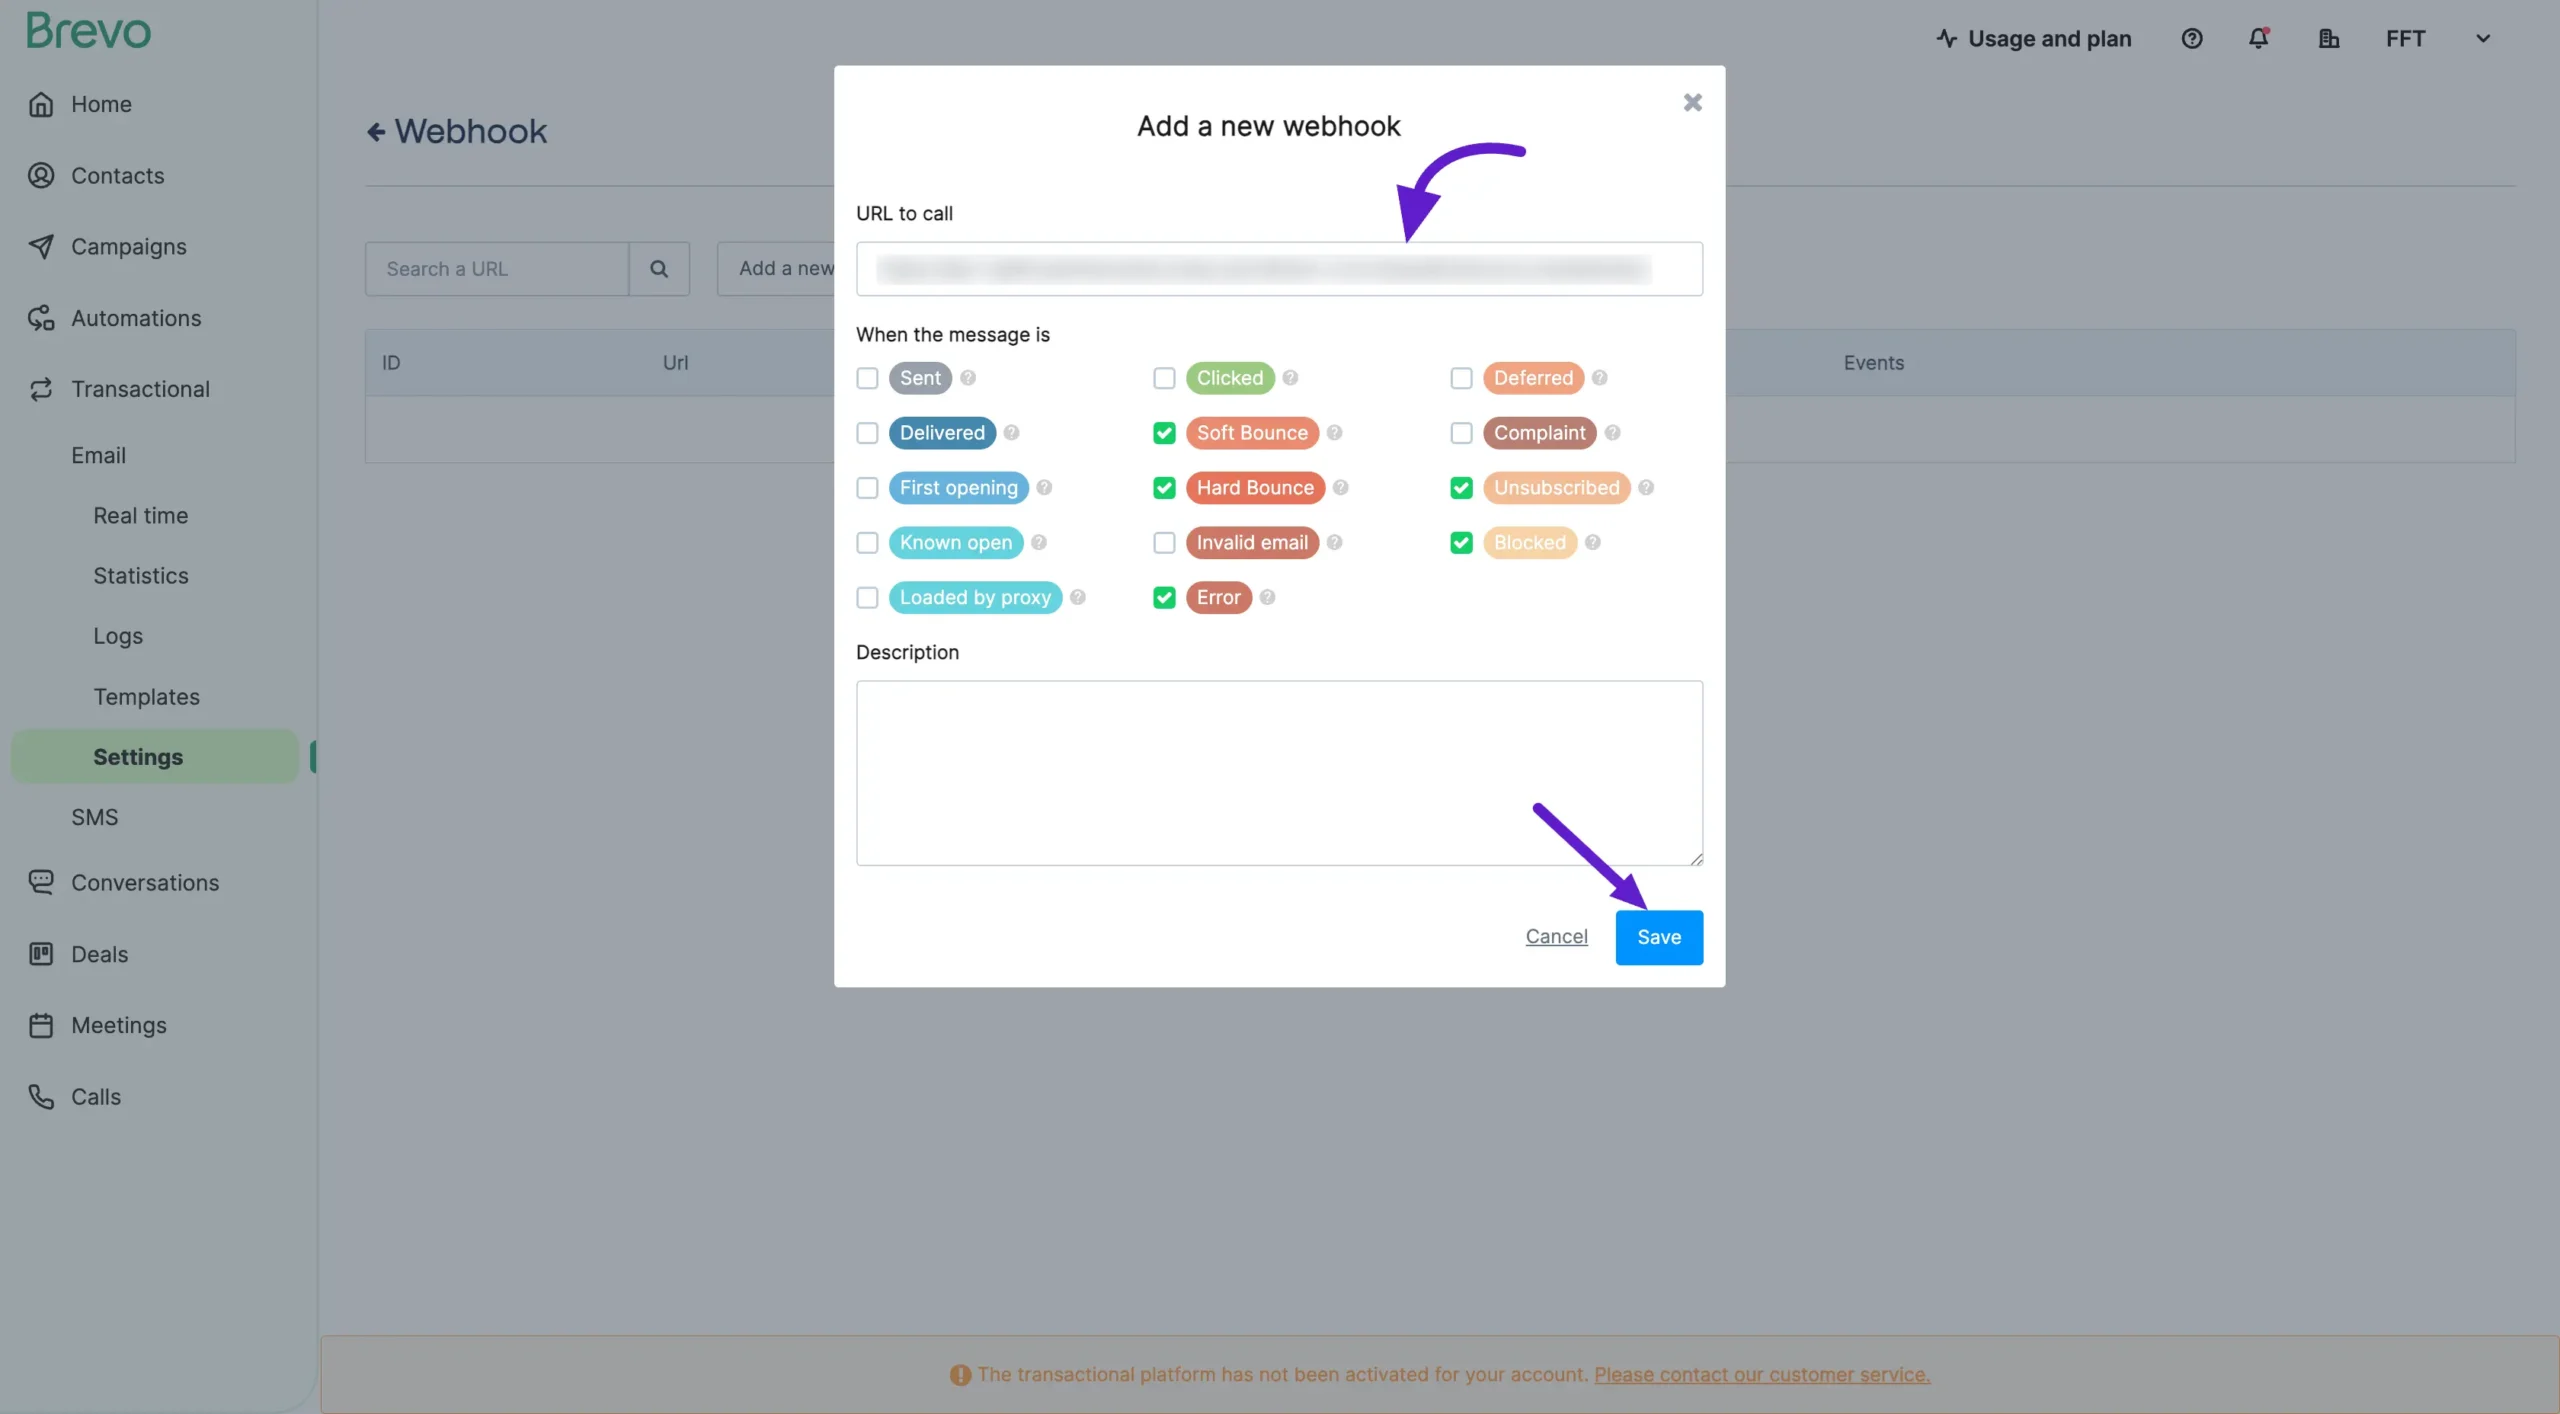
A pop-up will appear. Paste the Webhook URL you copied earlier from the FluentCRM Bounce Handling Settings.
Here, you can select the following triggers:
- Soft Bounce
- Hard Bounce
- Error
- Unsubscribe
- Blocked
Click the Save button to save your changes. You will then be able to see the webhook you created.
Viewing Bounced Contacts #
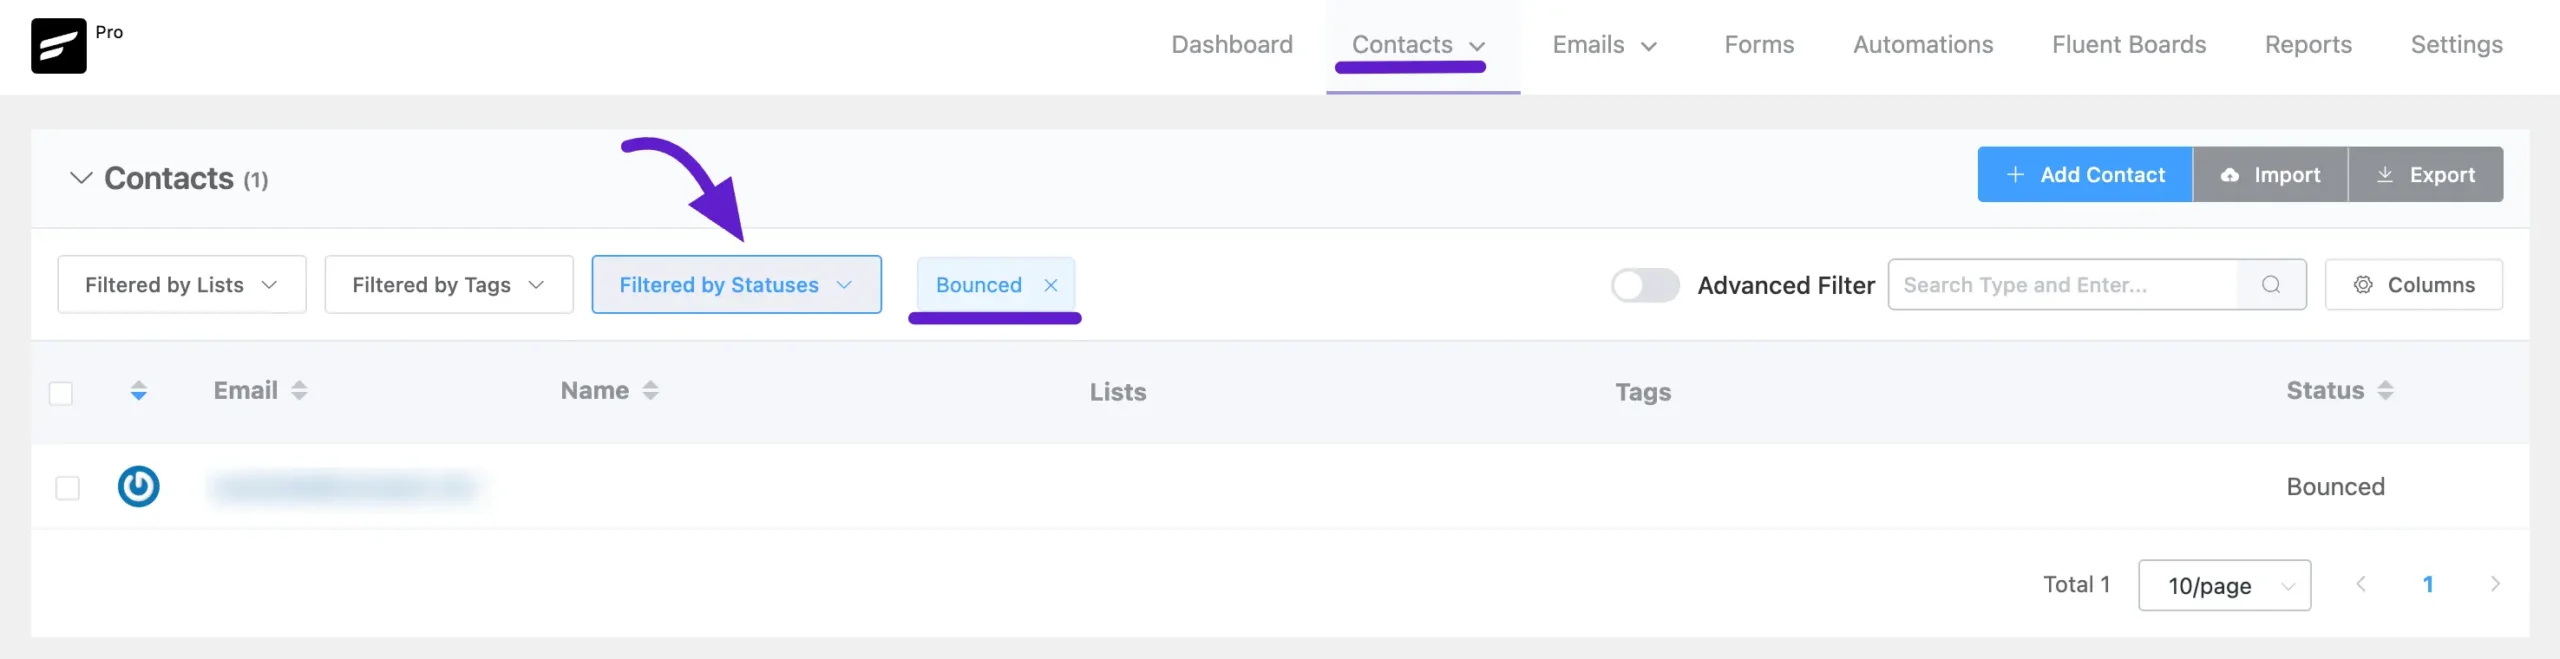
To view bounced contacts in your FluentCRM, go to Contacts. Then, click on Filter by Statuses and check the Bounced checkbox.
You will now see all the bounced contacts.
If you have any further questions, concerns, or suggestions, please feel free to reach out to our support team.


This tutorial for Brevo was current and worked. Thanks